The Yashica atoron is one of the most beautiful subminiature cameras. It is manufactured with exceptional precision and is robust and reliable at the same time. It is not only a tool for photography, but also a work of art for your pocket. Its precise workmanship and timeless design make it a coveted collector’s item. Despite their age, many models are still fully functional and deliver impressive results. Whether as a daily companion or as an exhibition piece – the Yashica Atoron is a classic that makes my heart beat faster.
Page Contents
Form follows function
This principle became the leitmotif of the famous German Bauhaus design school, which ushered in a new era of design in the 1920s. For me, the Yashica atoron (Porst KX 50, Revue Mini-Star) is a perfect example of the Bauhaus style.
The Yashica atoron was a direct competitor to the Minox B. When it came onto the market in 1965, the Minox B had already been around for 7 years. There were indeed similarities, such as the 8×11 mm film format, the coupled integrated light meter, the outstanding quality of the materials, high-precision workmanship and, of course, the miniature format of the cameras themselves. However, the prices differed considerably. In 1970, the atoron cost only half the price of the Minox B in Germany. Nevertheless, this corresponded to around a quarter of the average gross monthly income in West Germany at the time.
Despite some similarities, the Yashica Atoron is not a Minox copy, but an independent design. You can see this at first glance from the design of the front. All the elements are carefully placed and designed according to the idea of “form follows function”. Only at second glance do you recognize the innovative solution of the film transport through the film advance lever. This component, which, when pulled out, brings the camera back into readiness after the photo has been taken, demonstrates the skill of the engineers and designers in its solid construction and choice of materials.
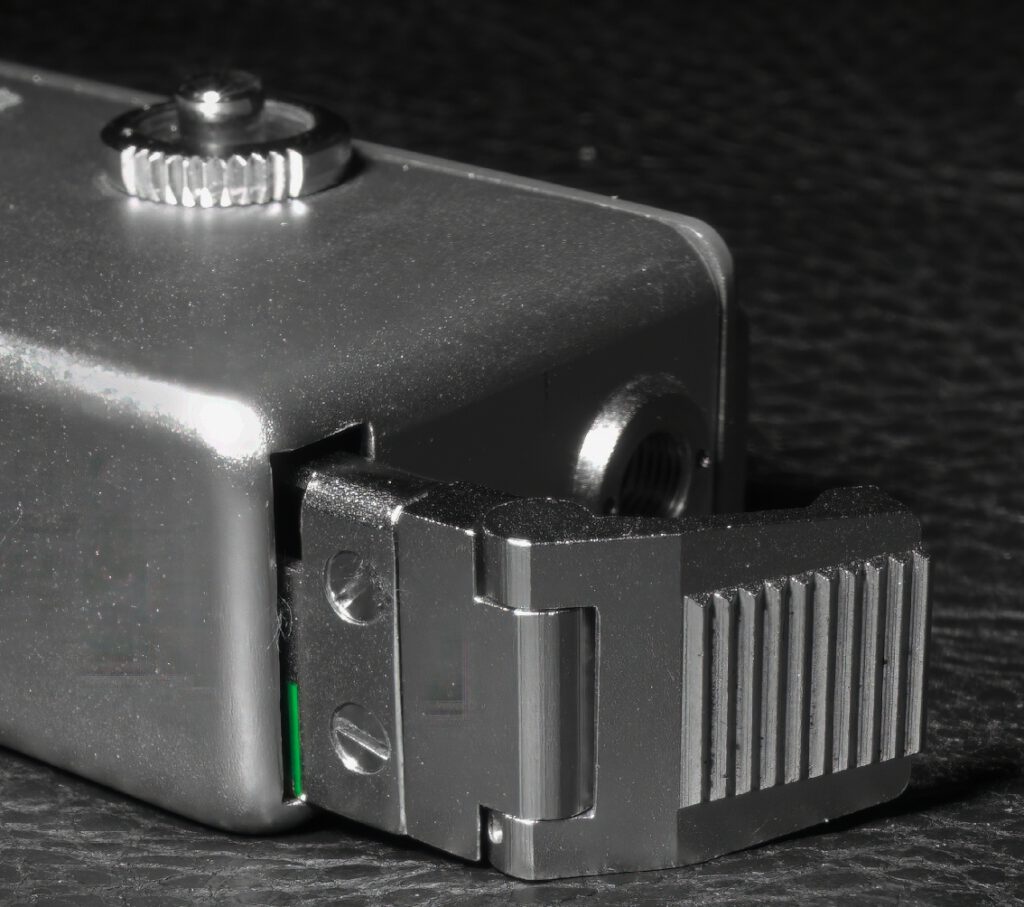
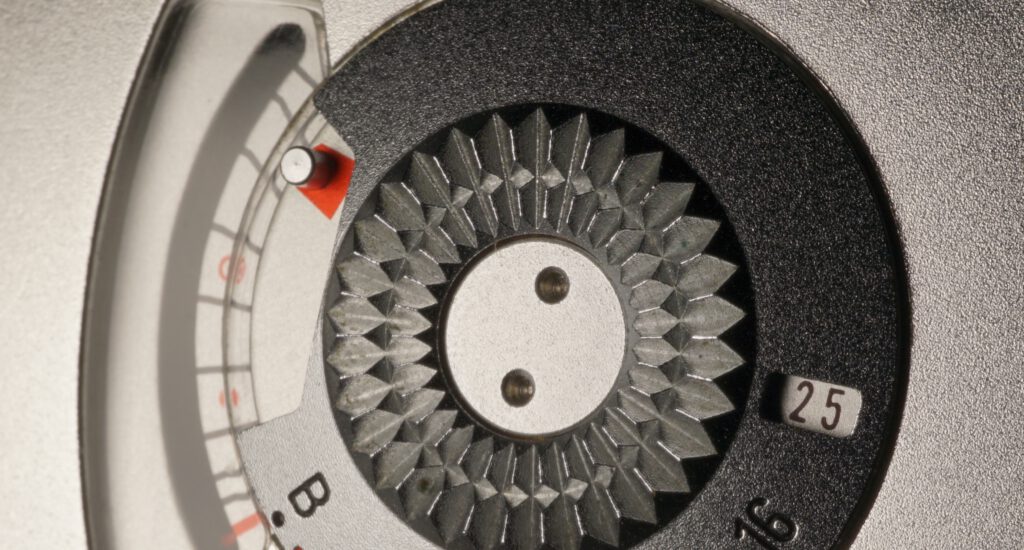
Apart from the logo panel at the front, all the camera components are made of metal. The housing is not glued but screwed together without a screw being visible. You can see that this also applies to all components inside the atoron here.
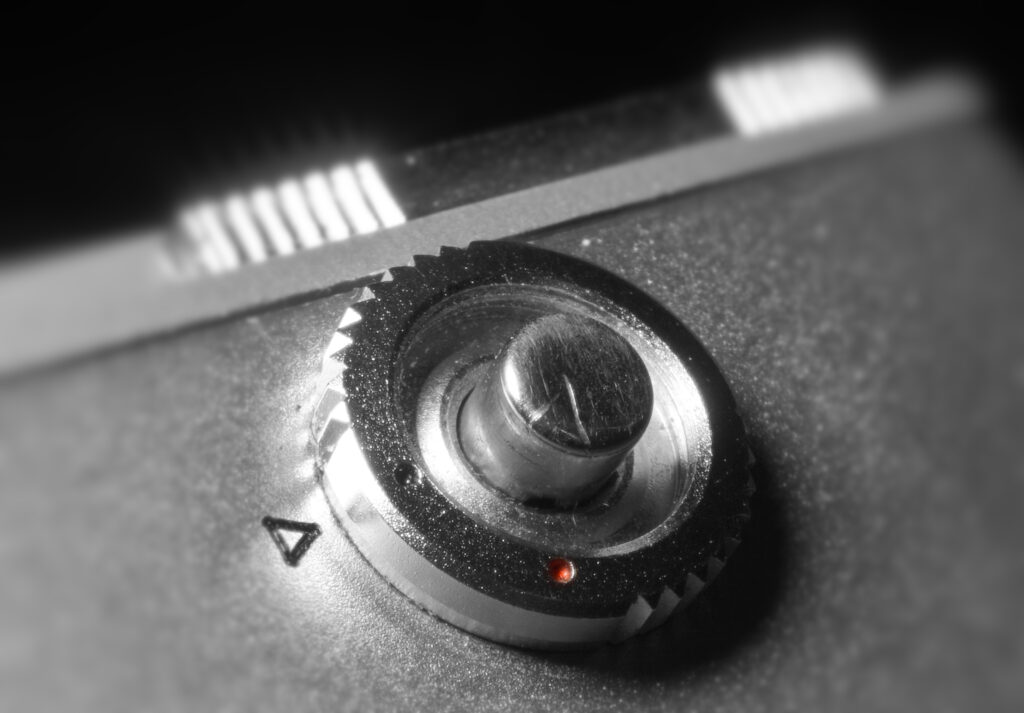
Pay attention to the excellent precision and quality of workmanship of the individual parts in the photos I show here. Also consider how small these parts actually are.

The ‘whoosh’ sound
The distinctive “whoosh” sound produced by the Yashica atoron when triggered is a captivating feature of this subminiature camera, a direct result of its intricate mechanical construction.
At the heart of this sound is the camera’s spring-loaded shutter mechanism. When you press the shutter release, a previously tensioned spring is suddenly released. This rapid release of energy sets a cascade of internal components in motion that manifests as the characteristic “whoosh” sound.
The characteristic “woosh” comes mainly from the sliding of the two shutter blades. The Atoron’s all-metal construction amplifies the sound, giving it a metallic resonance. It is interesting, but no coincidence, that the sound always lasts 1/8 second, no matter what shutter speed is selected. If you want to know exactly how the sound is created and would like to see a video about it, take a look here.
This “whoosh” is more than just a noise; it’s an auditory fingerprint that sets the atoron apart from other cameras. It’s a reminder of a time when cameras were meticulously crafted mechanical devices, and every sound they produced was a direct result of their inner workings.
Tips for use
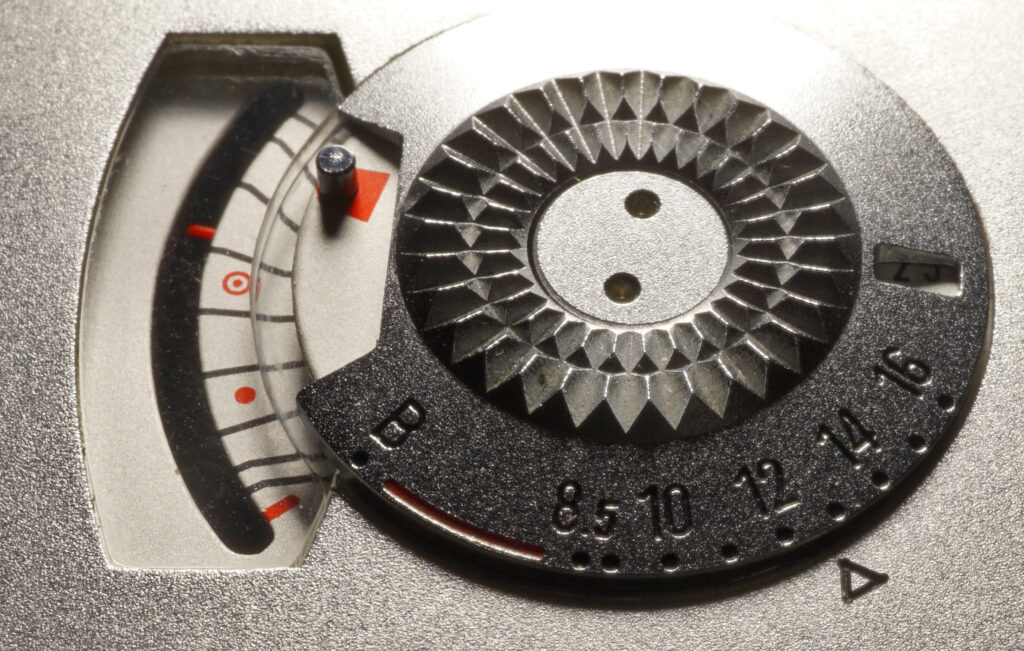
This camera is actually very easy to use. You turn the EV dial so that the exposure-follow pointer matches the exposure indicator needle. That’s it.
According to the manufacturer’s advertising, the atoron is supposed to be a camera that is always with you so that you never miss a good photo opportunity. As it is robust and easy to use, these are not empty promises. In addition, the easily available Minox films can be used.
The lens with a focal length of 18mm is roughly equivalent to a normal lens.
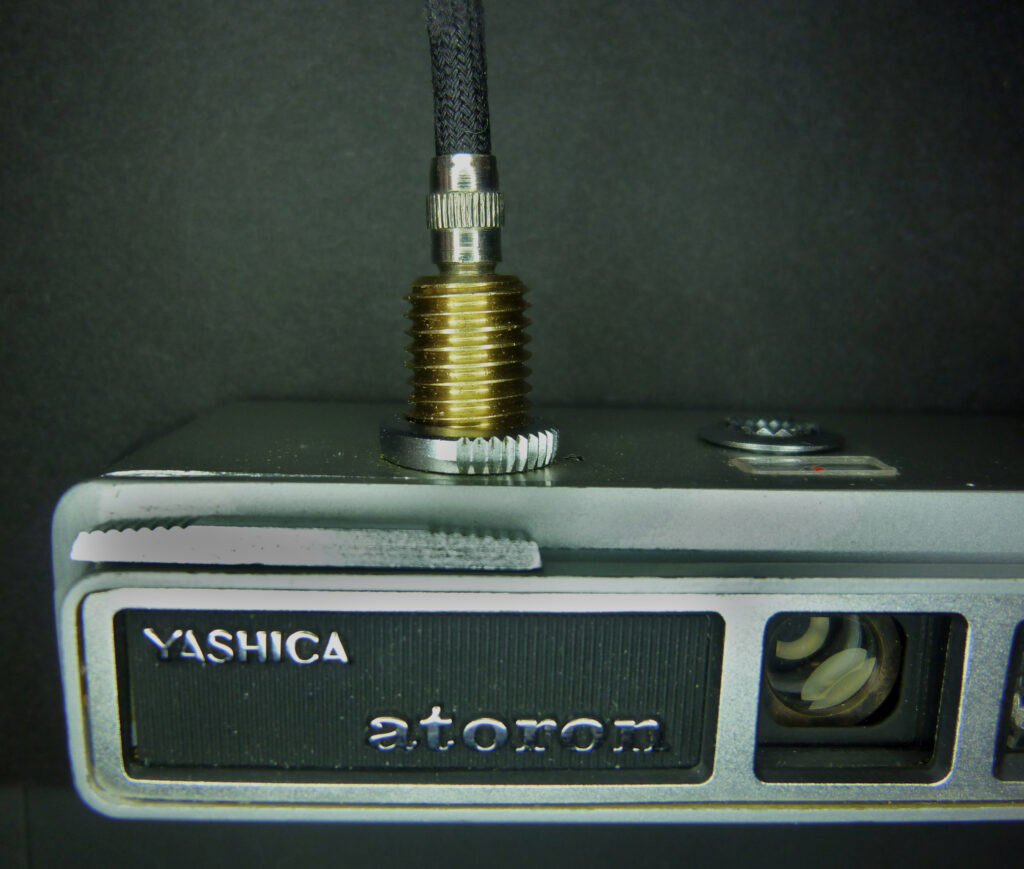
A rotating shutter lock ring around shutter release protects against unintentional triggering of the camera.
Exposure
The atoron is a “program EE camera”, which has a Programmed Electronic Eye (EE) function. This function is an automatic exposure system in which the camera automatically sets both the aperture and the shutter speed to ensure correct exposure of the image. Today, the term automatic suggests a fully automatic function, which the atoron does not have. The light value (EV) specified by the light meter must be adjusted manually.
The exposure range extends from EV 8.5 (interior with low lighting, 1/45 s + f/2.8) to EV 16 (beach in bright sunshine, 1/250 s + f/16). These values apply to a film speed of ISO 100.
By turning the EV dial, shutter speed and aperture are set to the optimum for the available light depending on the speed setting of the film used. Optimal in this context means: minimum risk of camera shake and maximum depth of field. In this respect, the atoron has a semi-automatic exposure system. However, you must be aware that this camera does not have a distance setting, but a fixed-focus lens, which is set to a fixed distance of 3 meters. Everything that is not within 3 m is more or less out of focus.
Distance
Fortunately, there is the depth of field, which also provides a sufficiently sharp image of a certain area in front of and behind 3 m. This range depends on the aperture used. Since the atoron adjusts the aperture depending on the available light (i.e. the EV value), the focus range of this camera depends on the available brightness. You need to be aware of this. There are 2 tables in the instruction booklet, but I find them impractical. I have therefore combined them into one table. I have recalculated the focus ranges according to the Minox standard (circle of confusion = 1/60 mm). This means that you can immediately see which exposure time (1/s) and which depth of field (DoF) will apply for the shot after looking at the exposure indicator needle.

I printed out the table (click on the table to display the PDF) and stuck it in the pocket of the atoron.
Film
It would actually be ideal if you always had very bright light so that you could set EV 16. This is, of course, impossible, but you can load a fast film instead. The atoron can handle a maximum ISO (ASA) 400. These films have a somewhat coarser grain than slower films, but the grain can still be improved in post-processing; blurring or out-of-focus cannot be corrected easily.
If you’re wondering where to get suitable, inexpensive film for this camera, with a huge selection to choose from, read my article on the subject.
Tripod
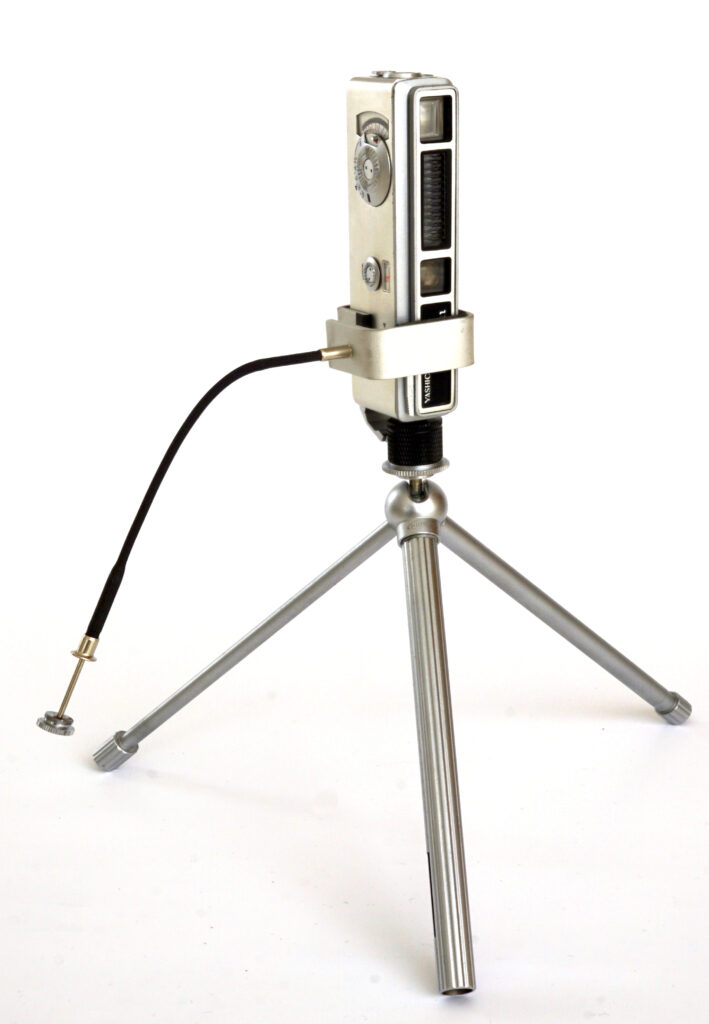
Since the longest exposure time is 1/45 s, you can normally trigger the atoron hand-held with a little practice. However, if you want to avoid any motion blur or expose with the “B” setting, you will need a tripod.
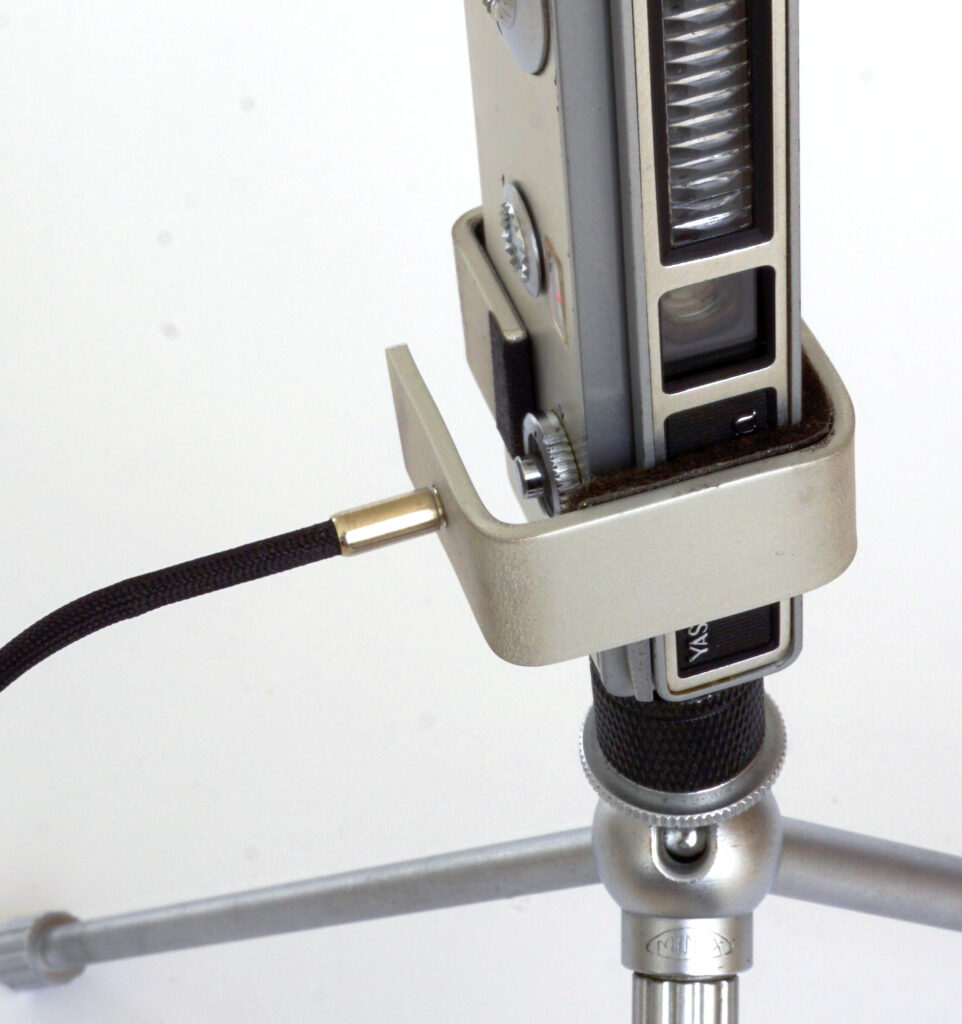
It is difficult to get an original tripod for the atoron, so I built something myself. First an adapter that has a standard 1/4” tripod thread at the bottom and a screw (M5x0.5 fine thread) at the top that fits into the screw hole of the camera’s carrying chain. A microphone stand adapter that already had a tripod thread served as source material for it.
Then I bent a bracket from an aluminum flat bar and drilled a M3 threaded hole in it to hold the cable release. A felt pad protects the camera body and prevents it from slipping.
A more elegant variant uses the thread in the shutter lock ring. I overlooked this thread for a long time. It is apparently intended for precisely this purpose and has a thread pitch of M8x0.5 mm. There are 10 mm long brass thread adapters that have an M8x1 fine thread on the outside and an M4 thread on the inside. Although this thread does not fit exactly in terms of pitch, it works if you screw it in carefully. I drilled out the internal thread to 4 mm on one side so that there is room for the release button. A depth of 4 mm is sufficient. Done.
Another method without additional aids is the string tripod. You use the carrying chain of the atoron to get more stability when releasing. I explain this method here.
Carrying case and chain
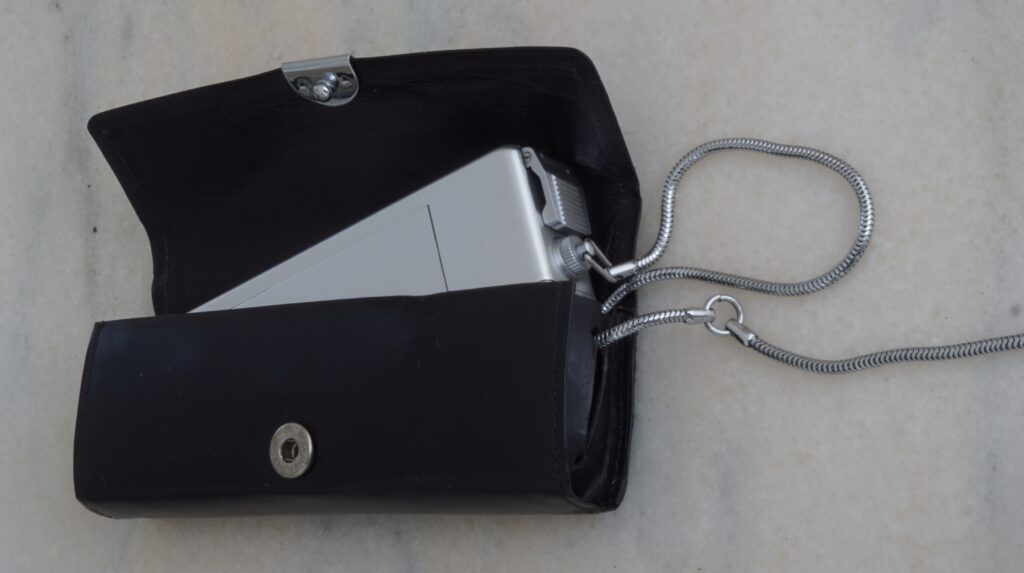
The camera comes with an elaborately crafted bag made of thin leather. There is a slit on the side through which the carrying chain can be inserted. At the end of the carrying chain is a fastening ring for attaching to clothing.
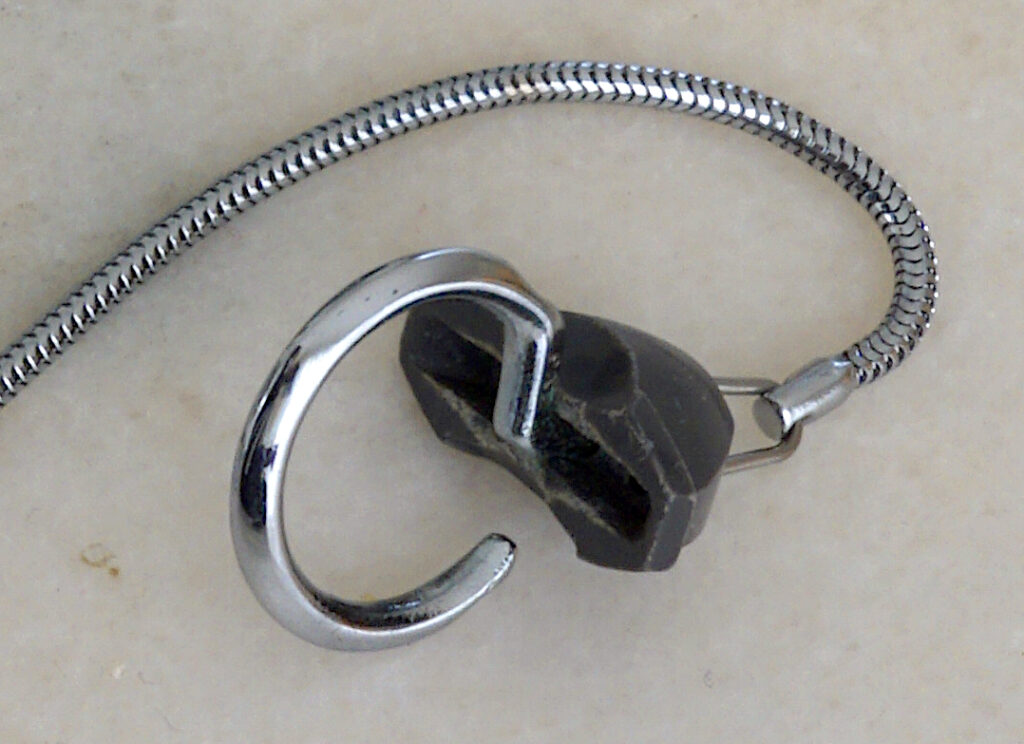
This ring has a very unusual plastic locking part from which the ring has to be pulled out against a spring force to release it. In my opinion, this part is quite a mistake by the product designers. The plastic material looks cheap and quickly becomes unsightly. With its clunky shape and material, it simply doesn’t fit in with the rest of the camera’s concept.
After removing the camera from the bag, it slides down the chain and remains captive. The chain itself consists of two parts. After a third of the total length, there is a ring that holds the two halves together and ensures that the bag is stopped there. There is another bean on the longer part of the chain, the purpose of which I don’t know. It is reminiscent of the distance markings on the Minox chains, but is not needed on the atoron.
Yashica atoron technical data
- Lens: Yashinon f/2.8, 18mm, 4 elements. Corresponds to 57 mm focal length in 35 mm format.
- Filter: Built-in sliding Y2 yellow filter and UV filter of front glass.
- Additional Filters: Slip-on 80A and ND4 filters, covering the lens and meter.
- Fixed focus distance: 3 m.
- Depth of field: 2 to 5 m (EV 8.5), 0.9 m to infinity (EV 16).
- Meter: Match-needle setting aperture and shutter speed in tandem.
- Shutter Speed: 1/45 to 1/250 seconds, Bulb.
- Metering: Built-in coupled selenium light meter.
- Film: Minox 8×11 film cassettes.
- Flash: AG flash unit.
- Dimensions: Width 103mm, Height 22mm, Depth 33mm.
- Weight: 125 g.
- Exposure Range: EV 8.5 (1/45, f/2.8) to EV 16 (1/250, f/16).
Conclusion
I really like the Yashica atoron because of its design, functionality and sturdiness. It is not prone to problems with the shutter blades and the escapement is very easy to maintain if the shutter speeds do not work well.
You can find out what the atoron looks like inside and how to service it here.
You can find numerous tips on taking photos in 8×11 format on my Minox photography page.
Sample photos
These are the tips for holding the atoron correctly from the original Japanese instructions.
My instructions here.
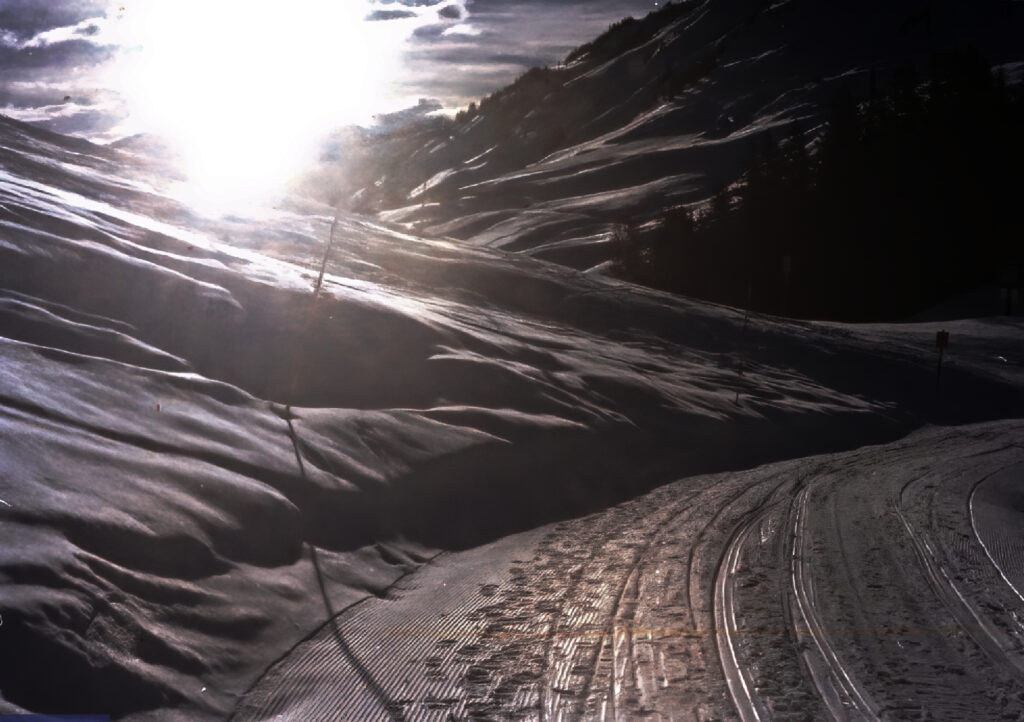
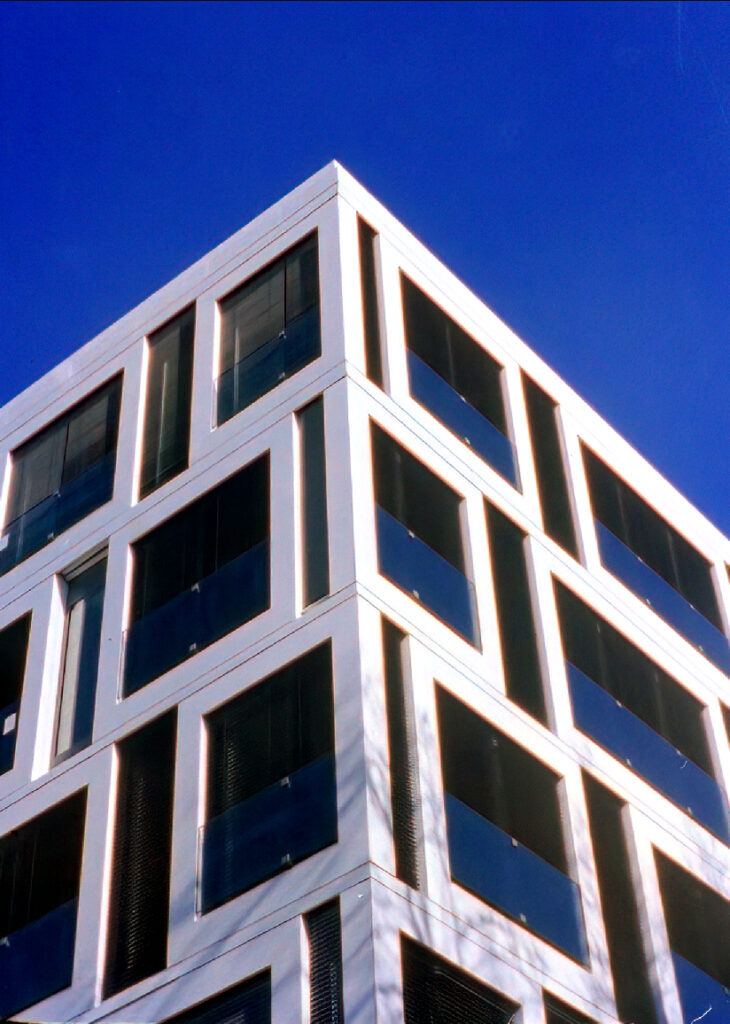
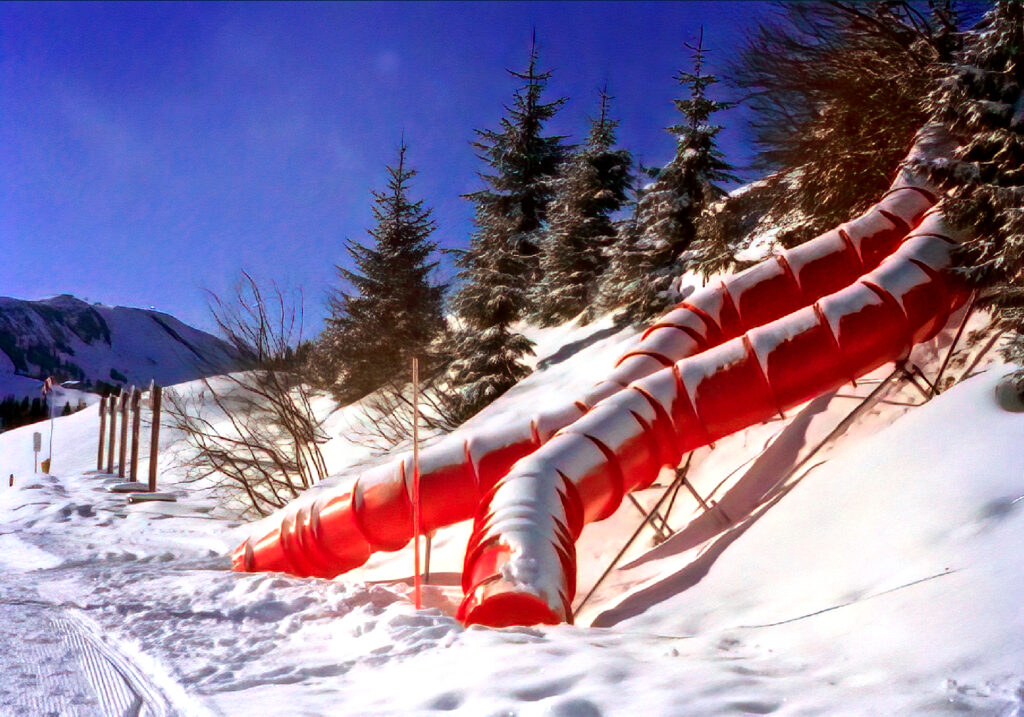
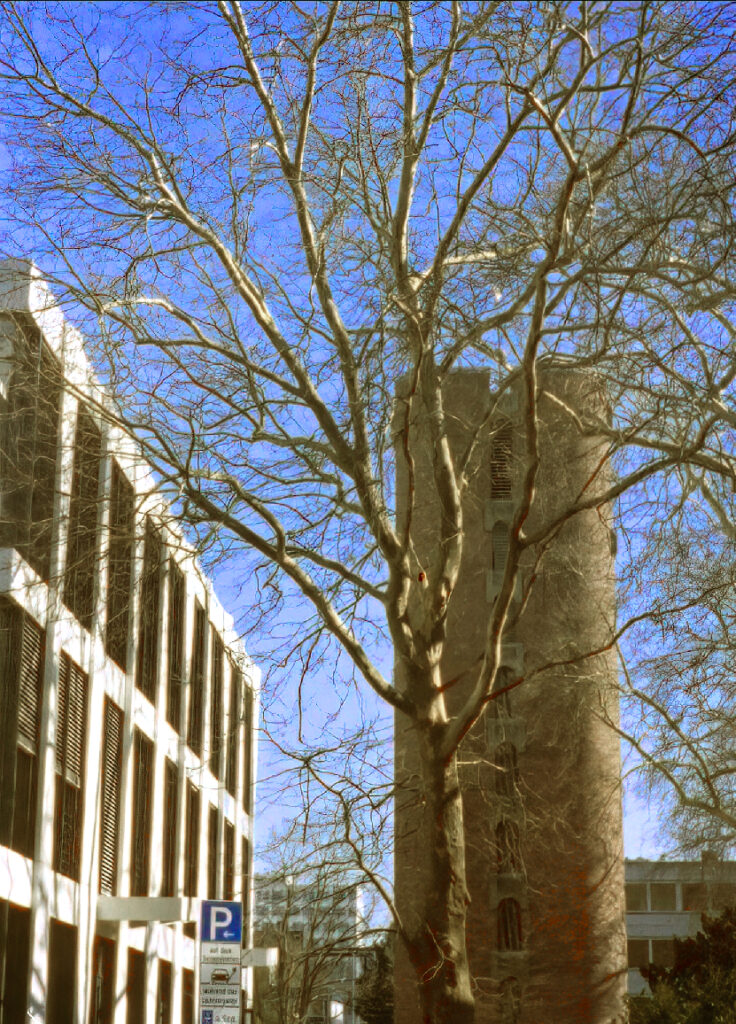
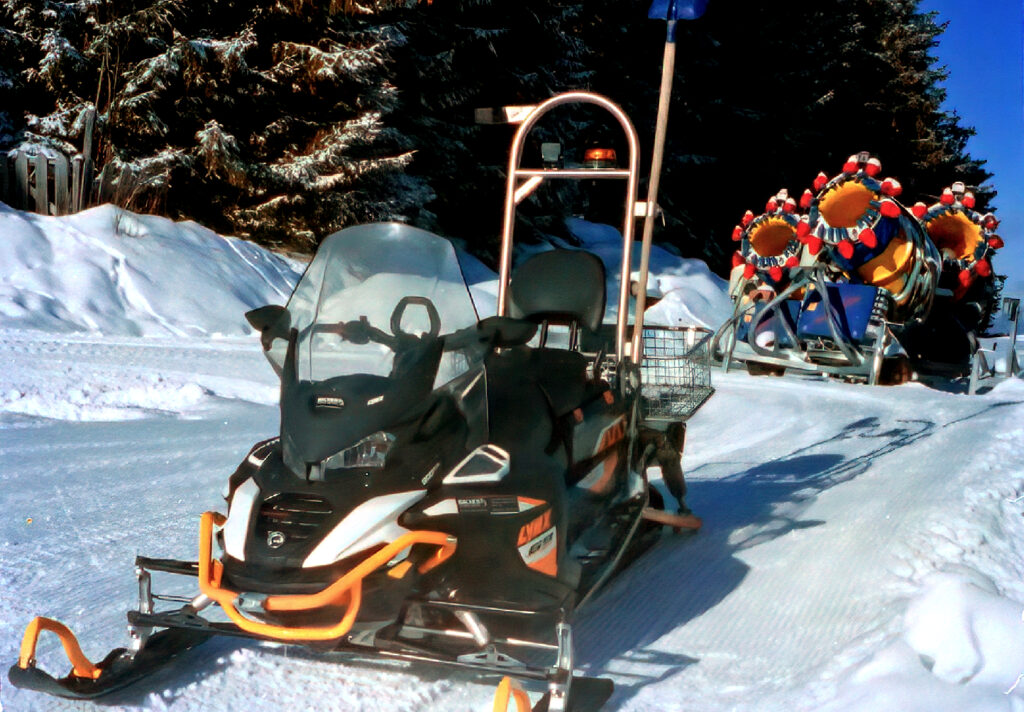
Here are a few sample photos I took with my atoron and a Kodak Porta 400. The pictures are digitally post-processed.









Thank You for excellent review!
I am also like & collecting subminiature cameras. A few years ago was looking for Atoron… then missed it.
It is really a great pleasure to handle this type of cameras.
You can find my photos here: https://www.flickr.com/people/sergeykozlov61/
Best Regards,
Sergey
Sergey,
I know your wonderful 8×11 photos and have already linked to them on my gallery page some time ago here:
https://moments-of-now.com/moments-of-now-gallery/#Sergey_Kozlov
Hallo Rainer,
danke! Ja, es ist eine rundherum gelungene Kamera, die auch gute Fotos macht.
Viele Grüße, Thomas
Die Belegfotos sind durchaus beeindruckend, insbesondere wenn man das winzige Negativ-Format bedenkt. Die Aufnahmen stehen den Möglichkeiten der Minox Kleinstbildformat-Kameras nicht nach.
Beste Grüße Rainer
Hi Thomas, I think I can be of some help with the adapter for the flexible shutter release…
A few years ago I was lucky enough to find the entire flexible shutter release/tripod adapter/tripod set.
The flexible shutter release thread is actually an “exotic” M8x0.5 mm (not an 8×1).
Anyway, the brass in your adapter should be soft enough not to have caused any damage.
Thank you for pointing that out. I will mention the correct thread pitch in the text!
My Atoron
What a beautiful set.