Join me on my journey through all possible Minox A III repairs and discover for yourself how incredibly beautiful a Minox A can be.
While my first Minox A IIIs was traveling, I became impatient and wanted to see for myself what a Minox A IIIs looks like from the inside. At that time, I had no experience of it myself. When such a camera was offered quite cheaply online as a defective one, I went for it. My idea was to make my own experiences with a Minox A III repair. Also included was an external Minox light meter and the two original leather cases.
The seller’s description read: “Minox A 8×11 spy / miniature camera with light meter for tinkerers. The camera does not trigger, no function. It also cannot be pushed together completely. The light meter needle moves, accuracy not checked.” Just the thing for me!
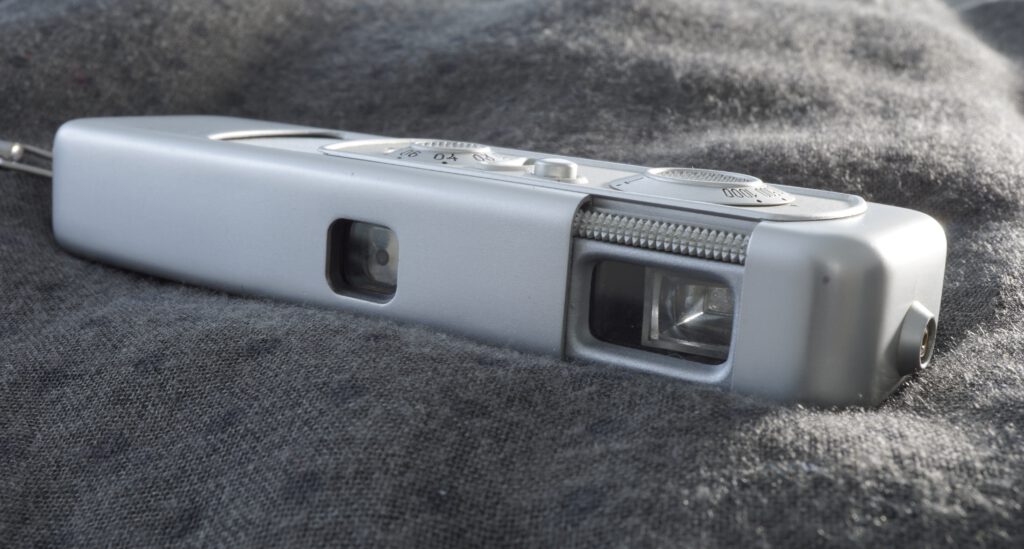
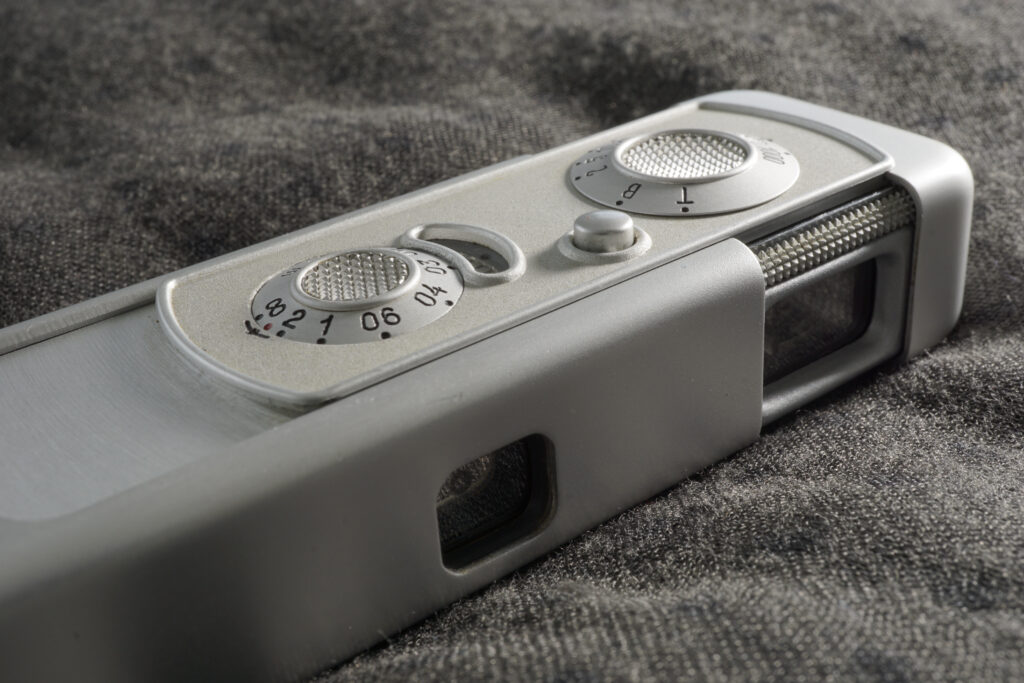
When I held the things in my hand, I was amazed at how good everything looked. The camera was completely immaculate, without a trace of use, as was the light meter. The leather cases were in good condition.
Fortunately, the shutter was definitely defective. The blades were jammed and prevented the camera from being pushed fully together. Fortunately, why? Because otherwise I would never have taken the camera apart.
Page Contents
La Belle et La Bête
I should also mention that a few weeks earlier I had bought a Minox A IIIs very cheaply to practise repairing it. It was so ugly on the outside that nobody else wanted it. However, as it worked perfectly, I didn’t have the heart to dismantle it. I called her La Bête because of her appearance.
So now I had La Belle et La Bête.
The Minox A IIIs repair
Opening the housing
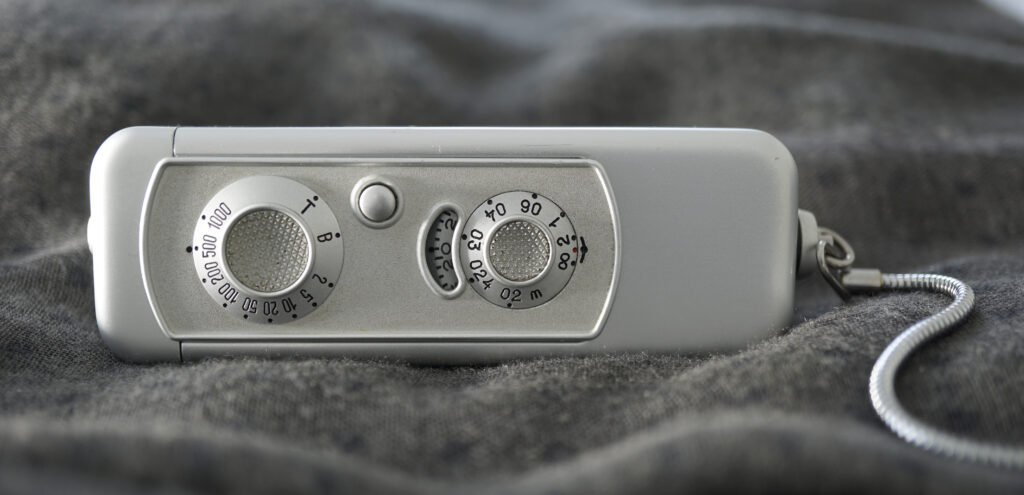
First I had to find out how to open a Minox. I also tried this out on a cheap Minox B first. I realized how easy it is to ruin a Minox just by opening it. How to do it right I documented here. This is really the first step to Minox A III repair.
The blades
Since the blades were destroyed, I took again the Minox B to re-use its blades. After several attempts, I finally managed to get the blades out of the Minox B intact and install them in the IIIs. In order not to damage the very sensitive mounting points of the springs, I not only replaced the blades, but the whole unit, consisting of blades, springs and the spring hooking arm.
Due to my inexperience, I disengaged the frame counter and the distance dial when inserting the spring hooking arm. This created two big problems for me. After that, the distance could no longer be adjusted and the film was transported unevenly. What a disaster!
Distance dial
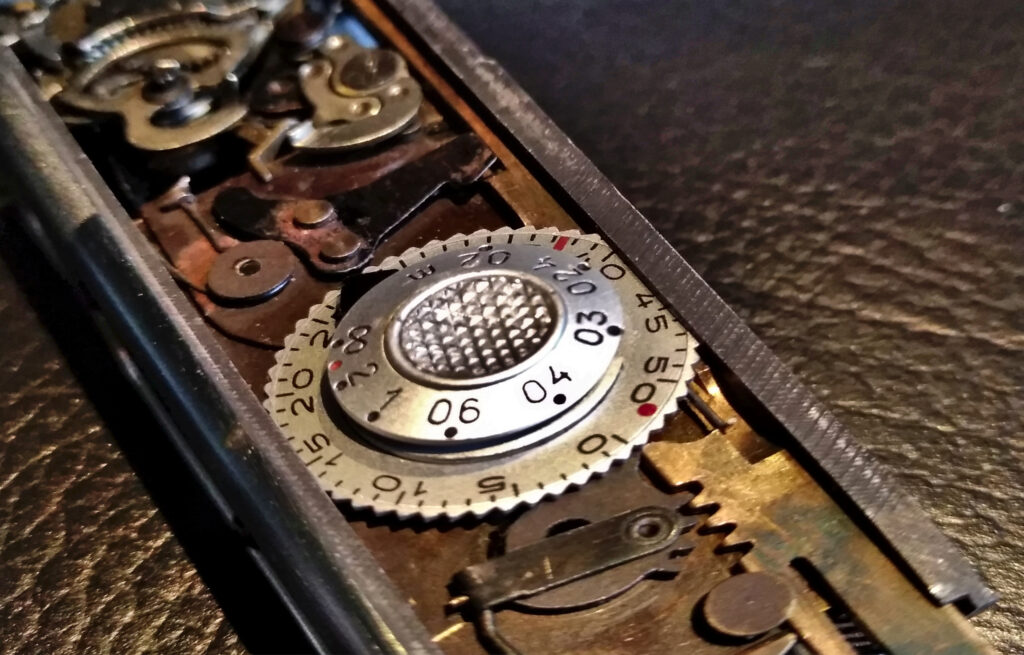
Adjusting the connection between distance dial and lens is the most complicated work on a Minox. In addition, I had never done it before and there were no instructions. So I had to work it all out for myself. I have documented my experiences here.
Frame counter
The frame counter uses a lever to transfer the different lengths by which the film has to be transported for each frame. The lever 10 had jumped out and had to be readjusted.
As the distance dial and the frame counter are positioned one above the other on the same axis, both had to be reinstalled together.
If you don’t know how the whole thing works, it’s quite difficult to assemble. I had to try out how it works for a long time. I have also documented this.
Rear panel and pressure plate
Because I had already opened the housing so far, I also removed the rear panel to get to the pressure plate and the viewfinder window. I removed both and cleaned them.
Escapement
To optimize the shutter speeds, I degreased and cleaned the gears and the other moving parts of the escapement. This was the last part of this Minox A IIIs repair.
The leather bags
The Saffiano leather bags are made from goatskin using the Prada process. More details here.
As the bags were in good condition, it was enough to treat them with a special leather care lotion. With its antioxidants, it stops the decomposition of the leather and its UV filters protect the surfaces from fading. The leather also regains a supple surface.
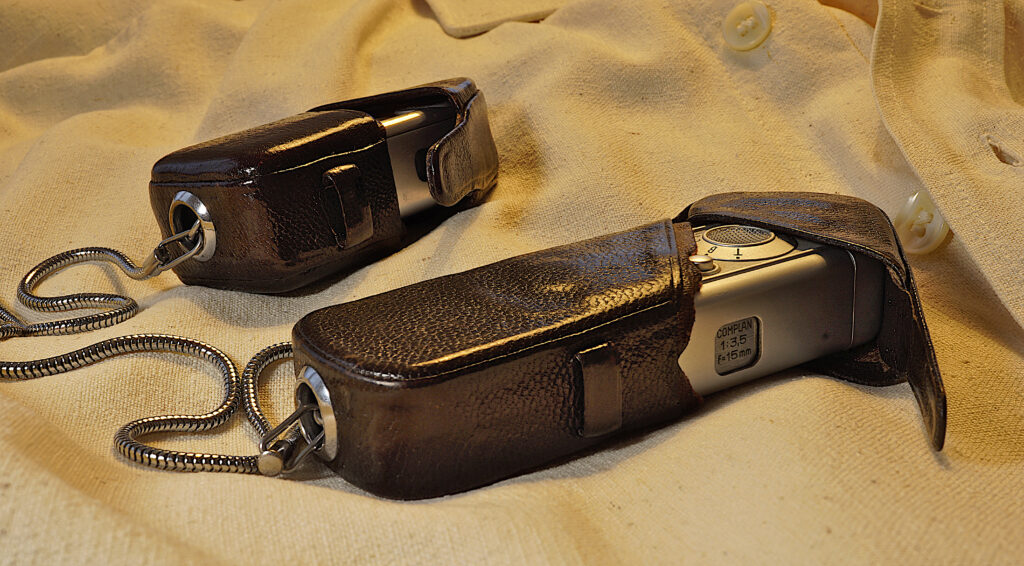
I noticed that the two bags – which undoubtedly belong together – are made from a particularly soft and finely textured Saffiano leather. All the other Minox bags from this period that I own are much stiffer and have a more grain-like surface. You can see this on the camera bag because the two dial wheels have become visible in the leather over time.
The lightmeter
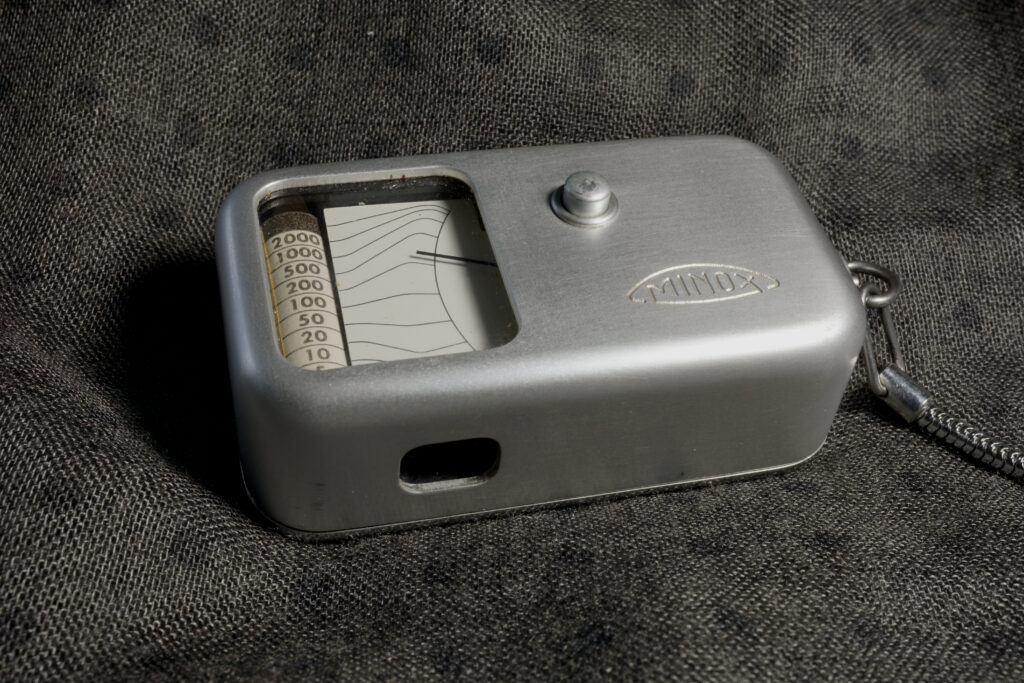
Surprisingly, the selenium light meter was fully functional. Not only did the needle still move at all, it also displayed usable values. Light values from 5 to 14 can be measured.
When it came onto the market in 1951 as an dedicated accessory for the Minox A, it was one of the smallest and lightest light meters in the world. As usual with Minox, it had special features that were not found elsewhere.
Firstly, it had a subject finder with the same angle of view as the camera itself, with which you could precisely determine the image section for the exposure measurement. You can also use it to compose pictures without having to open the camera (if you open the Minox A without taking a picture, the film will still be transported). Secondly, the measurement result is stored, as the needle is only released as long as the measuring knob is pressed. During transport the needle as well as the high-precision measuring mechanism stay locked which protects the sensitive moving parts.
The film speed can be set to 10, 20, 40 and 80 ASA. The set value is indicated by a symbol (white, black square, black triangle, black) at the top left of the measuring scale.
The carrying chain and the leather case have exactly the same design as the camera.
What it was good for
This camera is a stunning beauty but quite demanding. It only worked after I had fixed everything that could break on a Minox. At the end I learned everything I needed to know about it and I also got to know the Minox from the inside.
At the same time, I have used this work to write instructions and share them here on how to repair, clean and adjust a mechanical Minox so that you can benefit from them too. It was an extraordinary experience but it took me months of work as well as three Minox B for spare parts and to try out the repairs.
All’s well that ends well
La Belle, once a damaged and neglected beauty, has been given a new lease of life. Thanks to the patient and diligent efforts of her devoted caretaker, she now has inner values again. The journey has been arduous but rewarding, full of challenges and triumphs.
From the shutter to the distance setting to the film transport, every affected component was meticulously examined, cleaned and repaired. Gearwheels, levers and springs play together harmoniously again.
This experience not only brought La Belle back to life, but also enriched the life of her caretaker. Through countless hours of trial and error, he has gained a deep understanding of the inner workings of the Minox, knowledge that will hopefully benefit other Minox fans.
Now that this camera is ready to once again capture light, it is a testament to the power of perseverance and the mechanical imagination of her inventor. Its story shows that even the most delicate and intricate creations can be brought back to life with patience, skill and a little love.
Back to My Minox A IIIs cameras


Amazing work!!!
Any idea how to open the external light meter? Mine wiggles a tiny bit but is otherwise not functional. I would like to inspect the electrical connections. There is a single screw on the back, but removing it doesn’t accomplish anything. Perhaps the housing is glued together? Thank you. Beautiful website!!
Thank you!
I am not aware of any instructions on the internet or in the relevant literature that show how to open the light meter. I have not tried it myself, as all of my models are in working order.
It may be necessary to remove the speed dial, but this raises the question of how to remove it. I don’t think the housing is glued together. I am not aware of any Minox products from that period where anything was glued.
If you find the solution, please let us know!