
There are reasons to keep the negatives. On the one hand, they are the actual product of analog photography, i.e. something that you can really touch, unlike digital photos. On the other hand, you may want to digitize individual negatives again using a different, new process. They should then be stored carefully.
Page Contents
Cutting the films
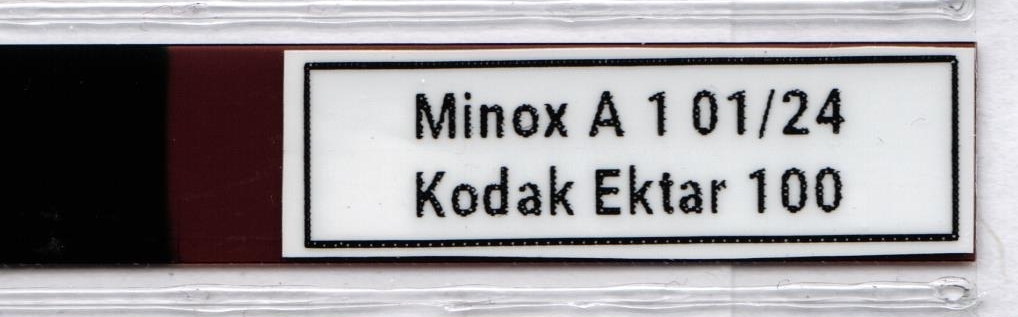
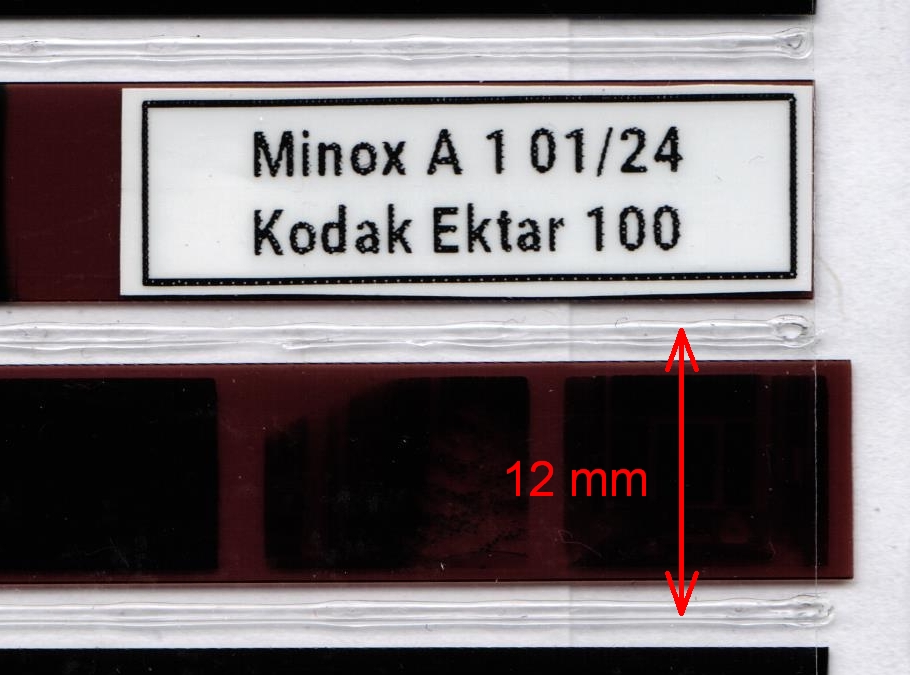
I label my negatives so that I don’t lose track of them. Before cutting them up, I stick a label on them with the name of the camera, the film used and the month of exposure.
I used to simply keep the developed Minox films rolled up. But that can easily scratch them and you can’t easily find the photos again. That’s why I now prefer to store the negatives in sleeves. But then you have to cut up the film roll.
You can of course cut the films with scissors and I did this for some time. But with the tiny pictures I was always afraid of not hitting the space in between and cutting a photo in half.
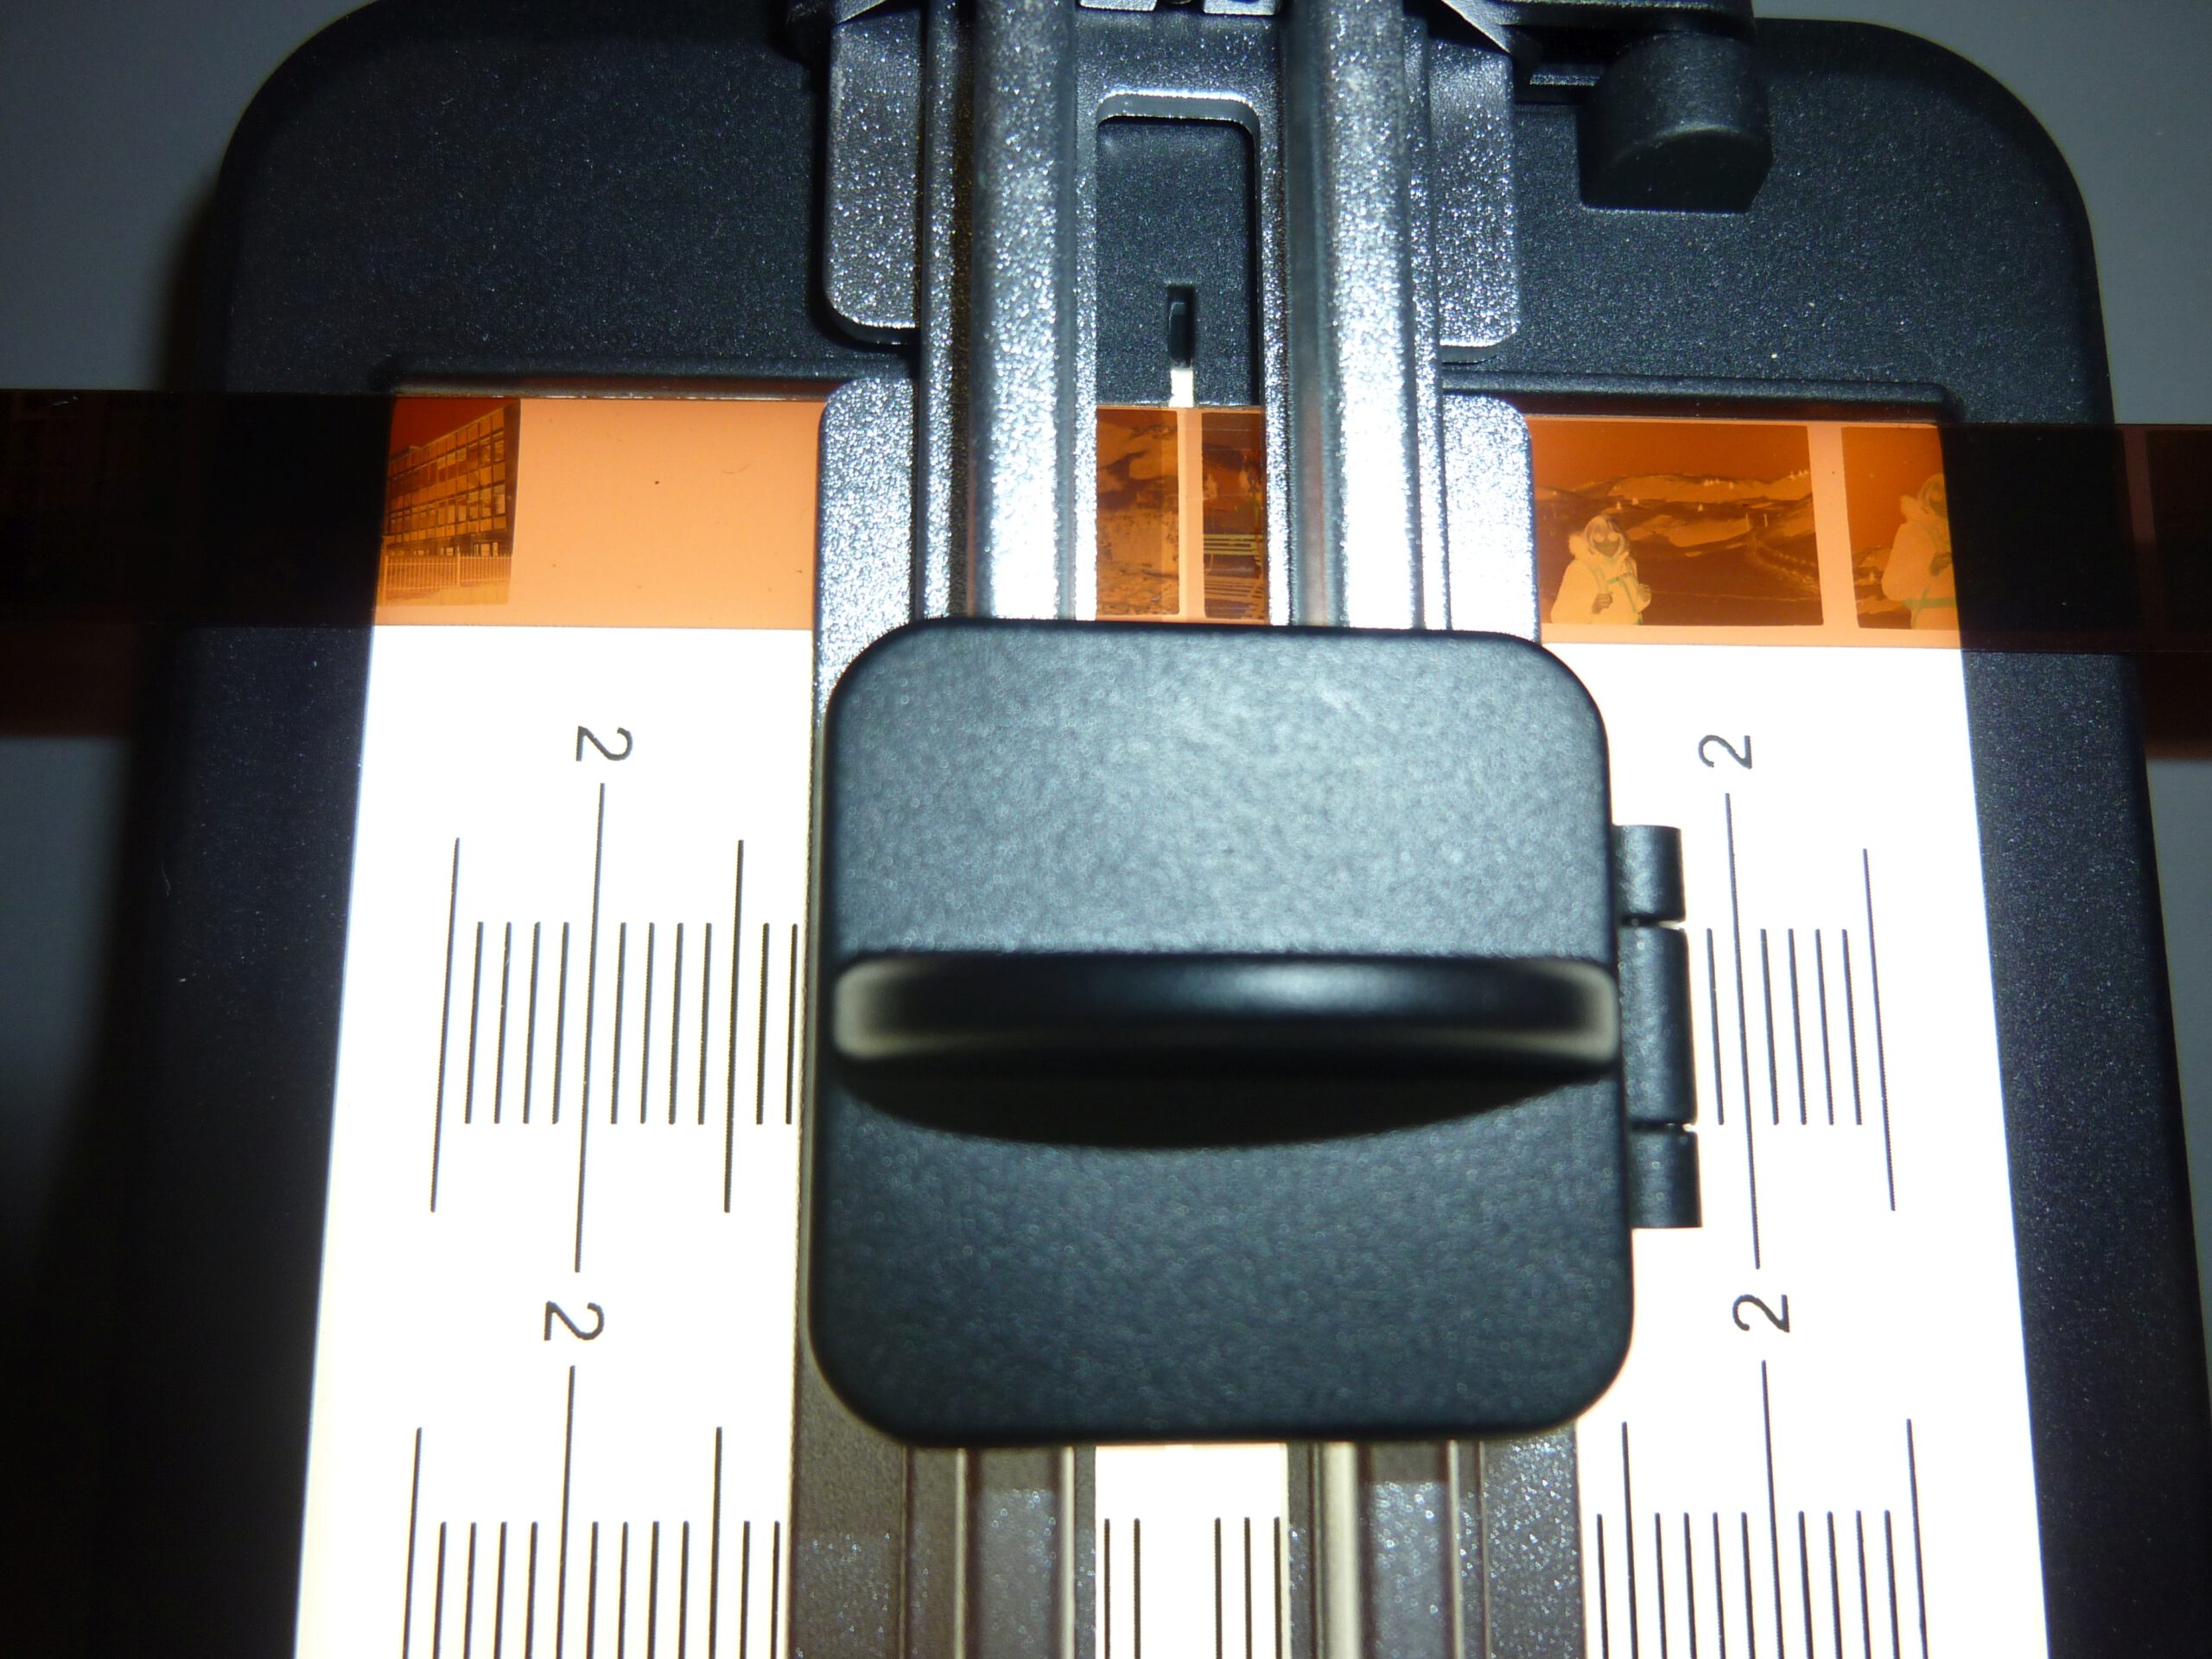
So I ended up buying a small cutter with an integrated light table. (40 $).
Viewing the negatives

The negatives are easier to assess if you can view them in positive. Just for the sake of completeness, I would like to point out that with the Kodak Mobile Film Scanner app, for example, you can display both color and black and white negatives live in positive with the smartphone via the built-in camera, see picture on the left. With 8×11 mm negatives, of course, everything remains very small.
Minox negatives sleeves

From day one, the manufacturer has been thinking about the best way to store Minox negatives. As early as 1938, the first model, the Riga Minox (Minox I), came with special transparent celluloid sleeves for 50 negatives.
Unfortunately, you can no longer buy these sleeves for Minox negatives. The original Minox sleeves are now collector’s items and have such prices.
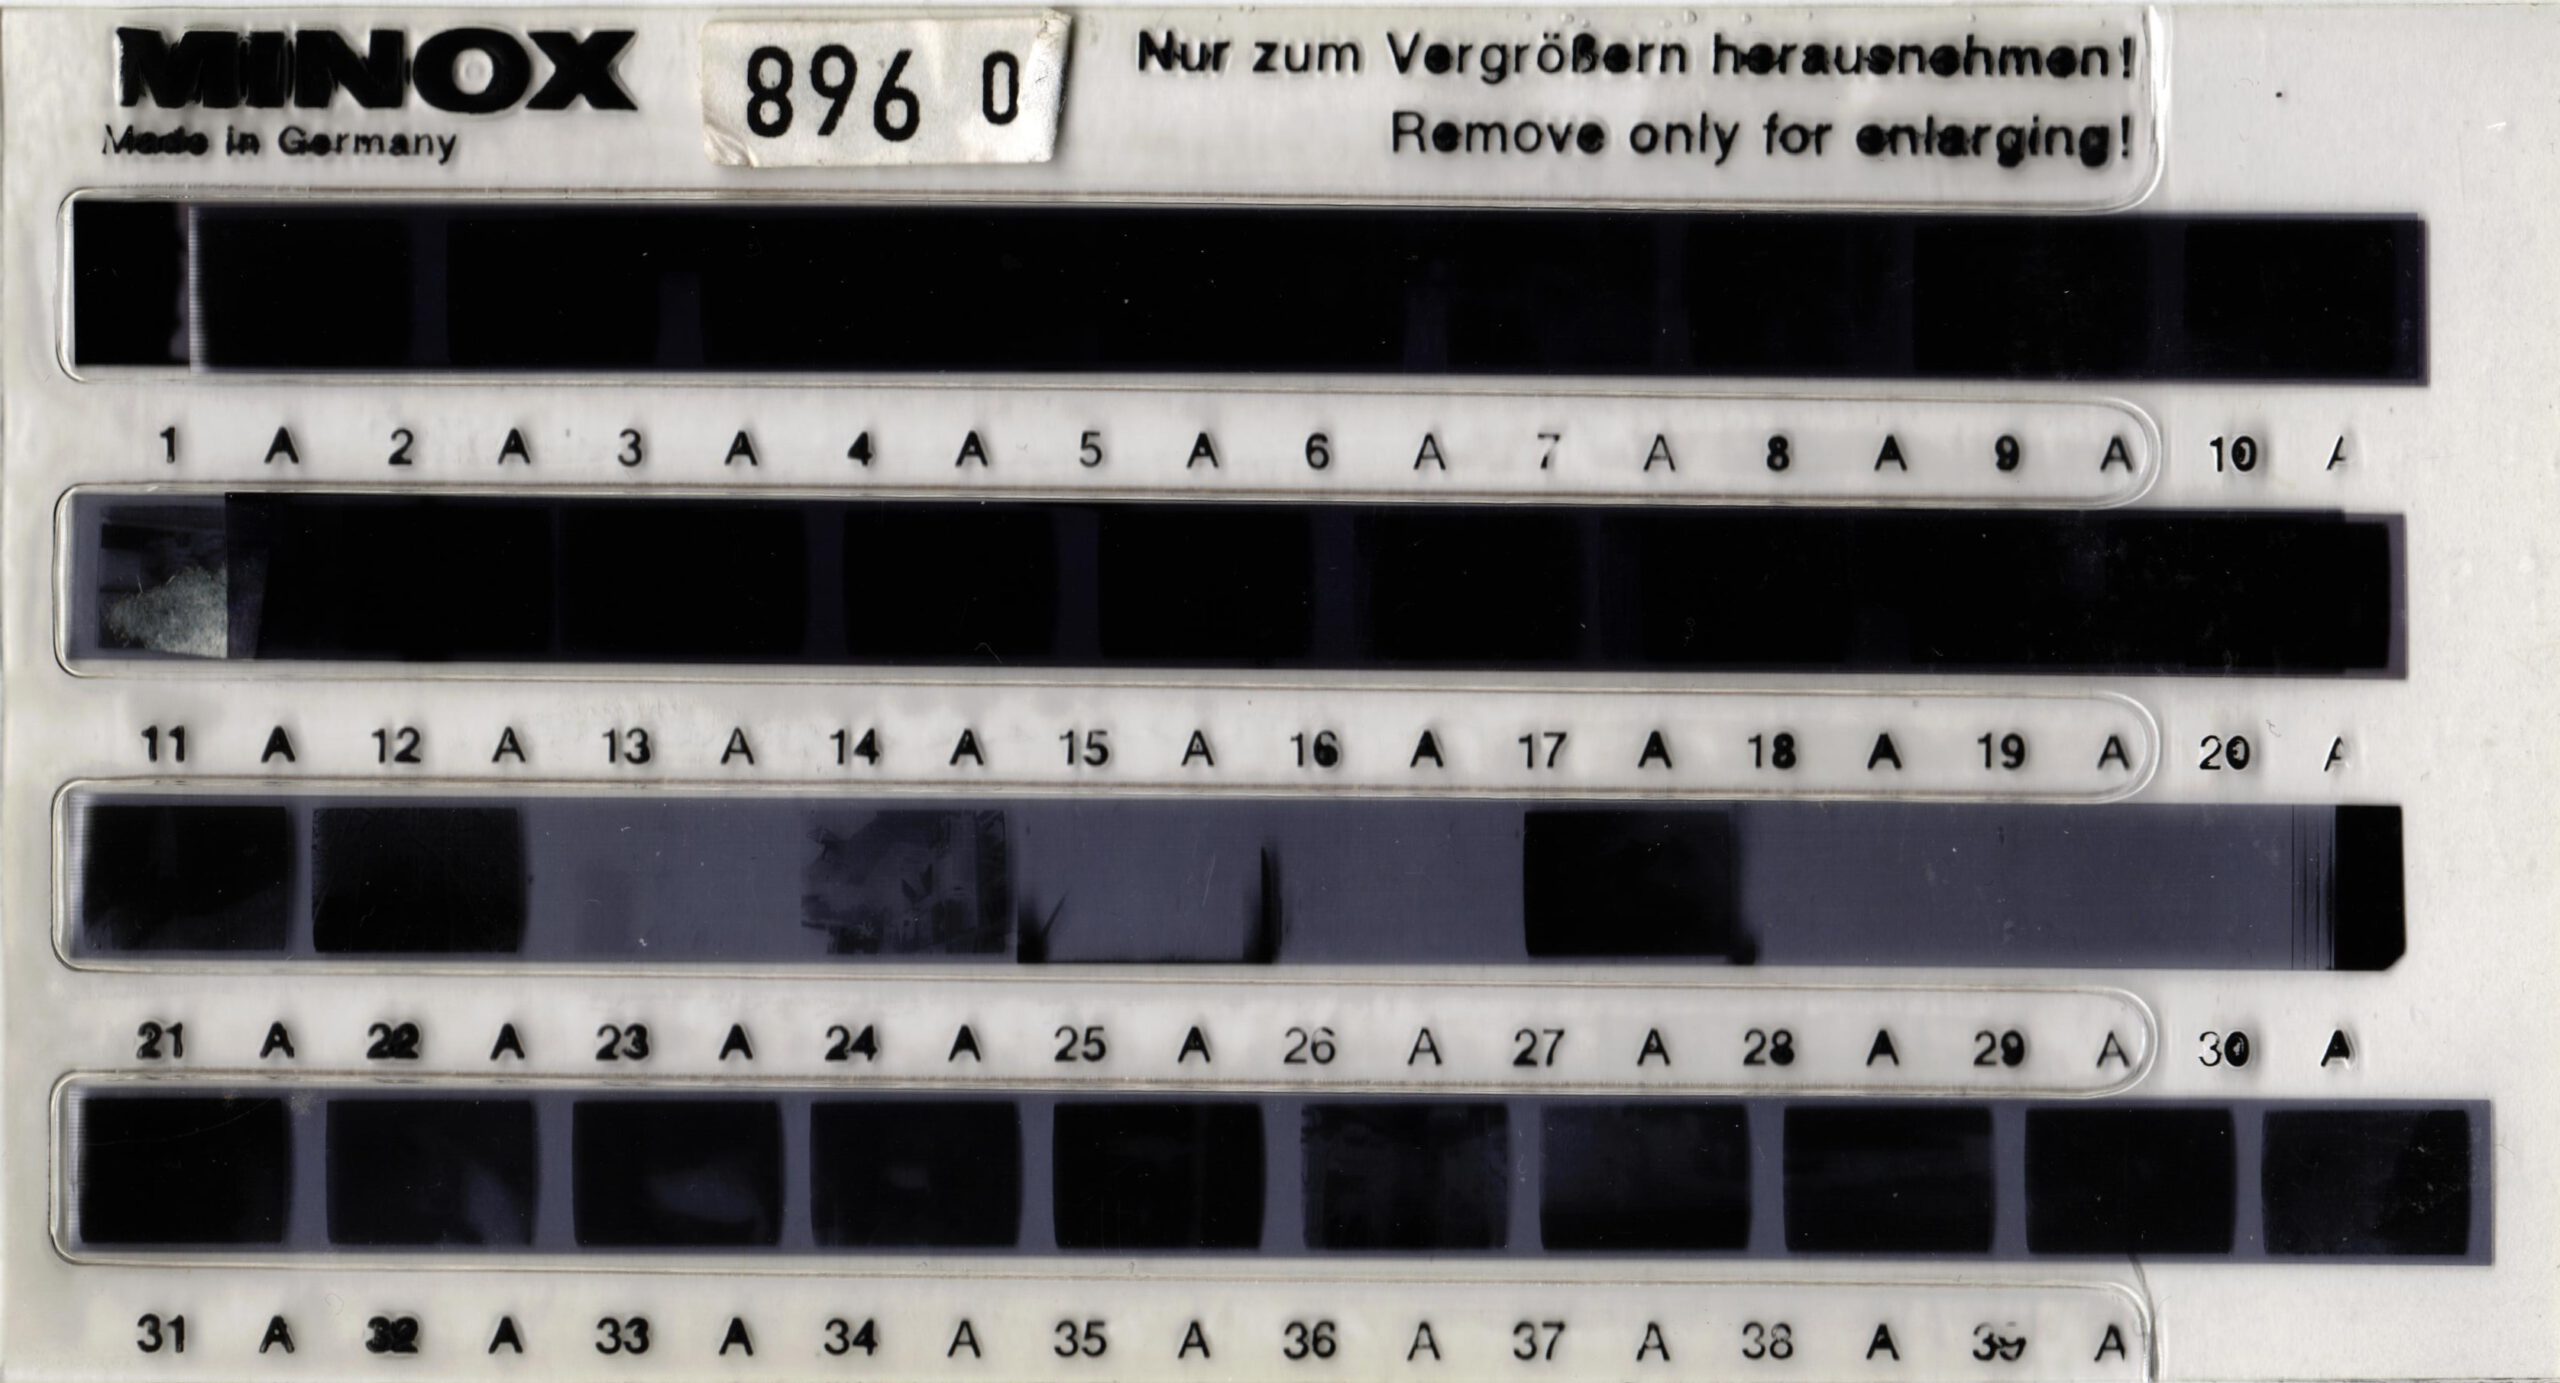
The latest Minox hard plastic sleeves hold 4 negative strips of 10 pictures each. As Minox negatives do not have image numbers printed on them at the factory, the image numbers from 1 to 40 are permanently printed on the sleeve. The complete sleeve measures 140 mm x 76 mm.
DIY Minox negative sleeves
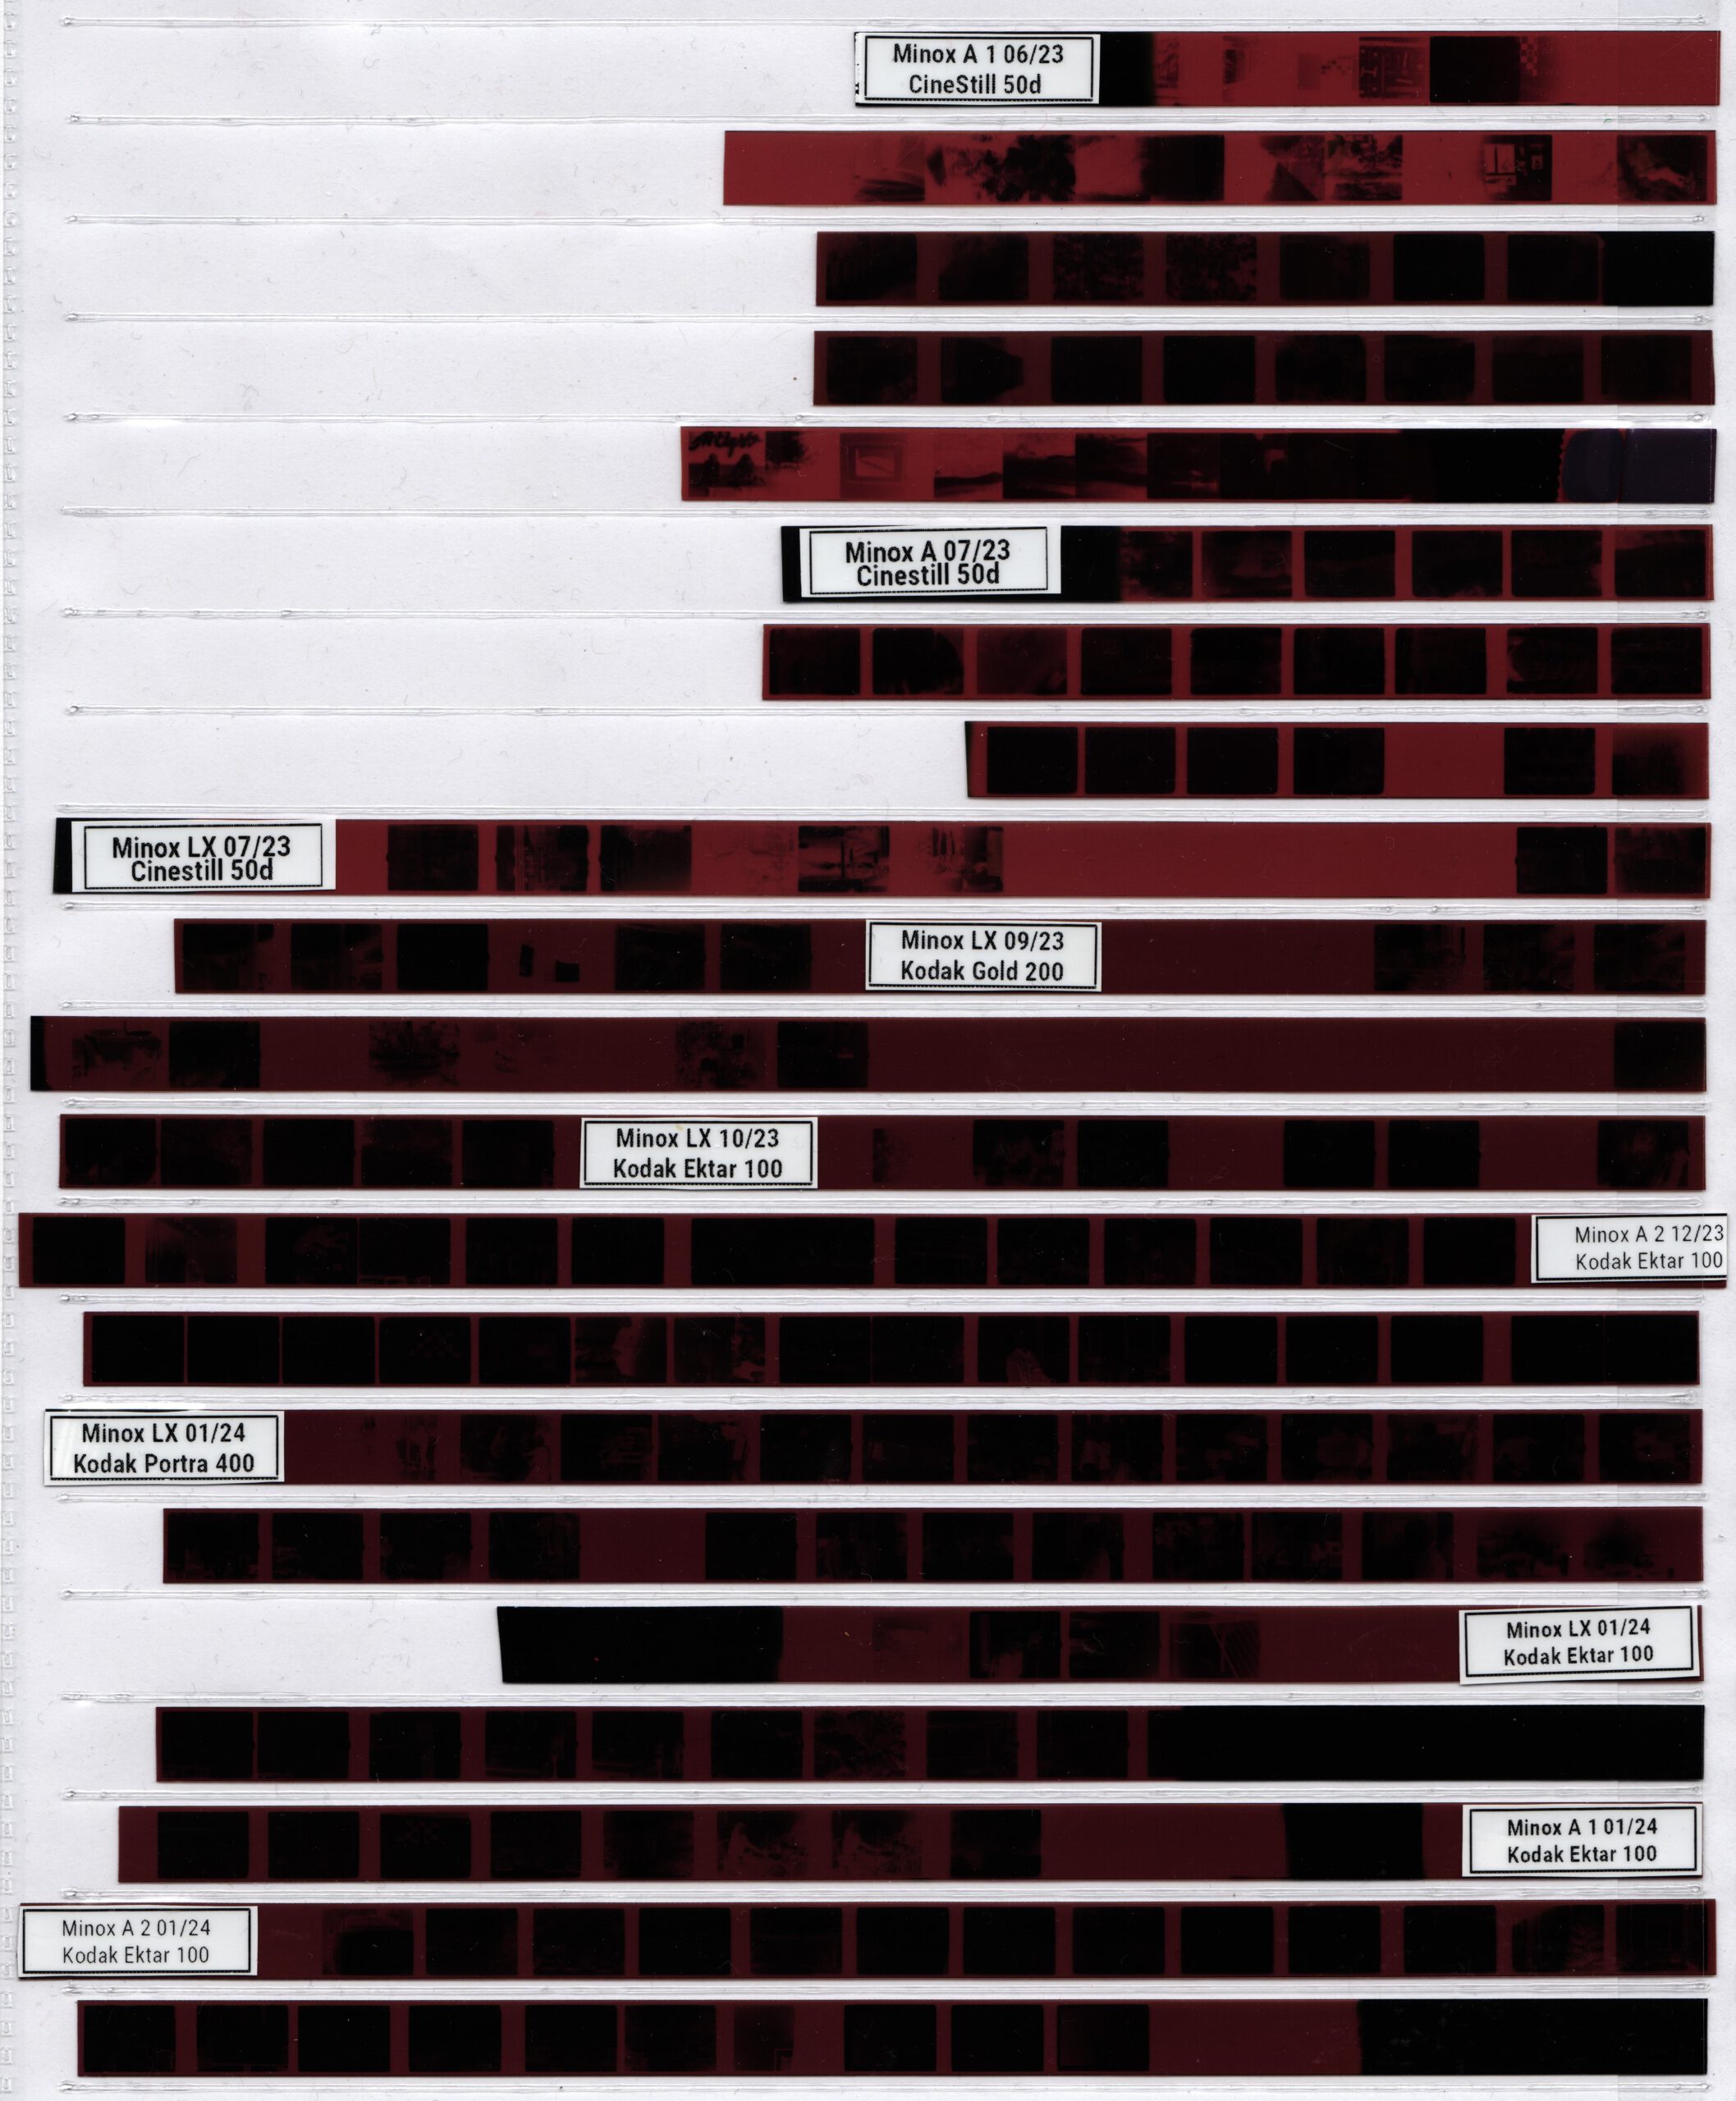
I find sleeves for 35mm negatives very impractical for storing Minox negatives in. Instead, I use brochure sleeves that I weld together with a soldering iron at a suitable distance. After a few attempts, I realized that I could only manage it with polypropylene sleeves, but not with acetate film sleeves. Polypropylene seems to me to be a suitable material, since it is also offered by ADOX for negative sleeves.
I use the size DIN A4, which is similar to US letter. In both formats, 15 images fit in a row. A 36-exposure film can therefore be easily divided into three strips of 12 images each. There is then still space for the label on the first strip.
21 rows fit on one sheet, so I can fit a maximum of 315 Minox negatives on one page. That’s quite a lot. Or 252 images if I fit a 36 film in three rows.
If you take the sleeve in the crystal clear version, you can later look at the negatives easily without taking them out of the sleeve.
For those who want to try it out, here are the details of my process:
- Brochure sleeve (punched pocket for ring binder), polypropylene, crystal clear, extra strong, 85 micrometer thick
- It is difficult to insert the strips into a sleeve. So I cut a narrow strip off the right edge of the top sheet of the sleeve. This makes them very easy to insert.
- Soldering iron: 225 °C
- Speed at which I pull the soldering iron over the sleeve: 10 mm per second
- PDF template with the lines for welding (print at 100%)
Conclusion
There are different ways to store negatives. Whether as a roll, in glassine or polypropylene sleeves depends on personal preferenc.
Since I have often found the DIY method with a soldering iron mentioned on the net, but never described in detail, I have shown here how it works in any case. Have fun making it.
I’ve found a simple way to store negatives – a stamp album. These comprise card leaves covered with translucent strips, usually 8 or 9 to a page. The negatives can be very easily inserted under the strips where they are kept safe, flat & free from dust, scrathes etc. There’s usually plenty of space to write identifying comments to aid retrieval.
Stuart,
that’s a great idea that I’ve never heard of before. I’ll look into it and then report on it here on this page.
Best regards,
Thomas