Over the years that I’ve been taking photos with subminiature cameras, I’ve used various methods to achieve the best possible digital images. I use these images to print wall art and to showcase in the gallery on my website.
Over time, I’ve tried different approaches until I arrived at the workflow I’d like to describe here.
All of the following images can be enlarged in two steps by clicking on them.
Initial situation and prerequisites
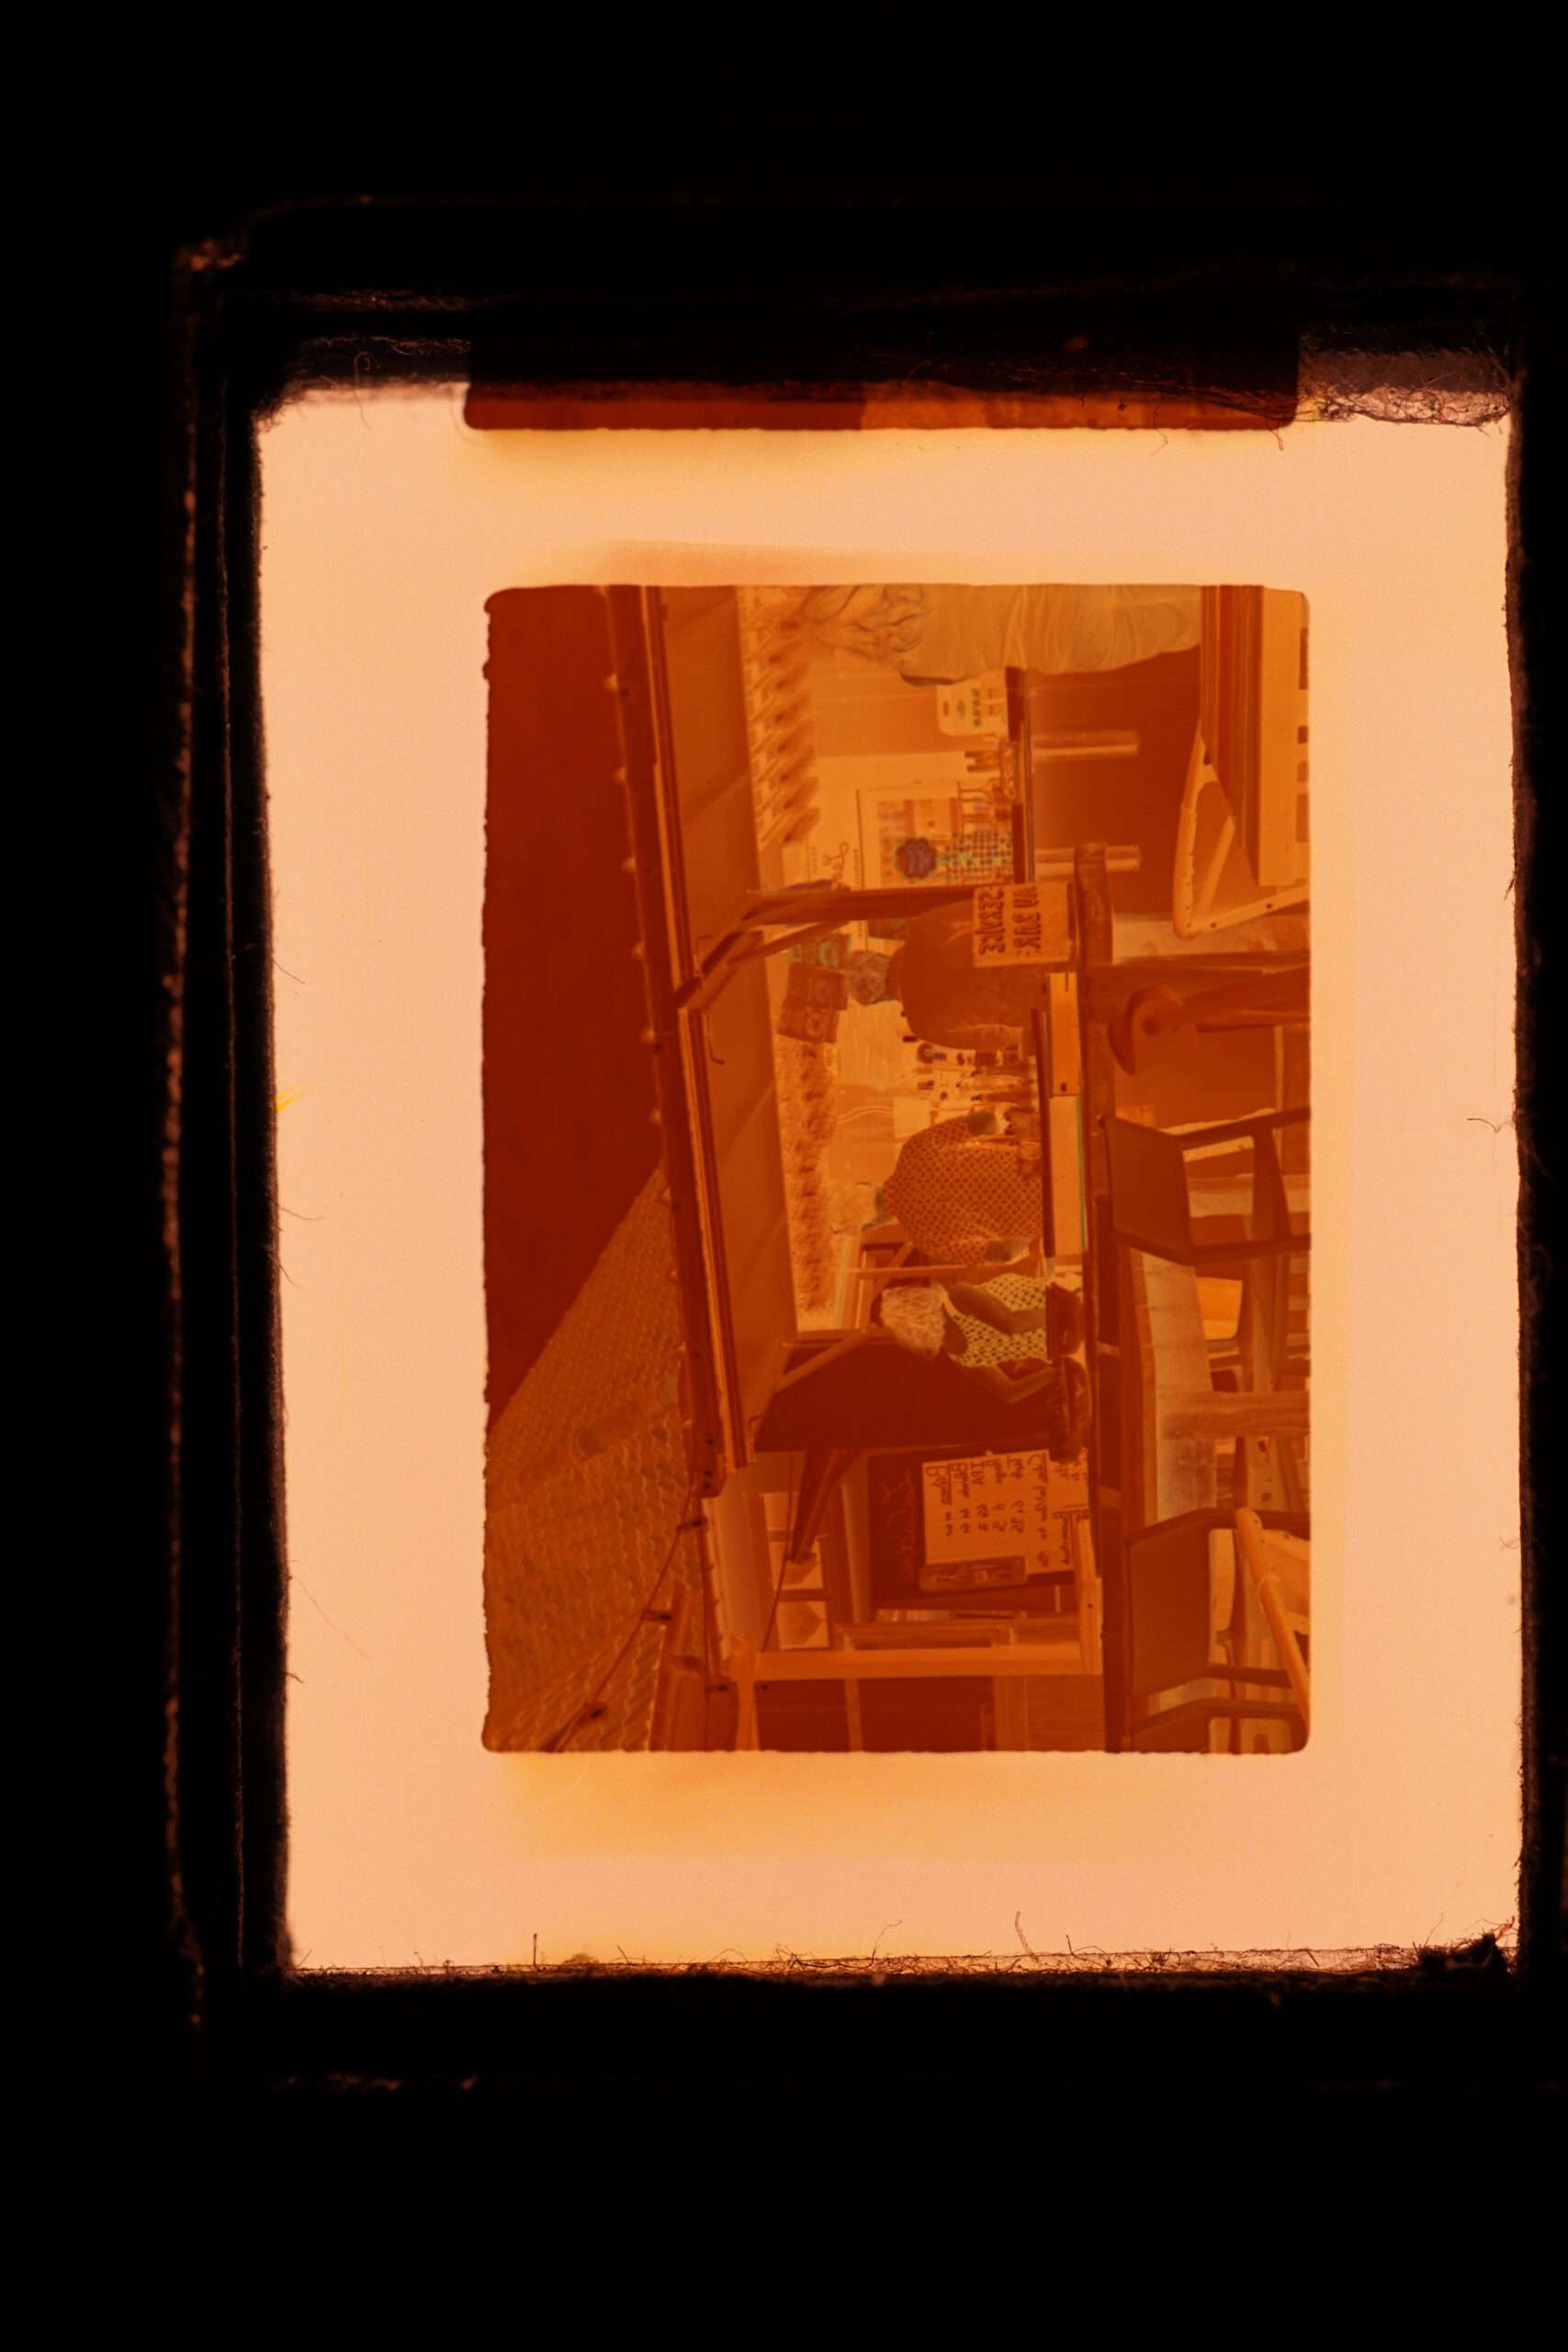
As I described here, I digitize Minox (and other subminiature) negatives using a digital camera (Sony Alpha 6000). The result is a digital negative in RAW format.
Since I expose the coated side of the negative, the result is flipped.
The outer black border is the film holder; the inner orange border is the masking of the color film. It’s helpful to preserve this orange area for later inversion of the negative. If this isn’t possible when photographing the film, you should photograph a piece of unexposed film as a reference during inversion. We’ll see how to use it in the next section.
Step 1: Inverting the digital negative
The first step is to invert the negative into a positive. To do this, I use the tool darktable because it works with RAW files and is free. I follow these steps:
Load the RAW file
Based on the metadata, here some adjustments are automatically made to the image.
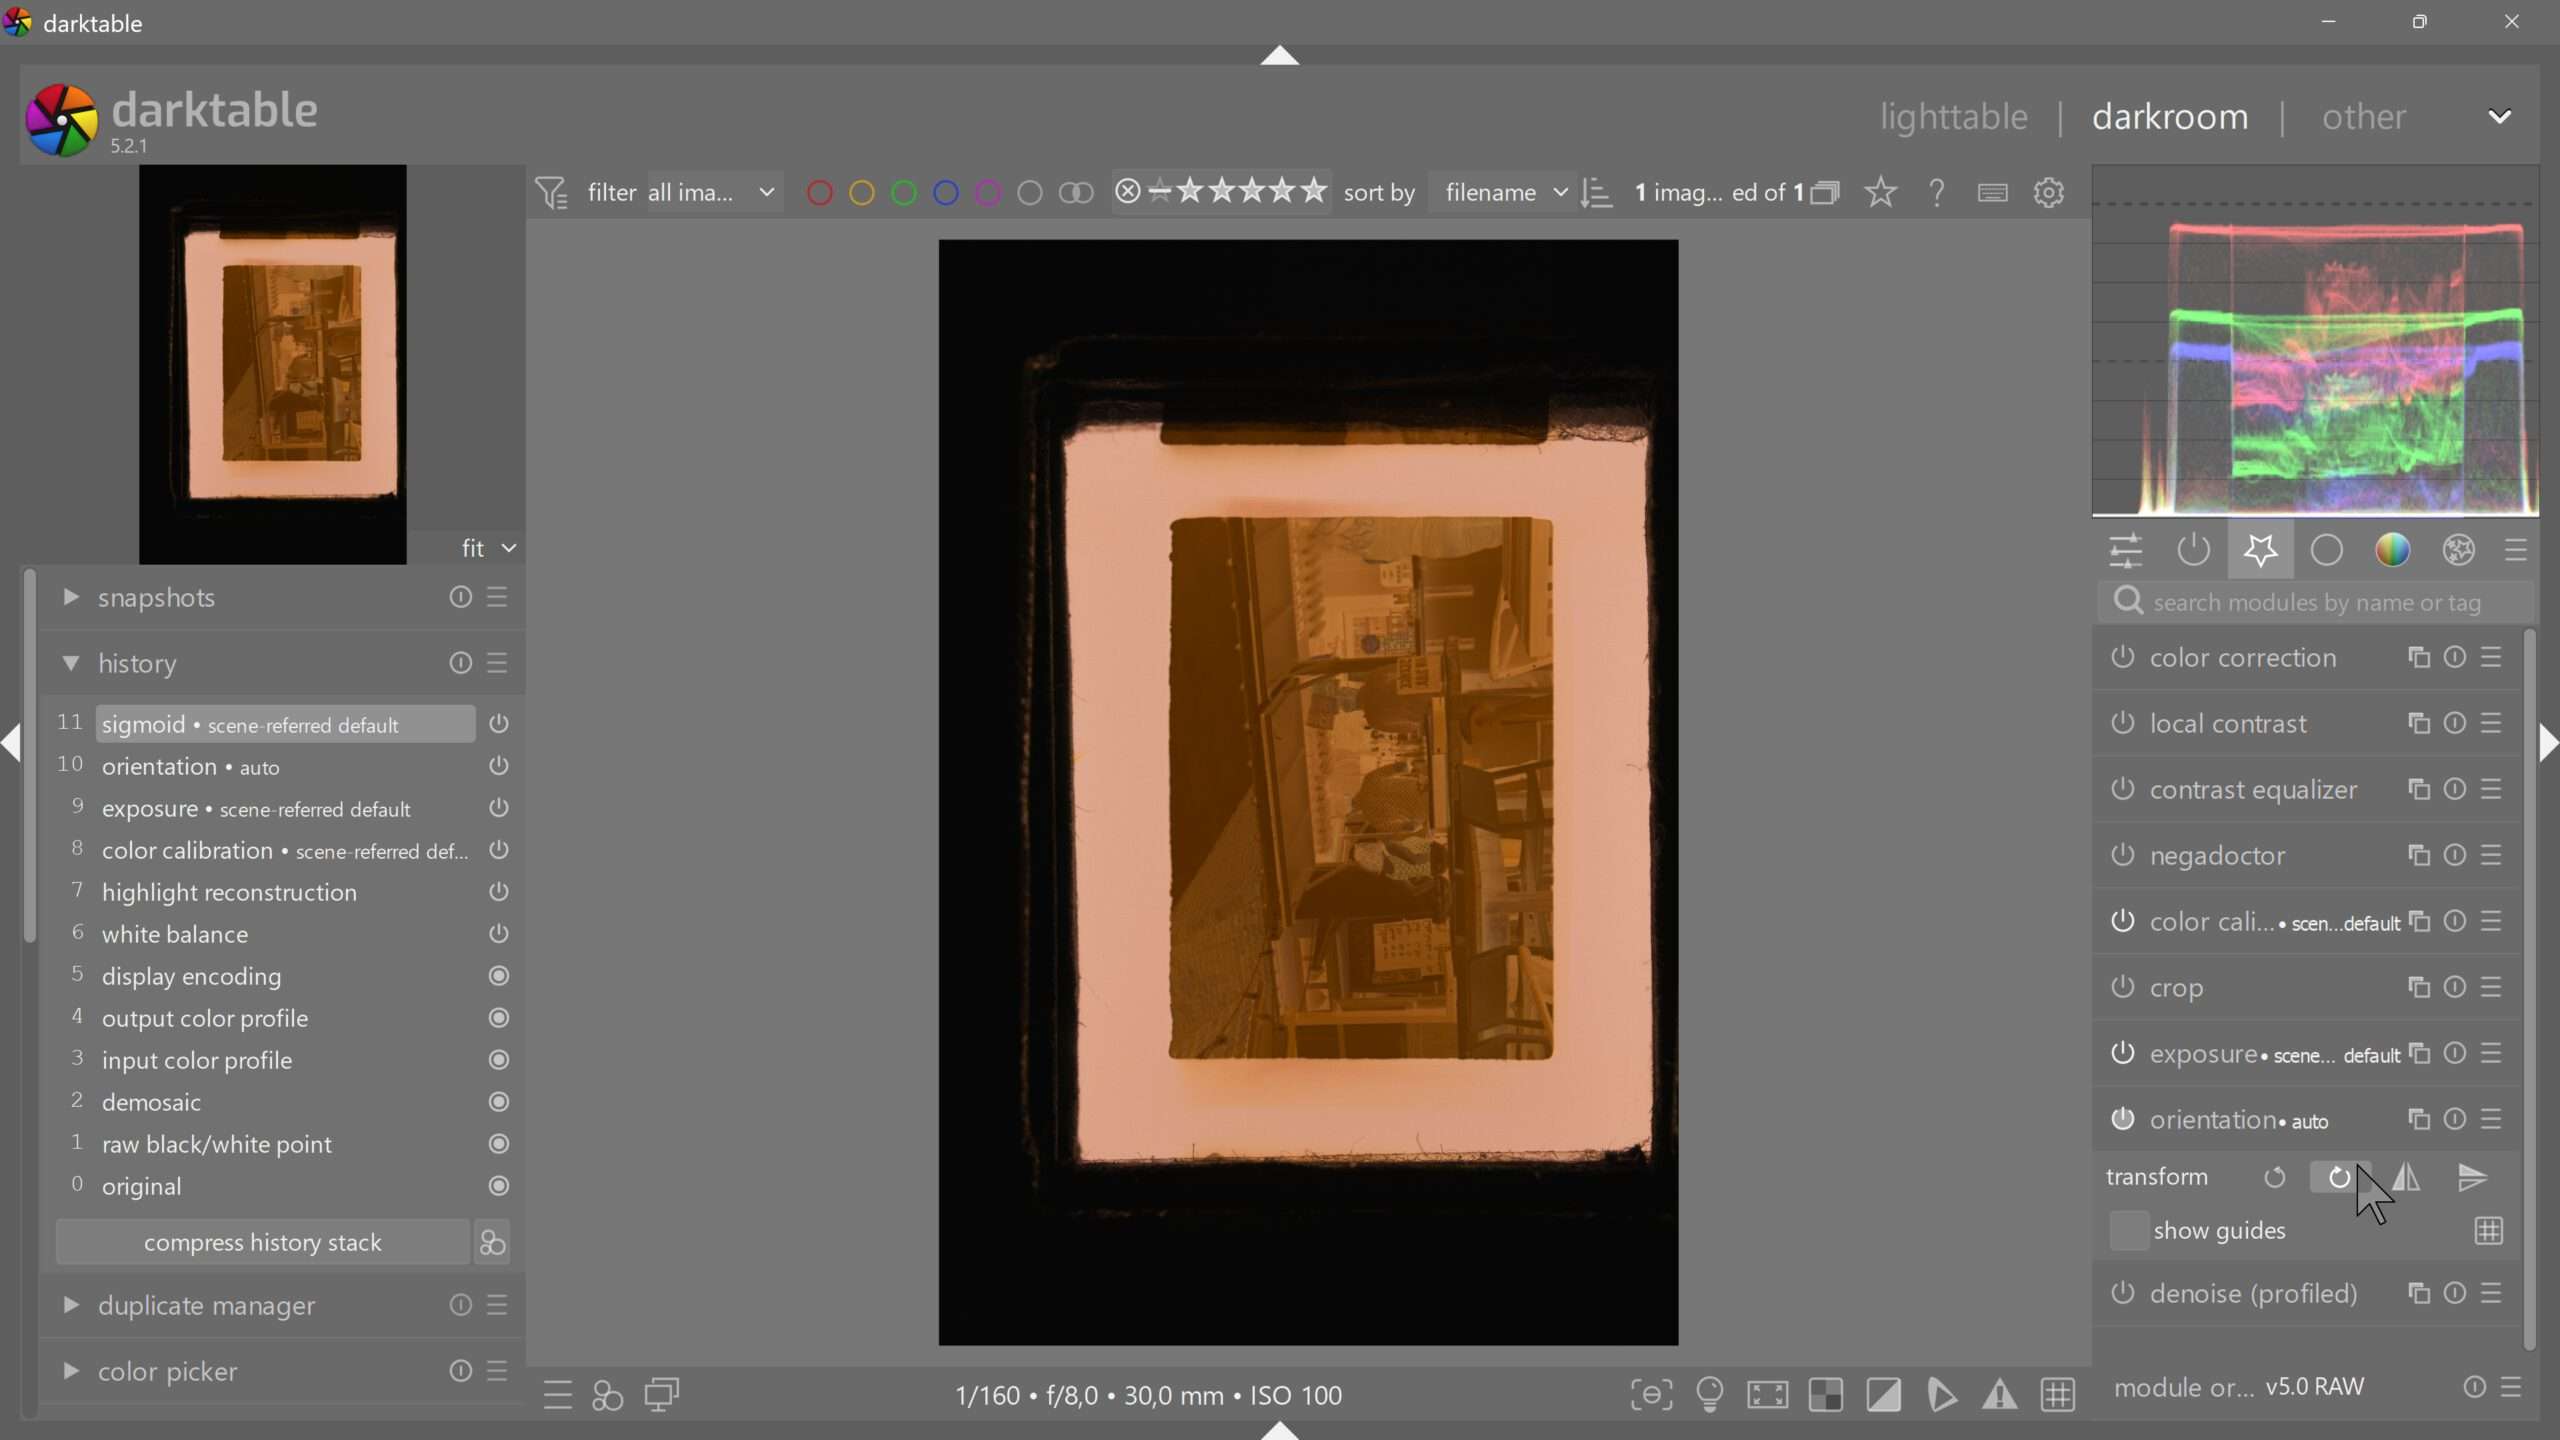
Rotate and flip the image
Depending on the orientation of the shot, I rotate the image until it is upright in front of me. Since I scanned the coated side of the film during digitization, I then have to flip the image horizontally.
The actual process of inversion
I use the Negadoctor module to perform the actual conversion from negative to positive.
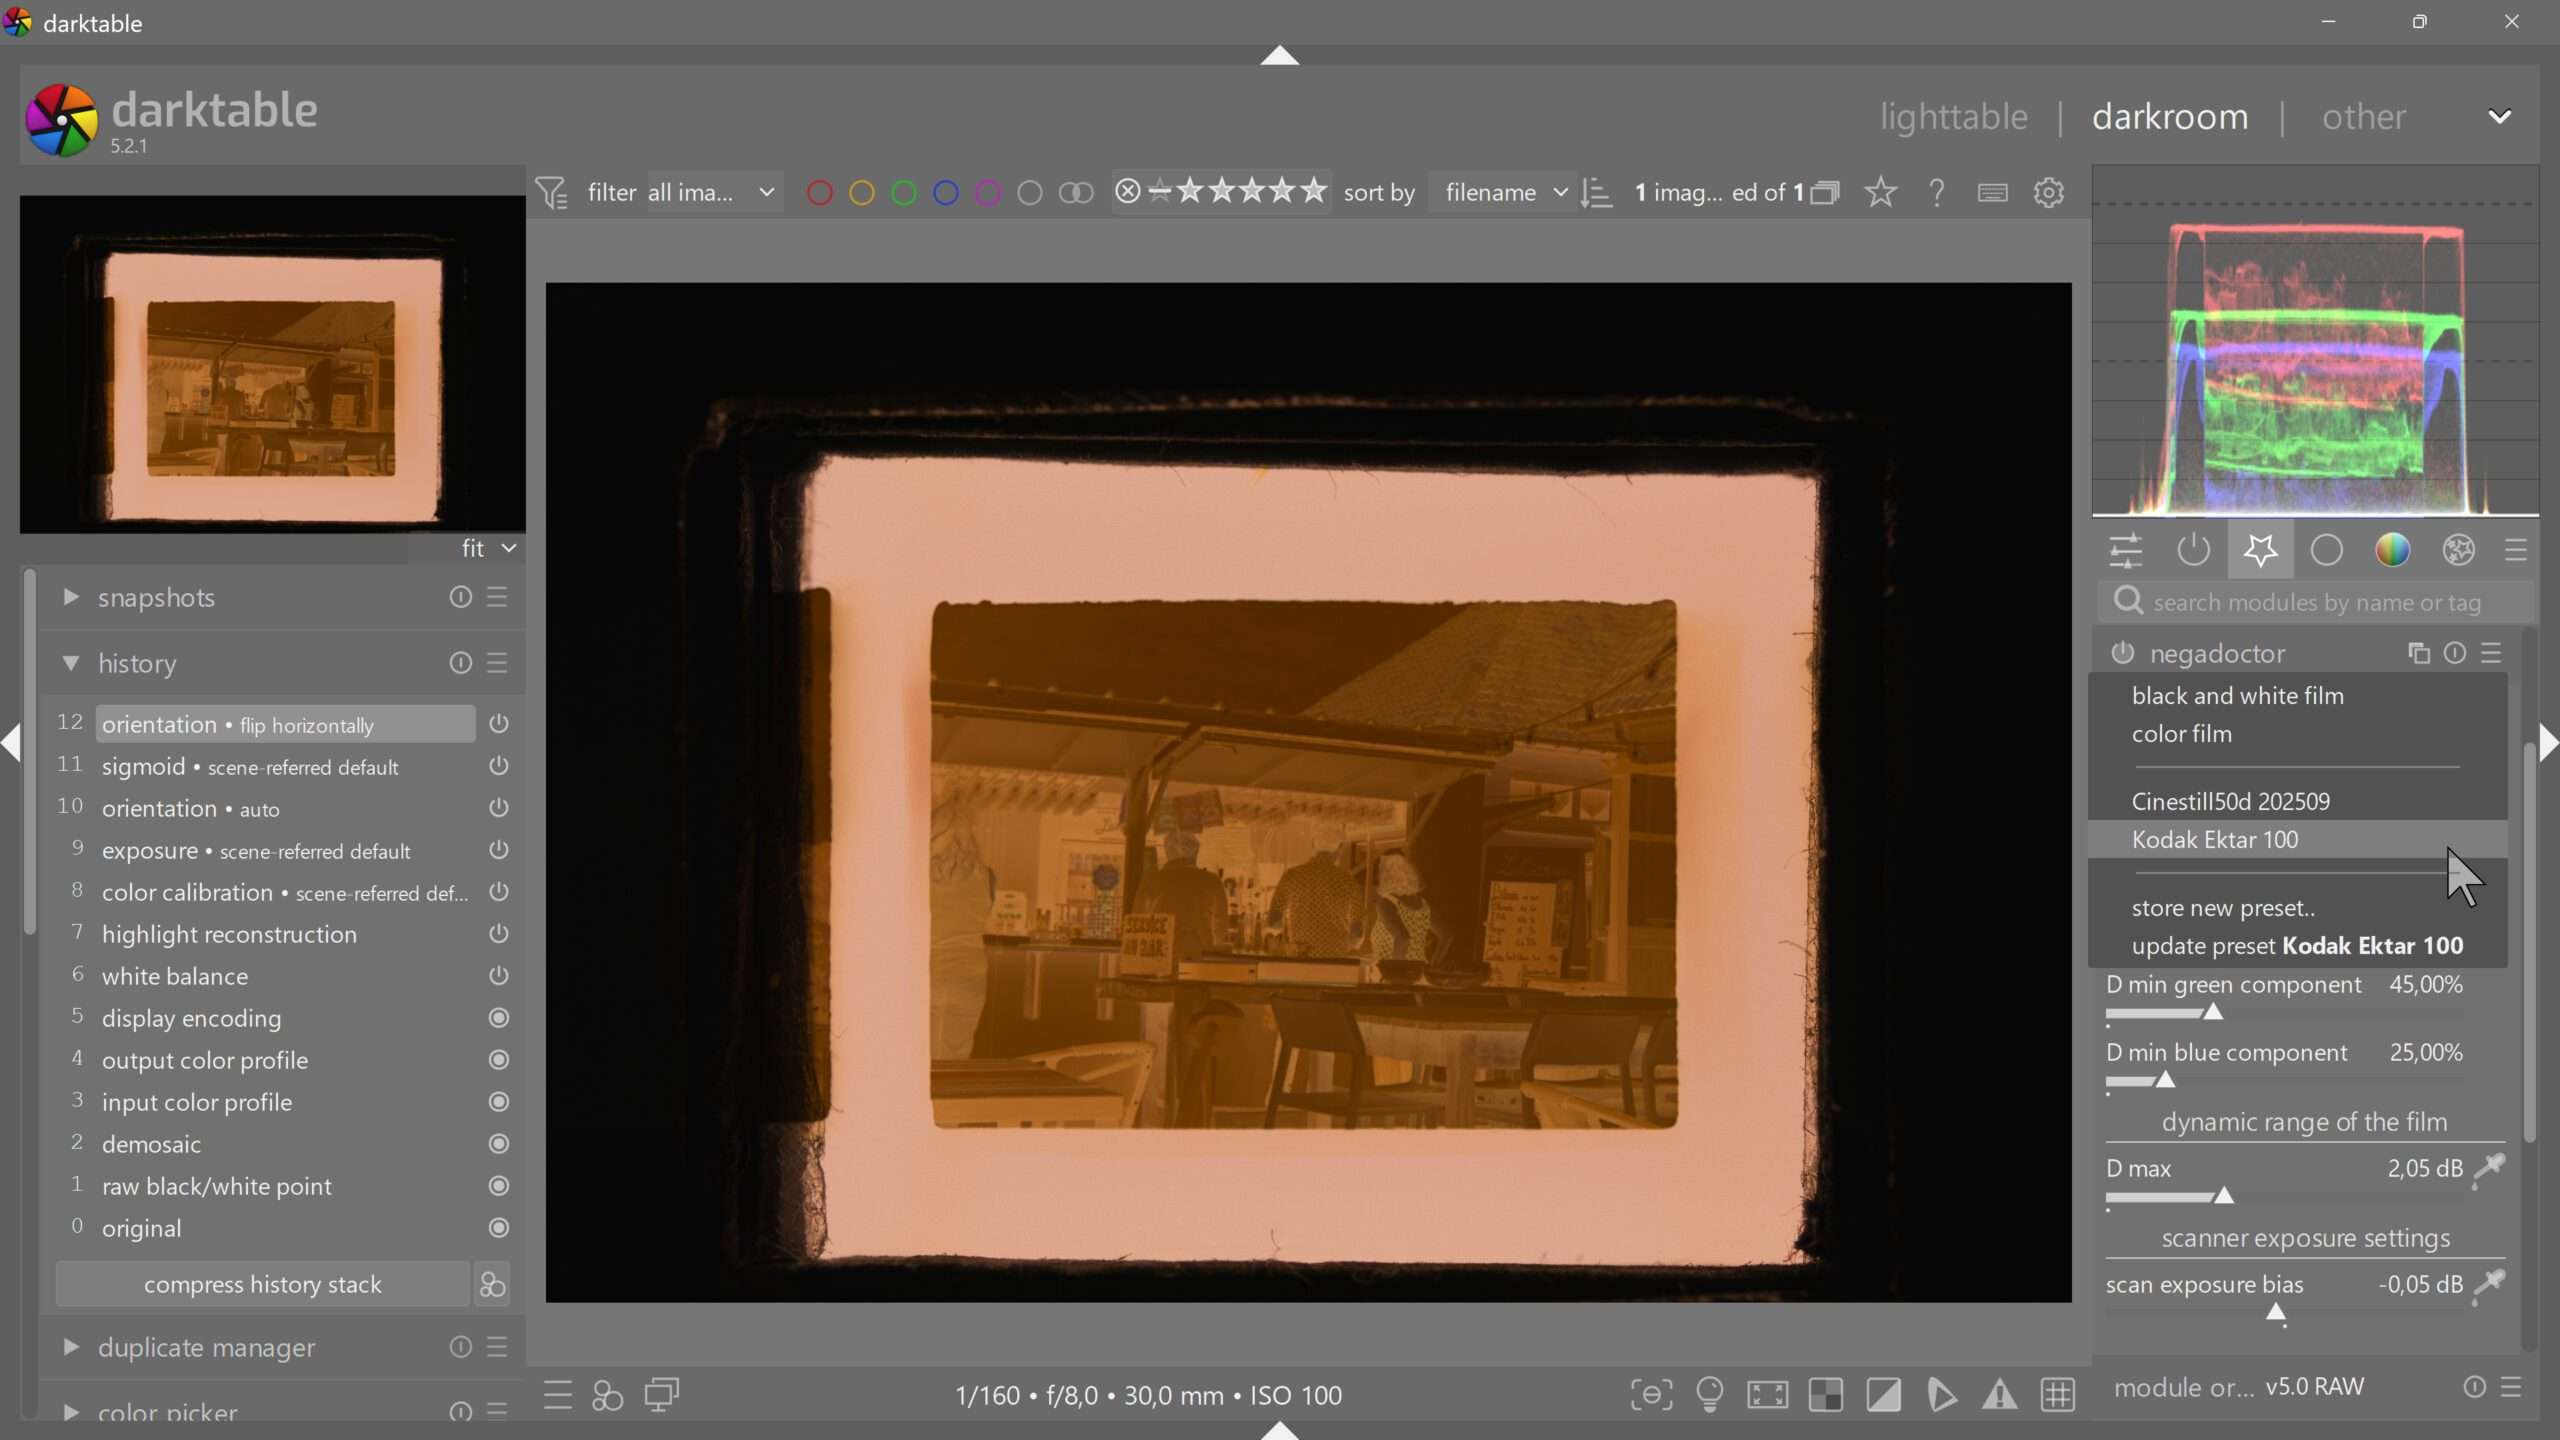
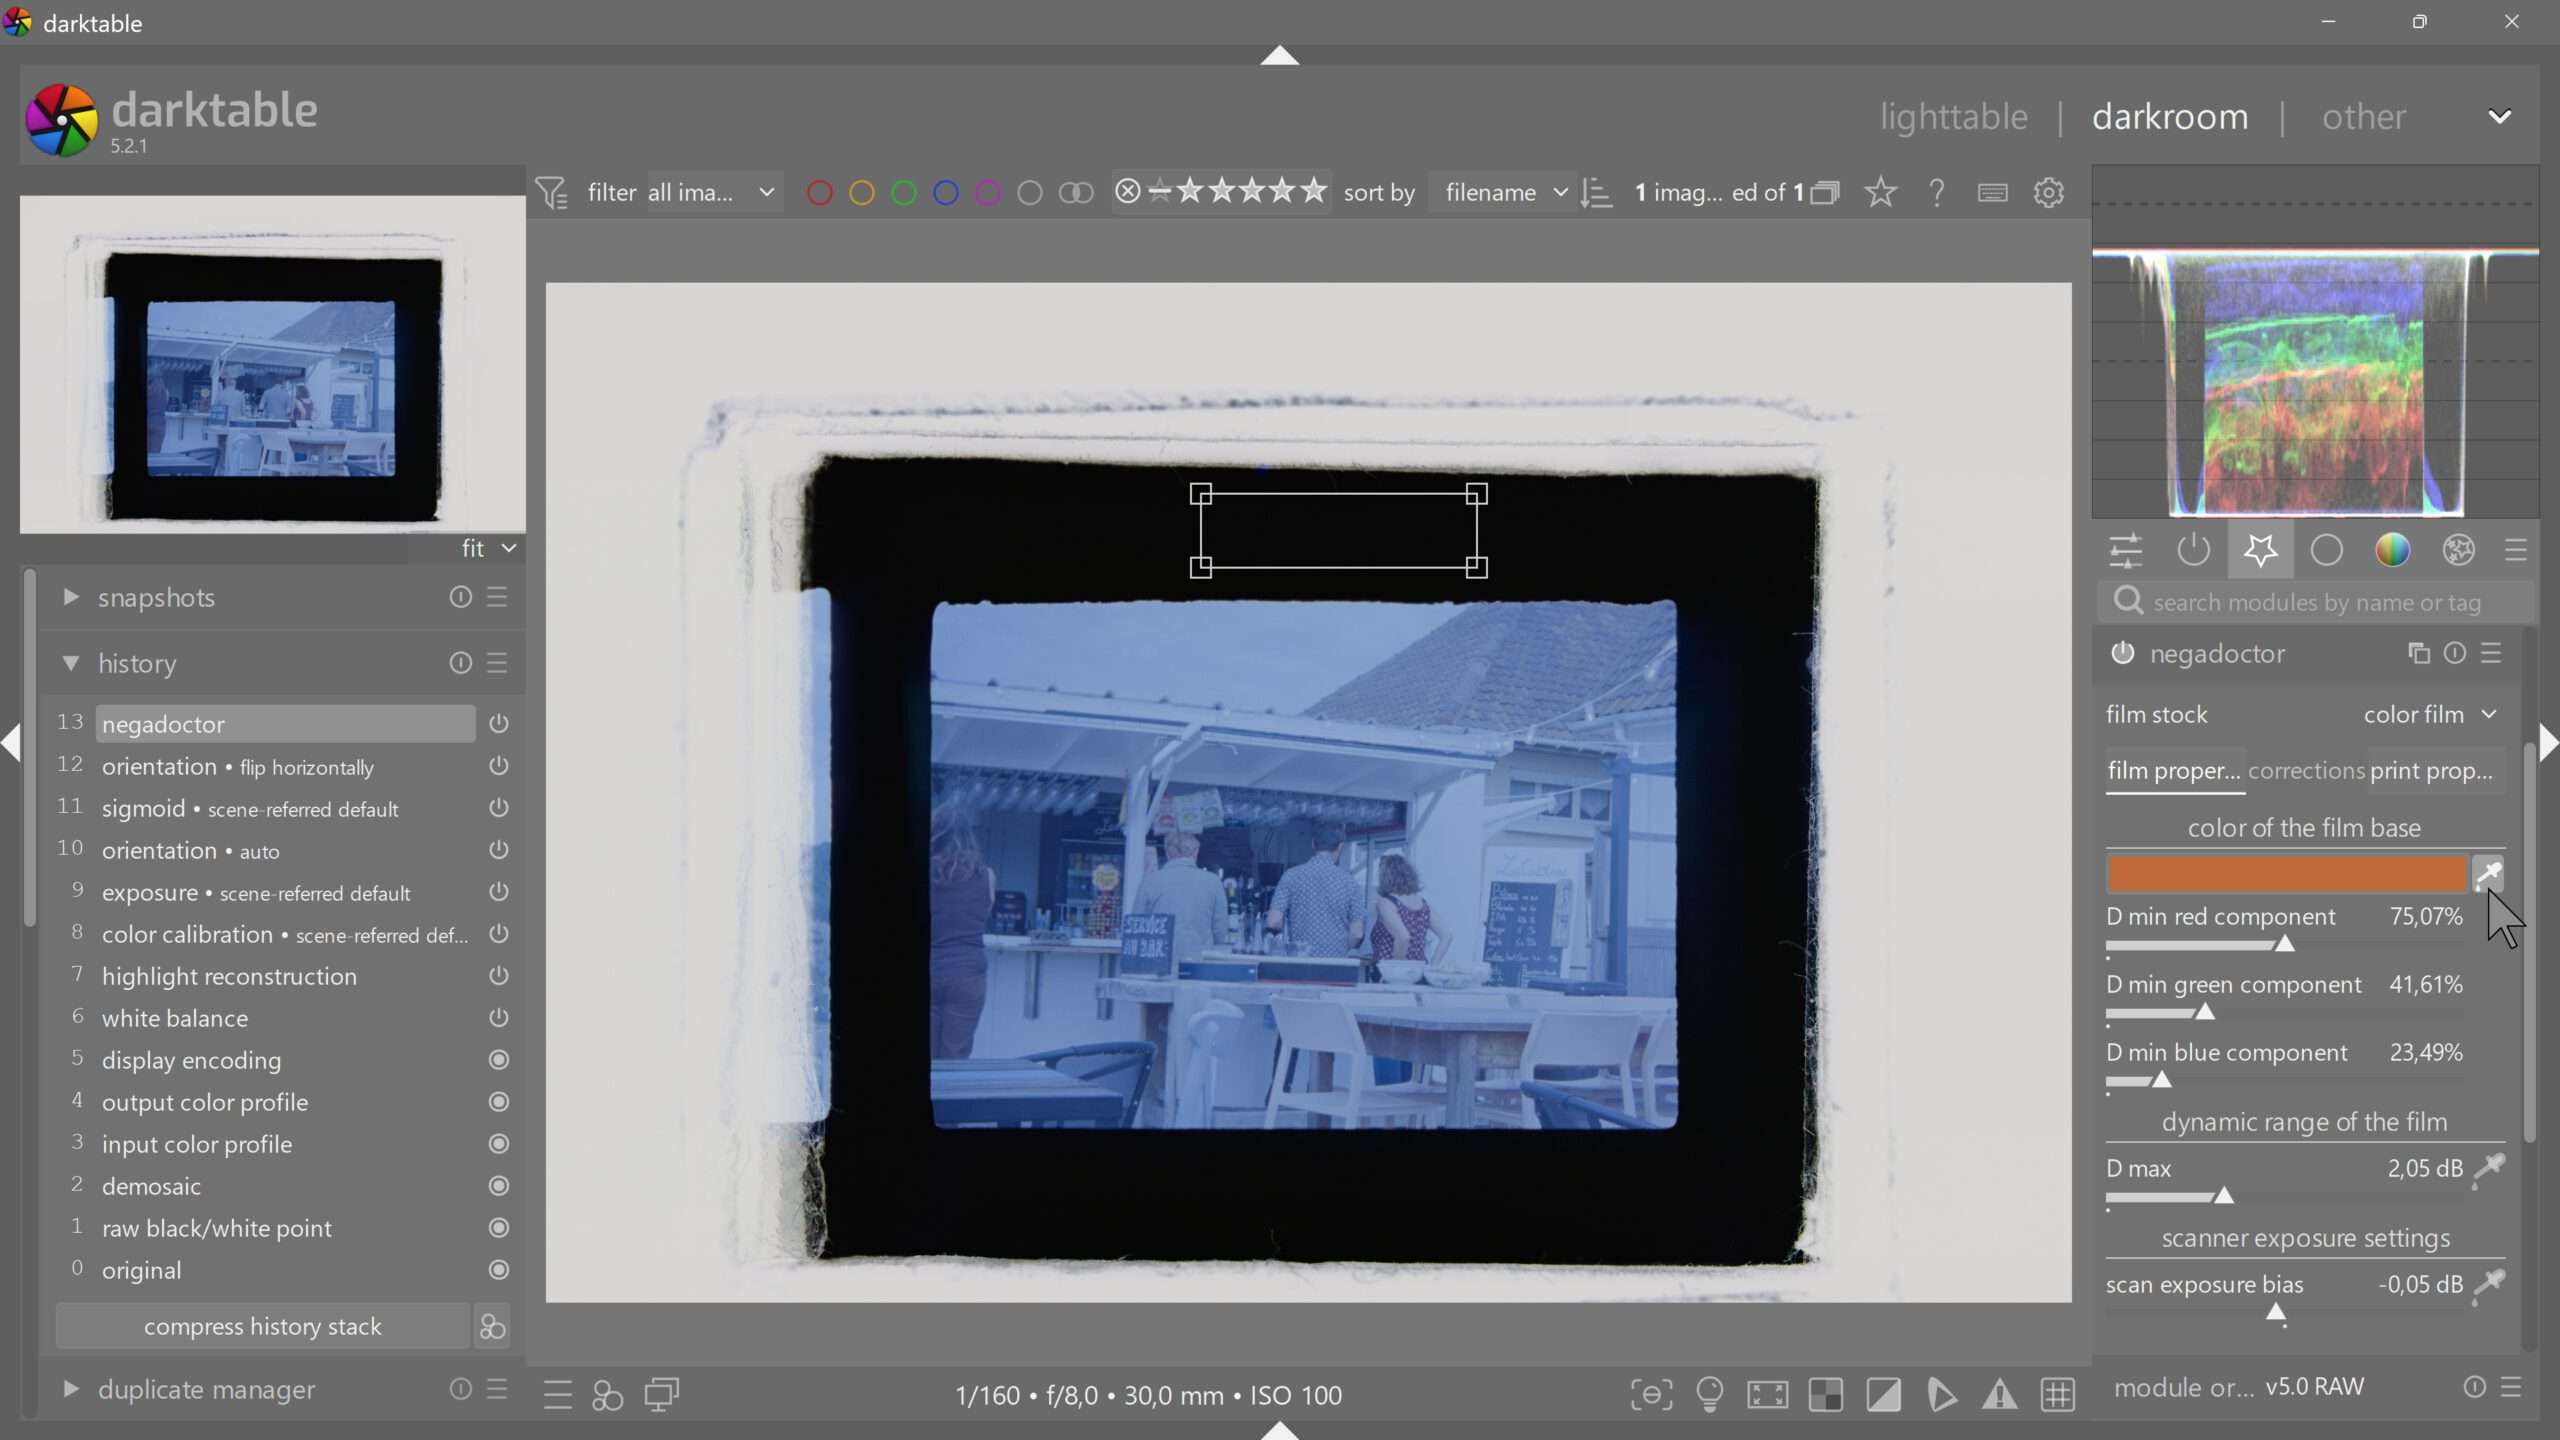
I activate the module and make the following adjustments:
- To define the film’s mask, I use the pipette tool to select an orange area as the “color of the film base.” The inversion starts immediately and displays the positive image.
I can also save this orange value and then access it again and again later. In the Negadoctor preset menu (hamburger menu), I select the film stock I’m using – in this case, “Kodak Ektar 100.” This selects the orange mask for this film. (I created this preset myself beforehand.) I immediately see the inverted image.
- I select the “Corrections” tab to improve the white balance.
- Using the “Shadows Color Cast” pipette, I select the darkest area in the image (shadows) and apply a color correction to the shadows.
- I do the same for “Highlights White Balance.” This gives me the final white balance.
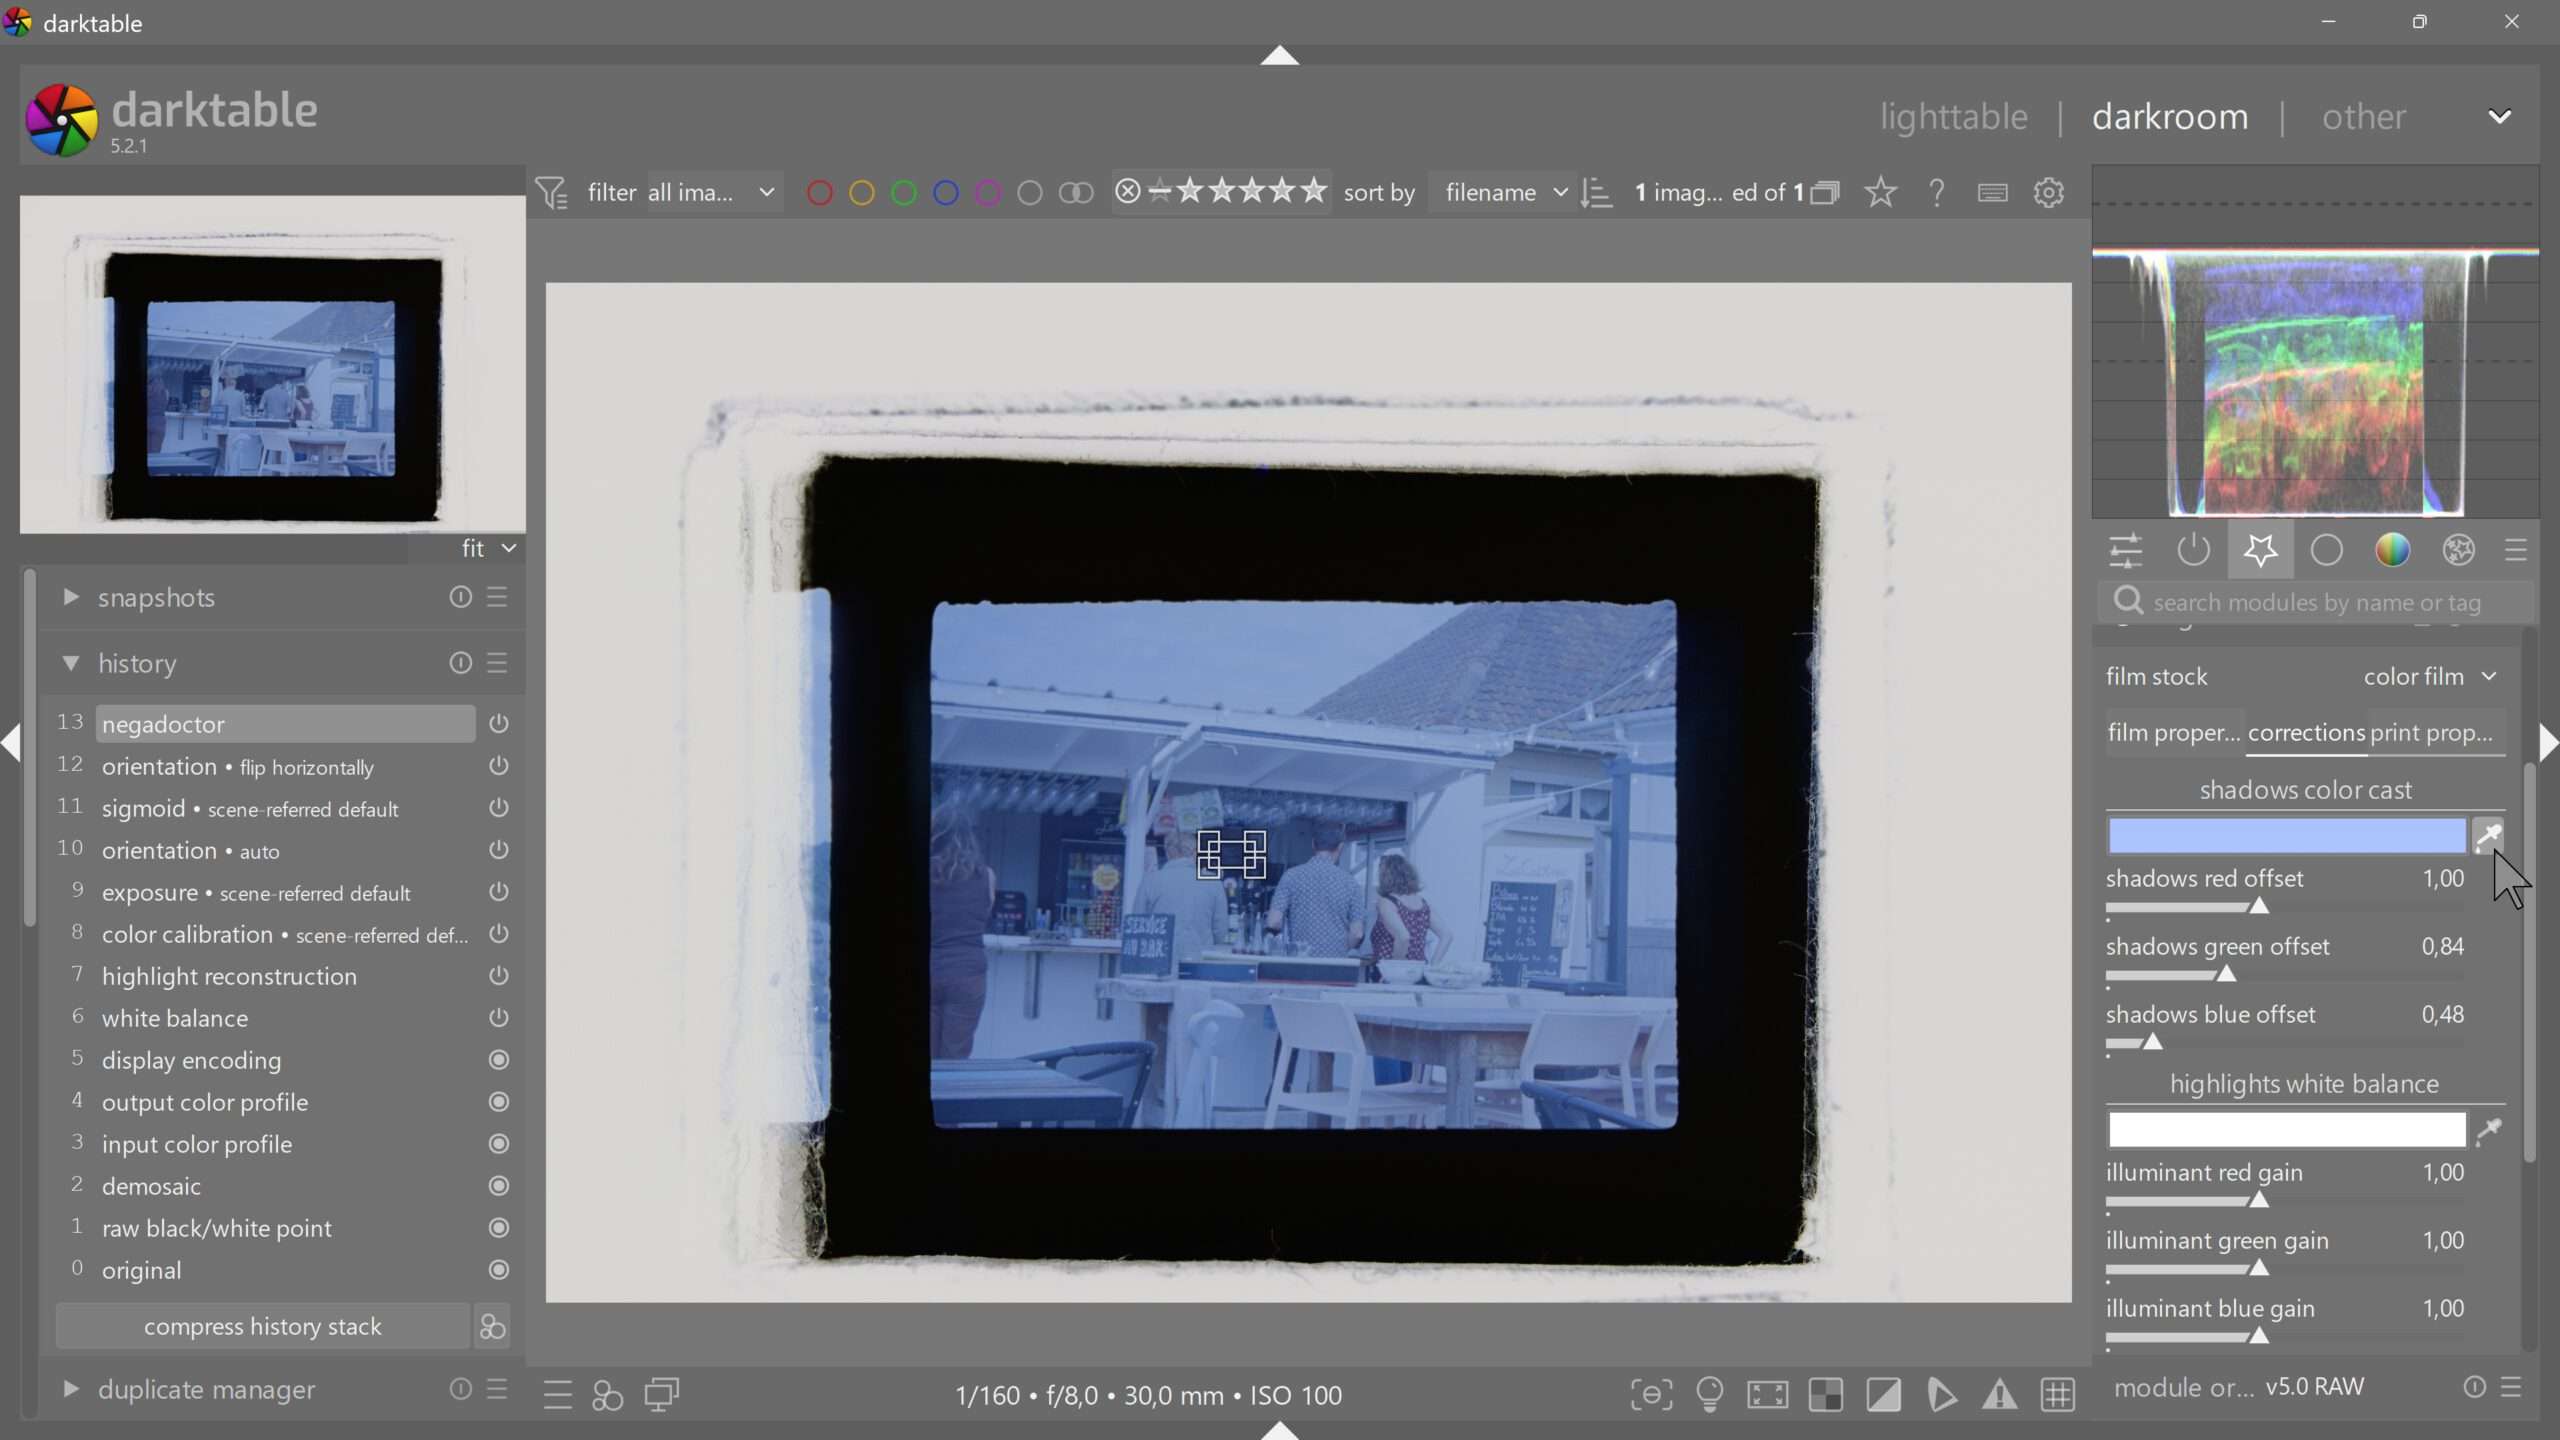
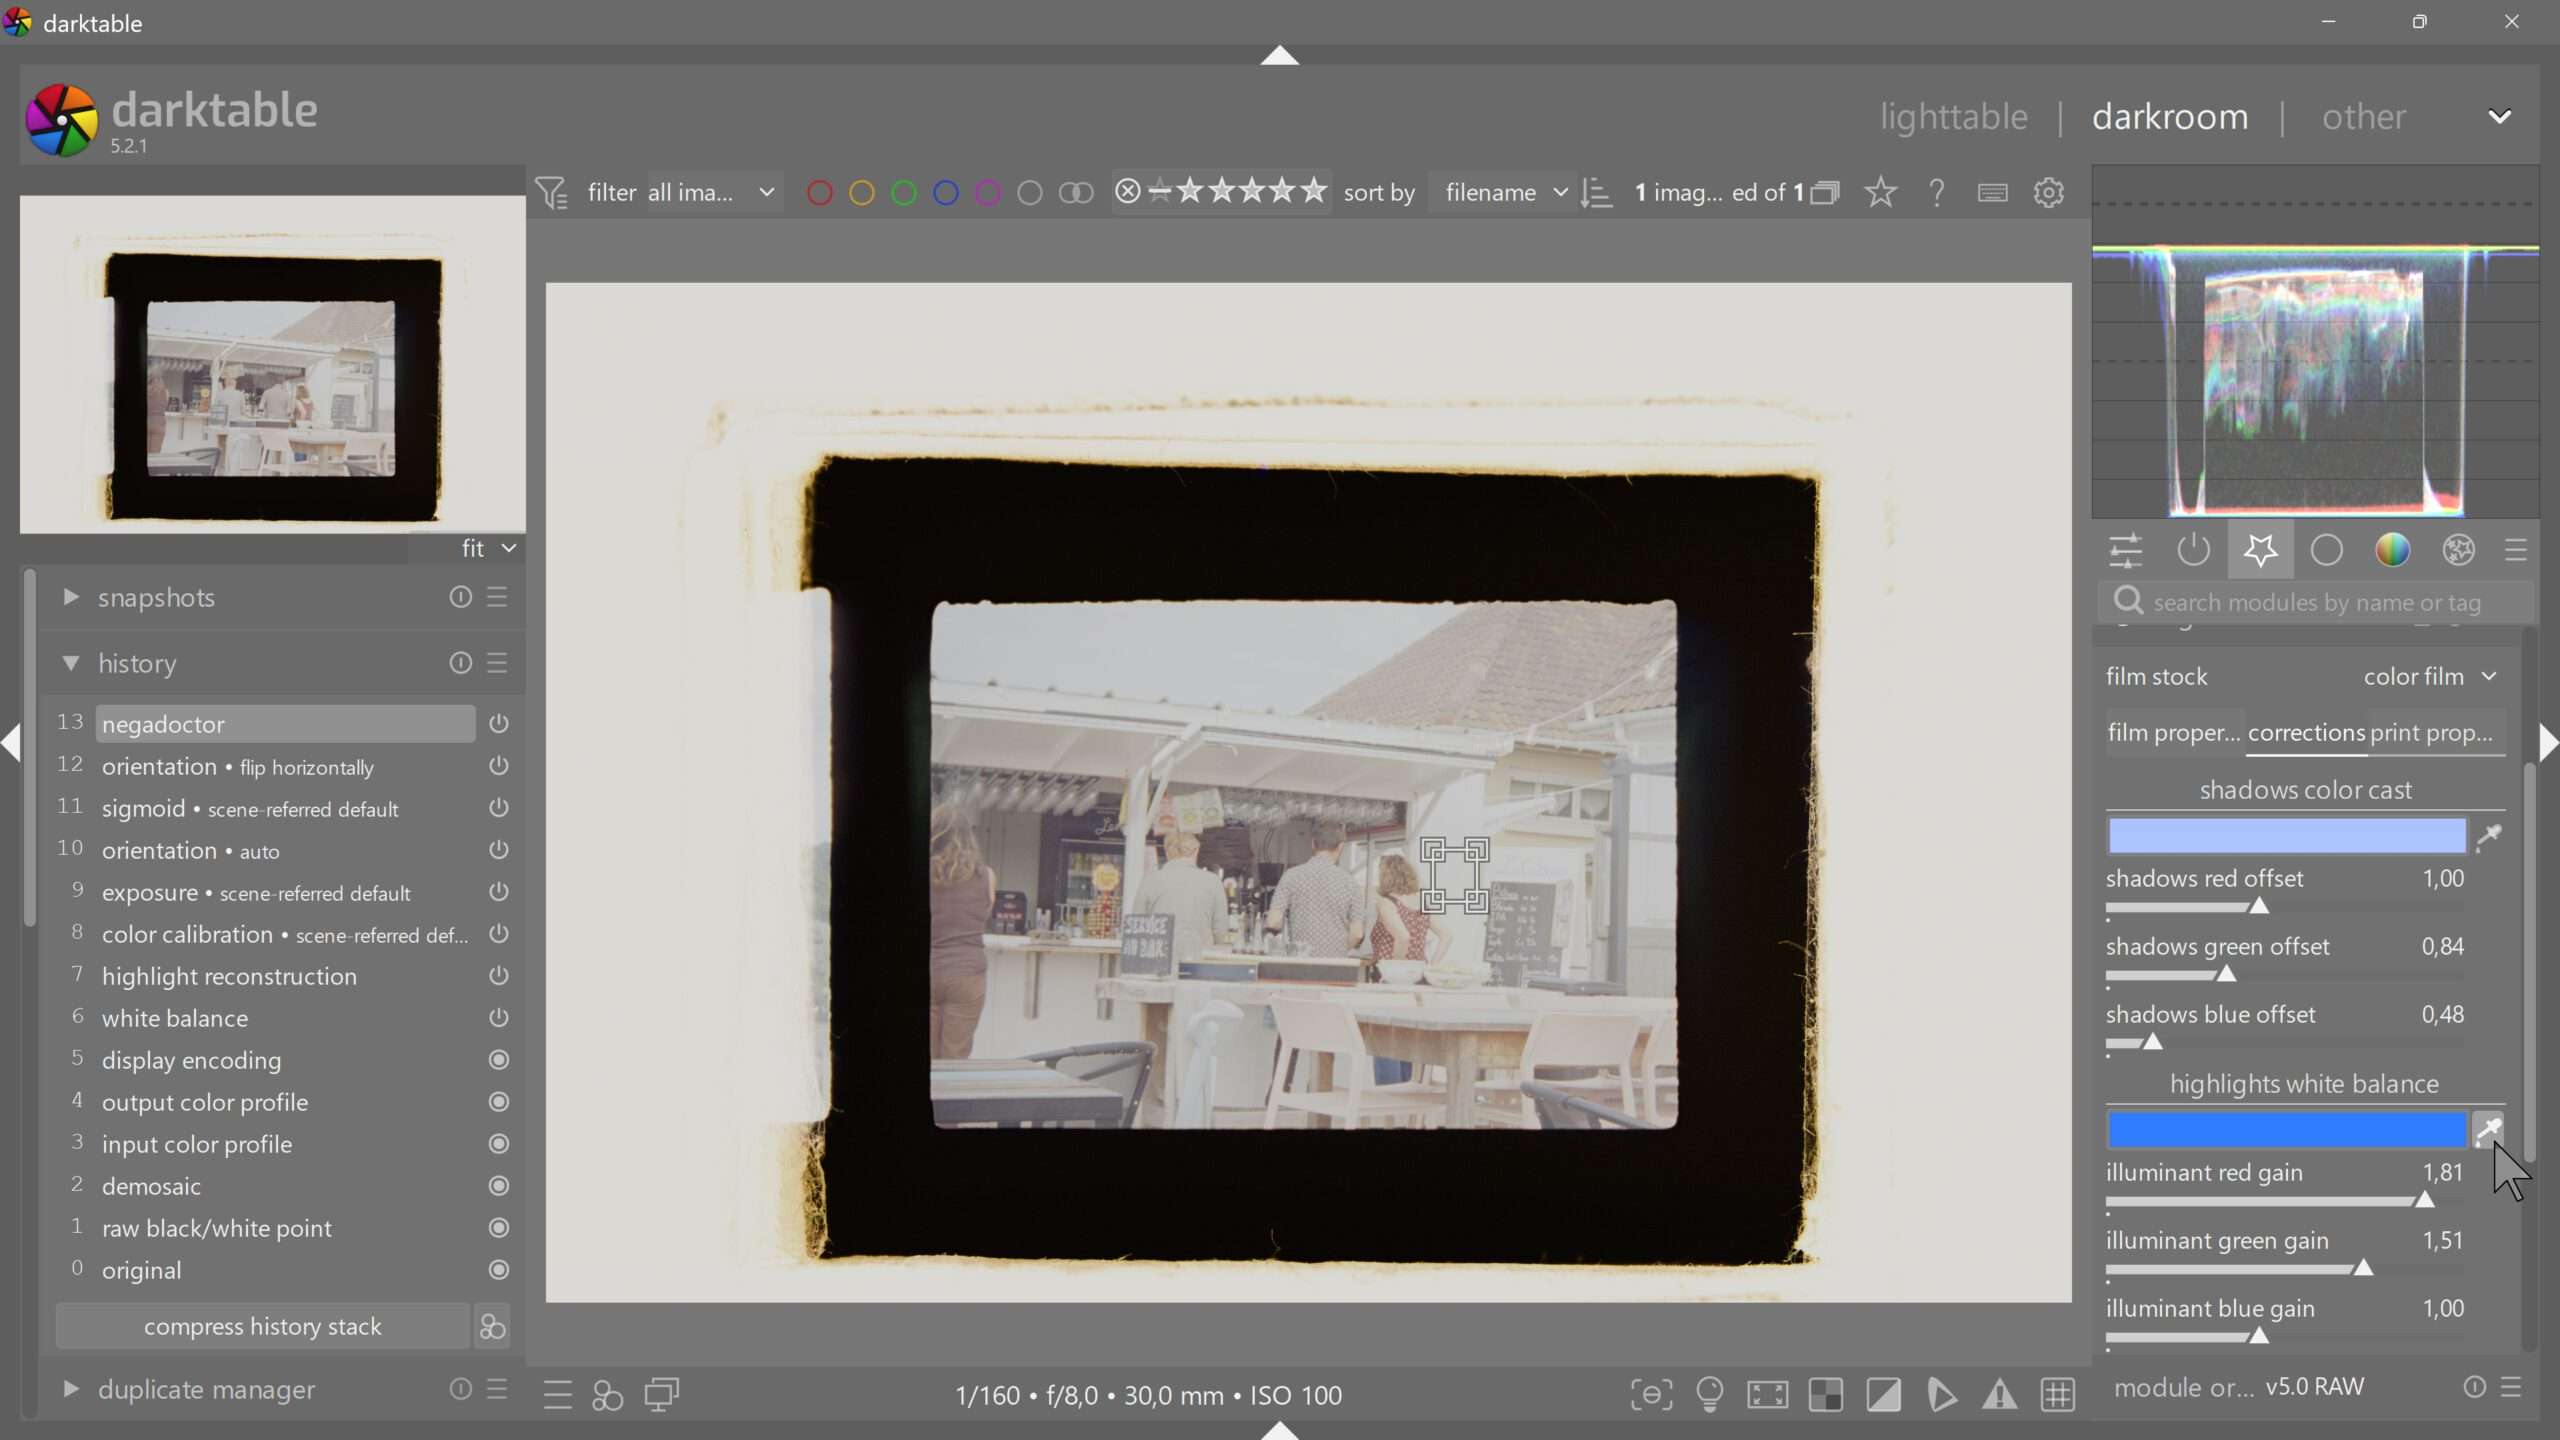
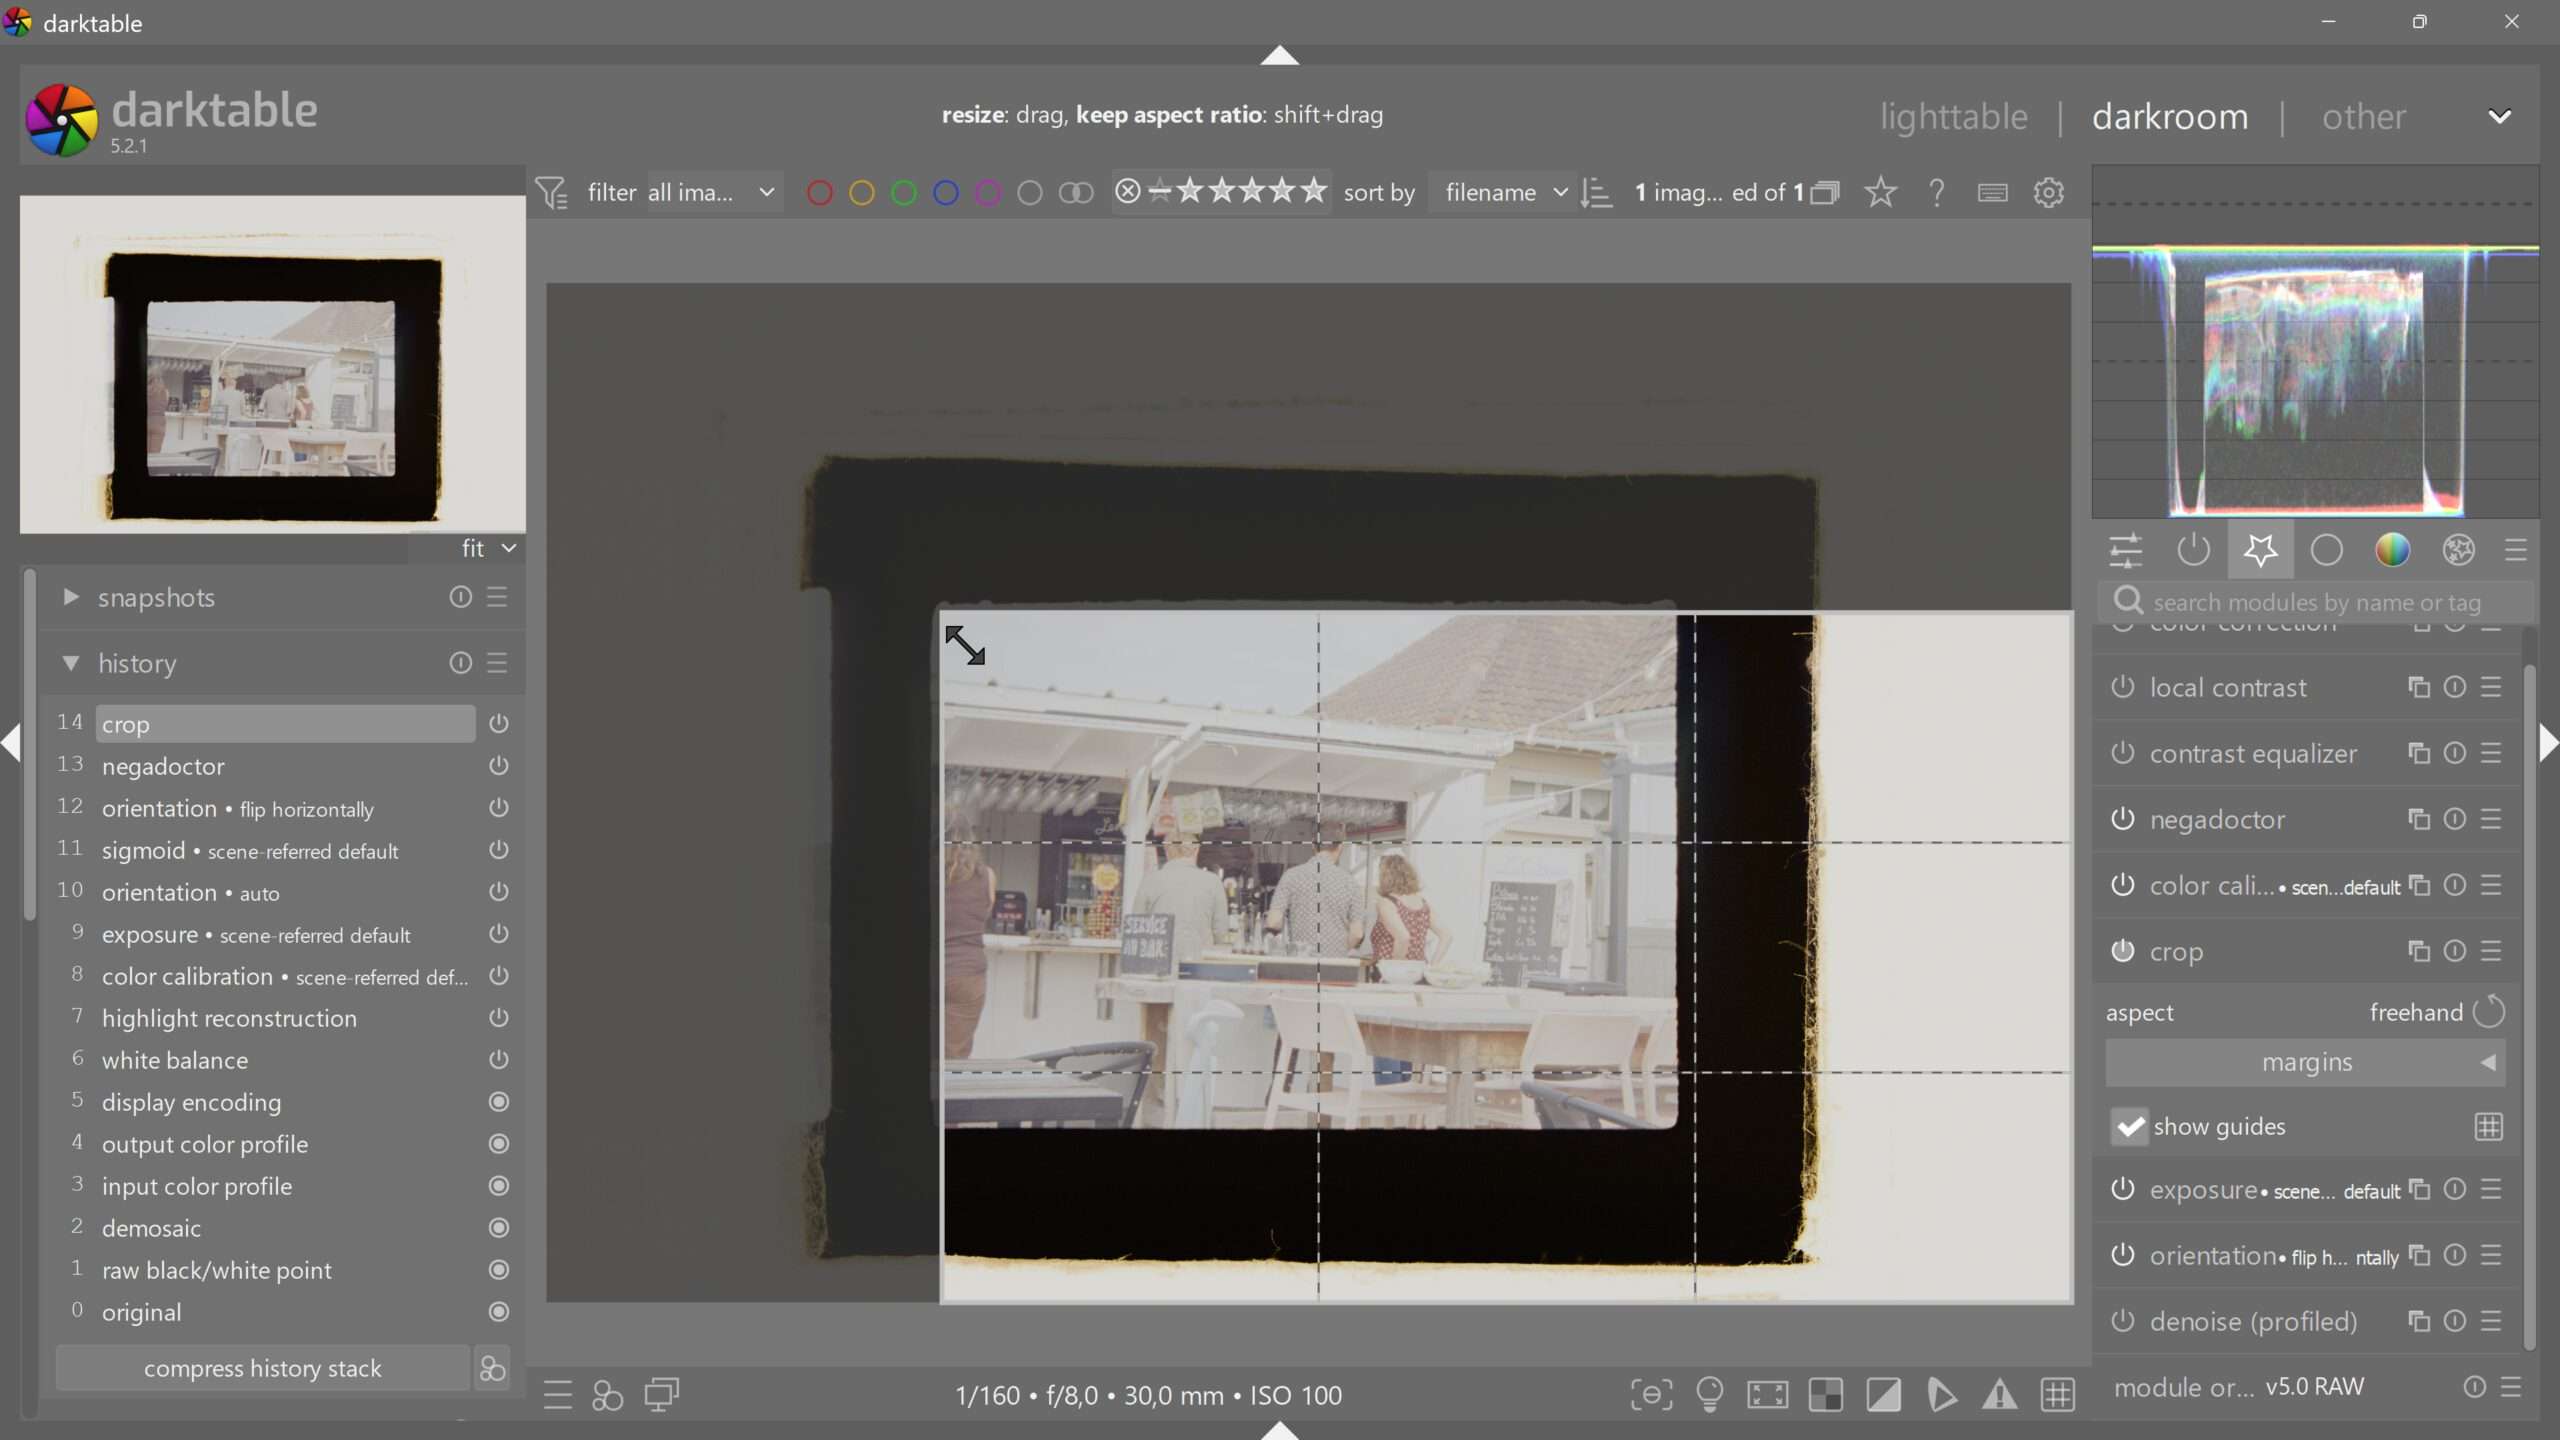
- Finally, I crop the image because I no longer need the margins.
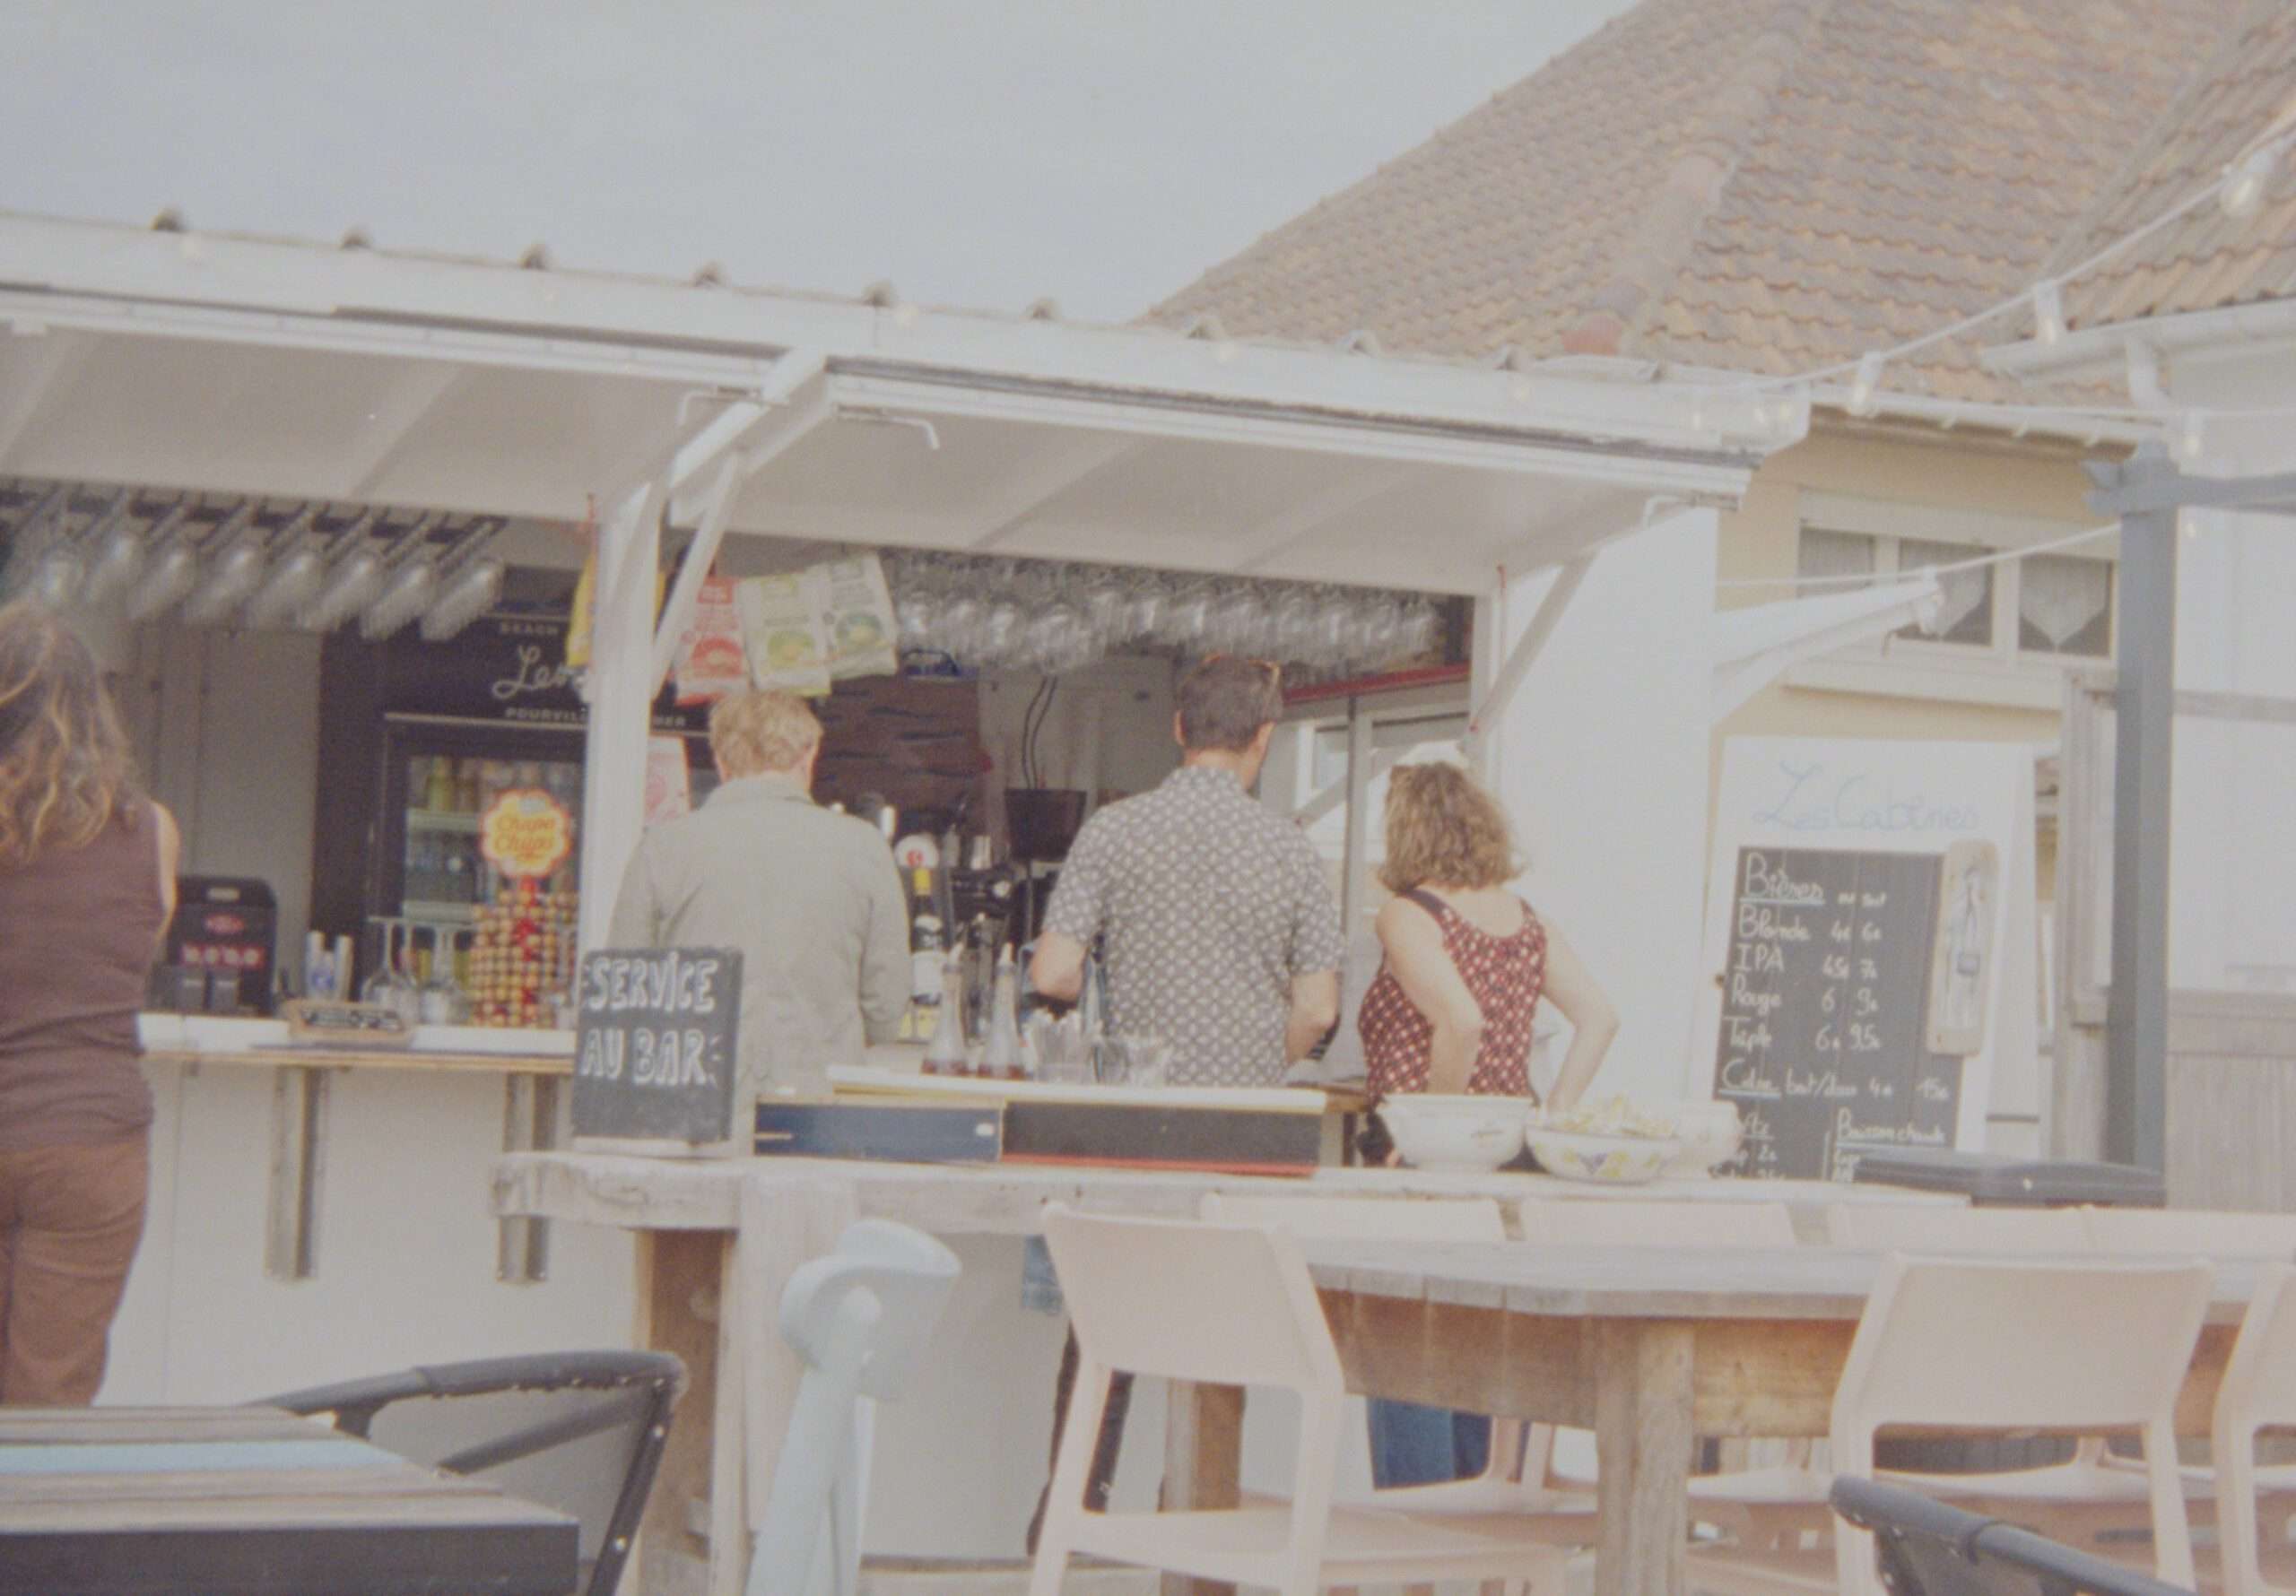
Export the result
I switch back to the “lighttable” view and select the “export” module on the right.
I use it to create a 16-bit TIF file. This file is saved to the output directory.
Step 2: Reduce grain, sharpen, remove scratches
In Minox photography – and with subminiature negatives in general – you have to expect to encounter specific challenges on the path to achieving the perfect photo. For example, film grain is always an issue (unless I use it as a creative tool). In addition, even small scratches and lint quickly become distracting due to the high magnification. As a rule, I also want to capture details sharply.
To do this, I use AIarty, which handles it all superbly with the help of AI. I use it because it delivers excellent results, is easy to use, and offers a reasonable licensing model.
To address any potential objections right away: I see absolutely no problem with using AI for these tasks. The AI simply relieves me of the many manual tasks that I used to perform in the analog darkroom—tasks that were very tedious and time-consuming. It’s not generative AI, meaning I don’t alter the subject at all. It simply does what we’ve always optimized when printing enlargements—by choosing the paper type, dodging, and adjusting the developer bath. Added to this is the advantage of the “undo” function and much more precise execution.
Based on the result of the previous step, here’s what I do in AIarty:
- First, I remove scratches, spots, and lint. Since the sample photo used here is perfect in this regard, I artificially added a black line using a drawing tool so that the tool would remove it as if it were a scratch.
To do this, I use the “AI Eraser” feature:
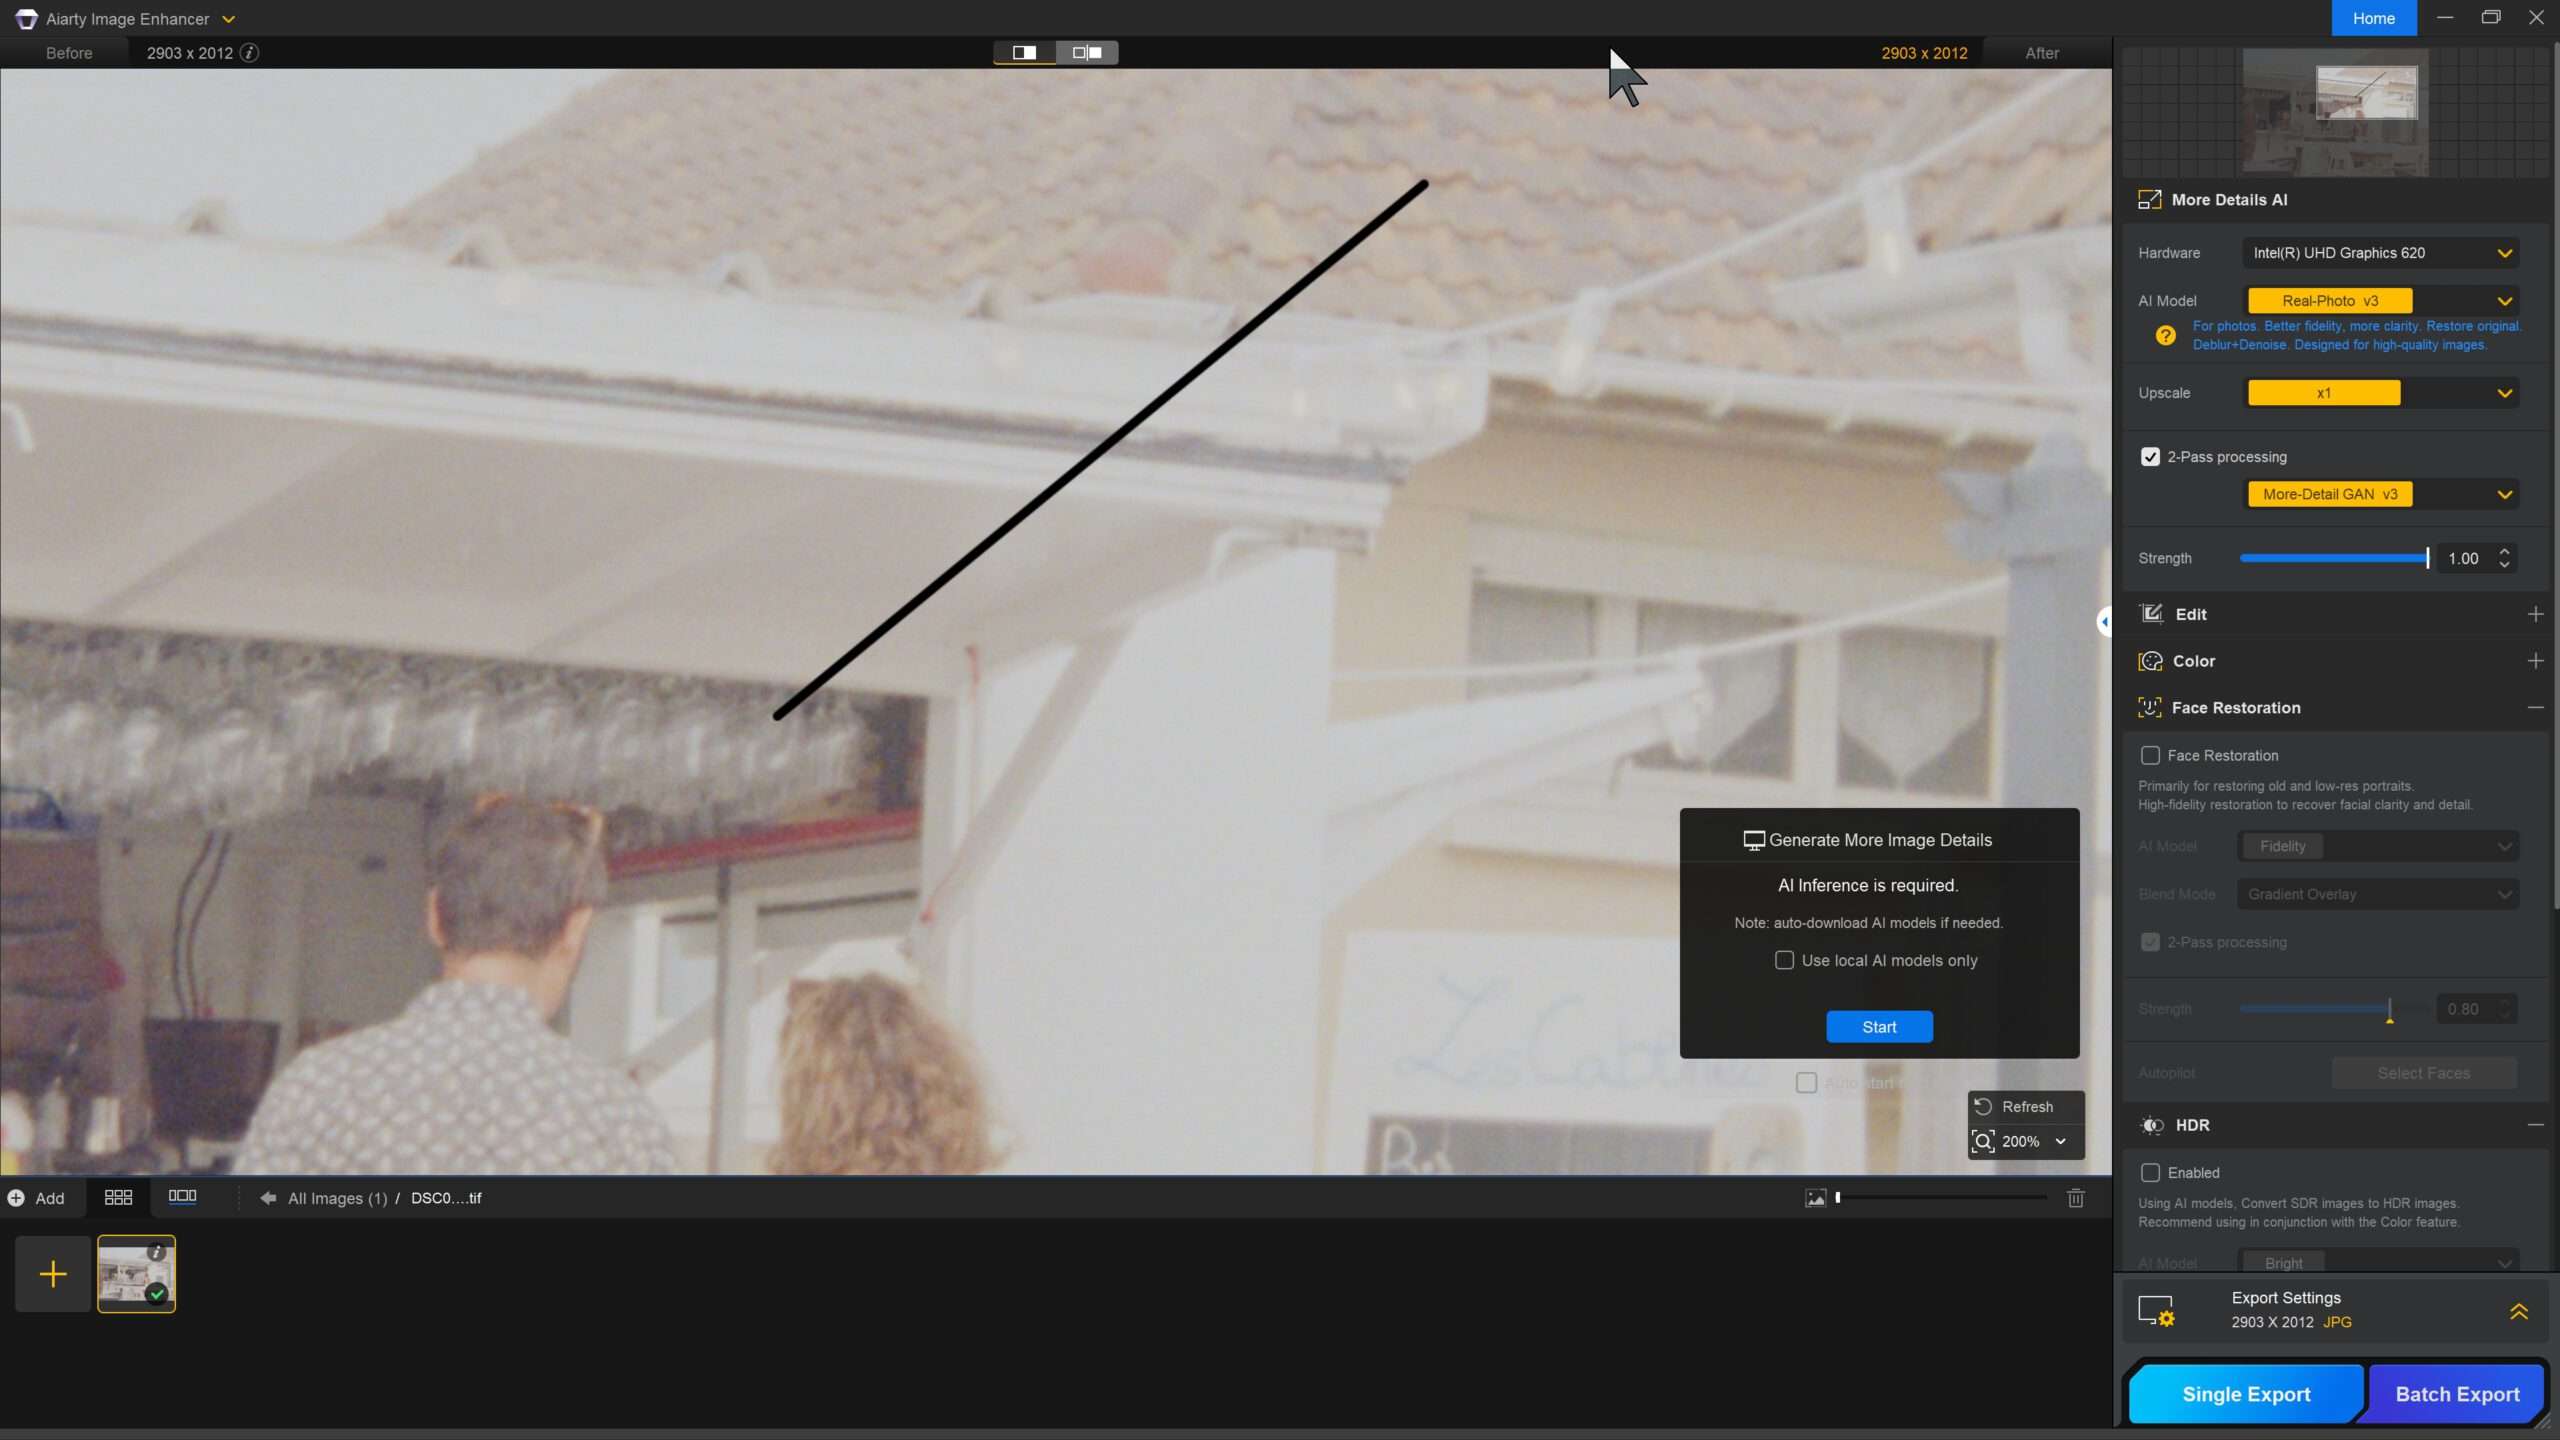
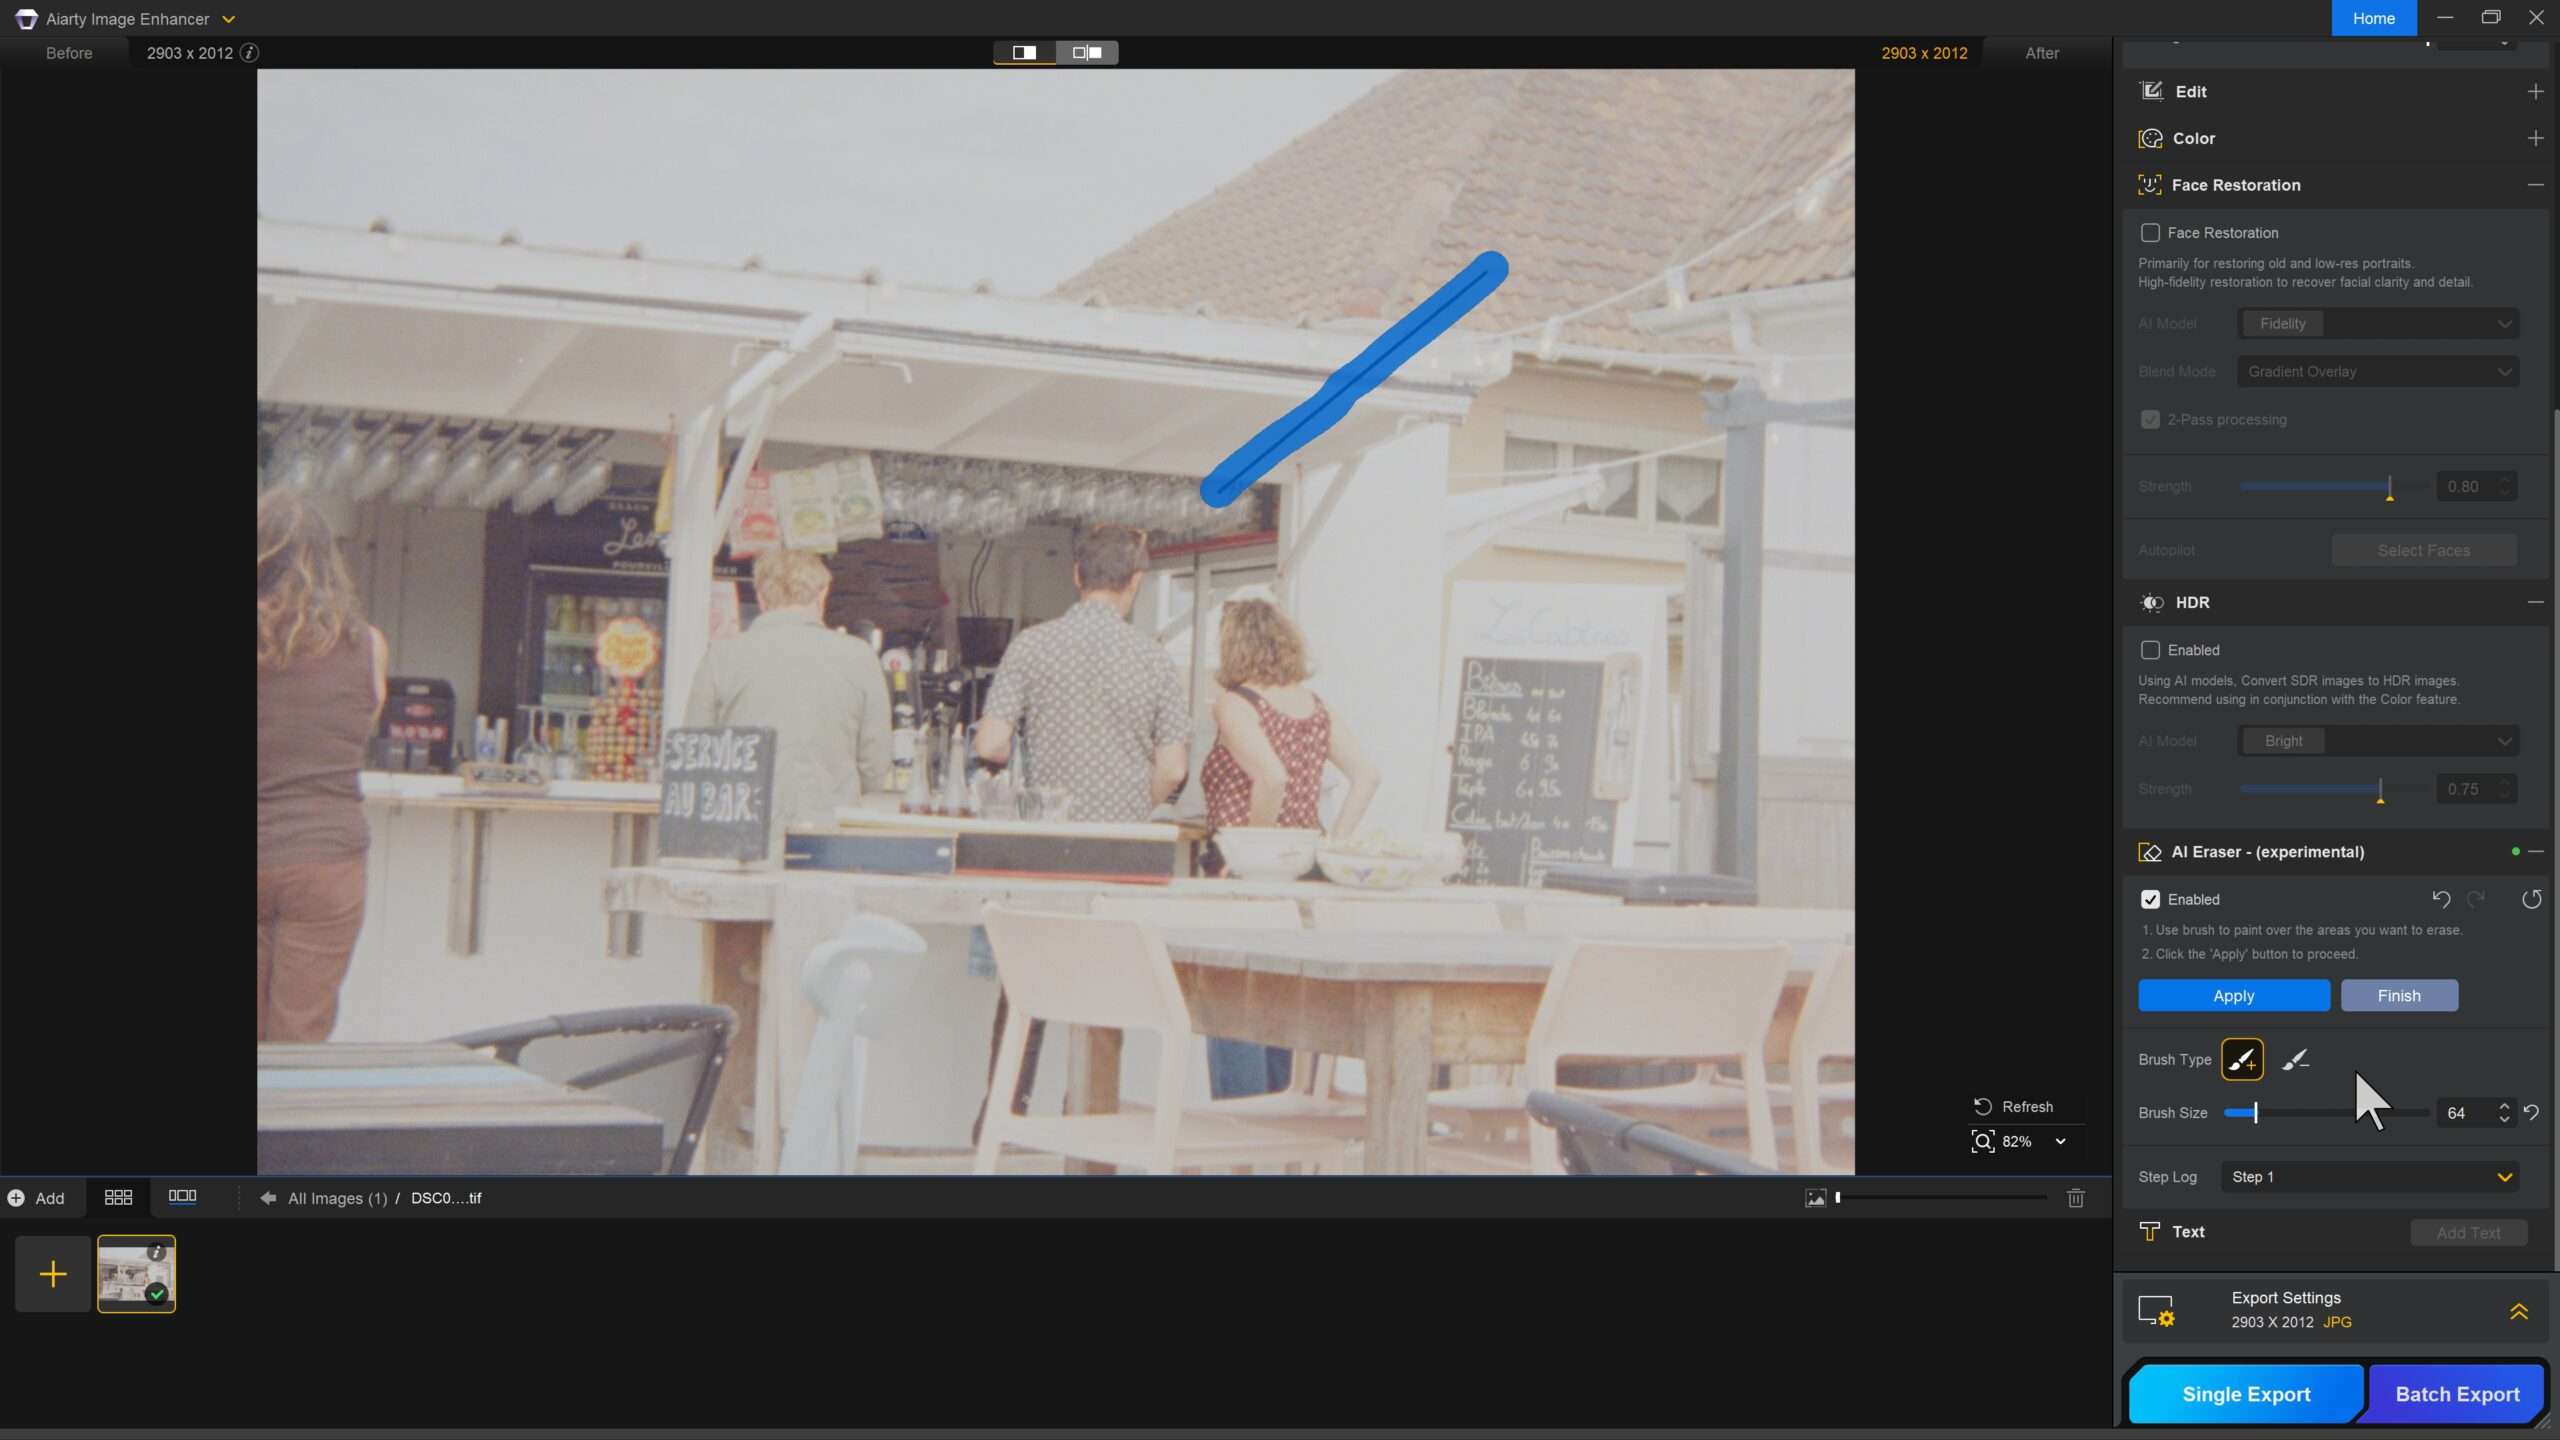
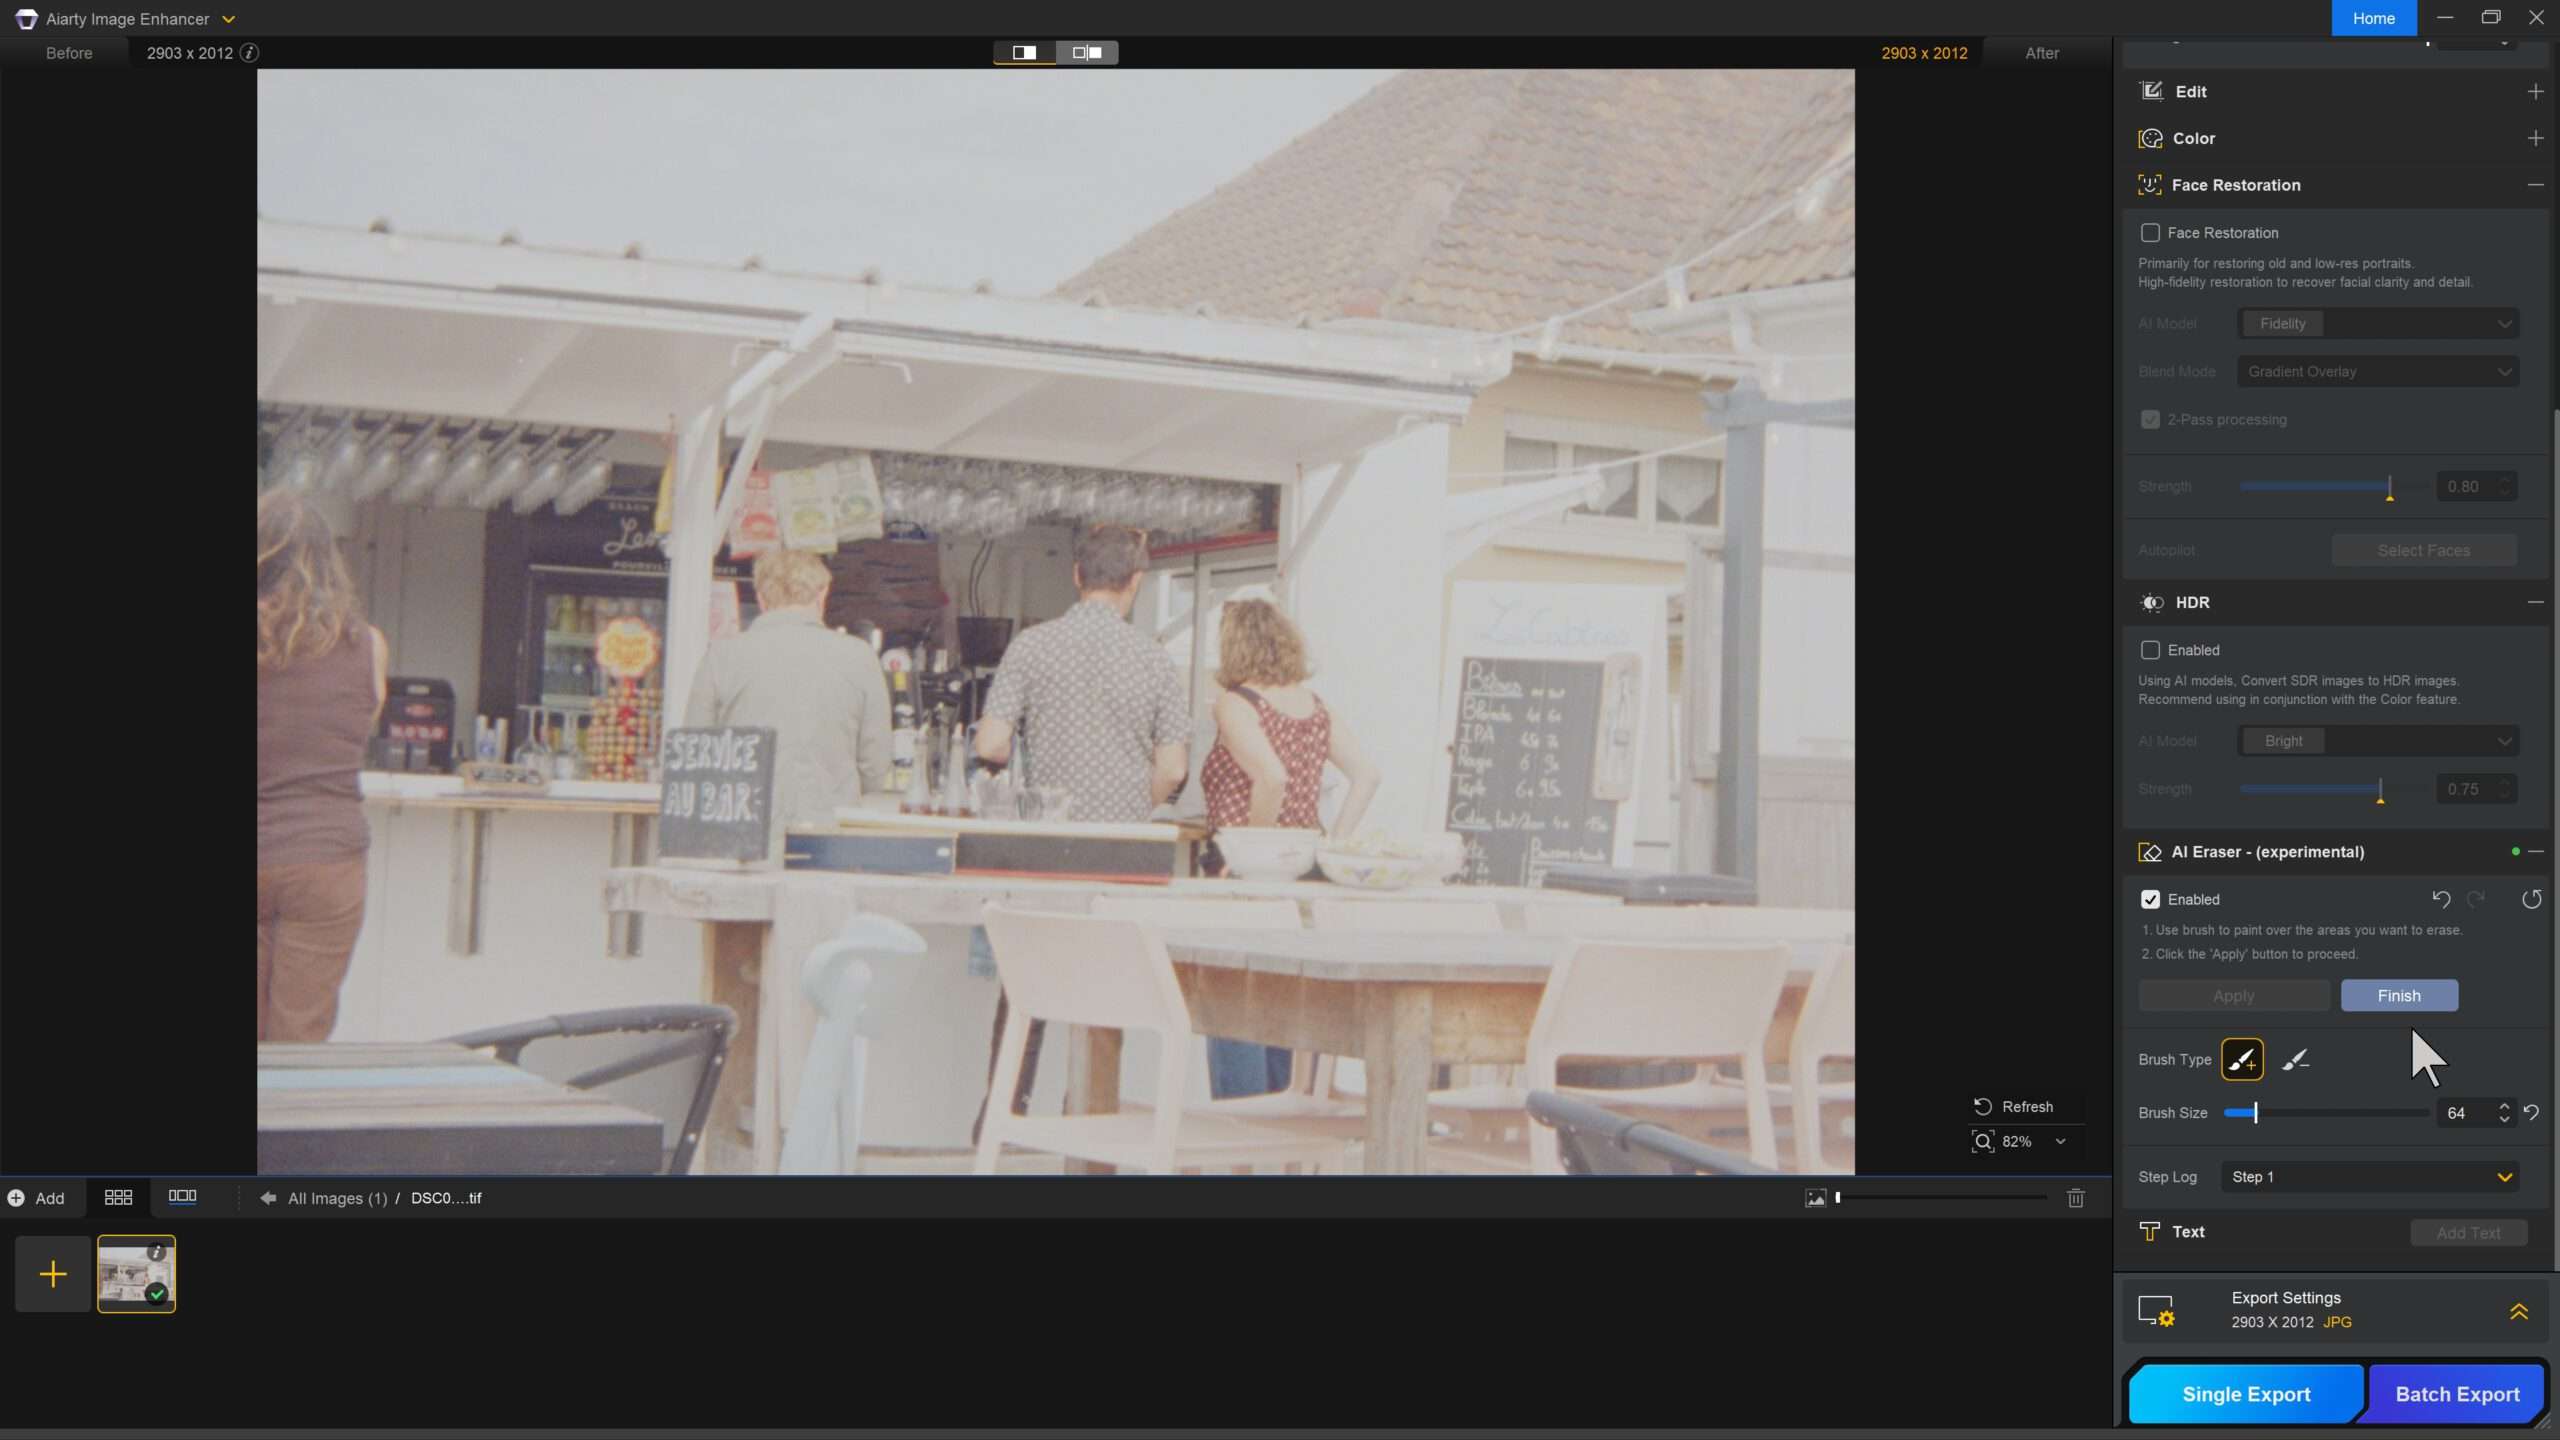
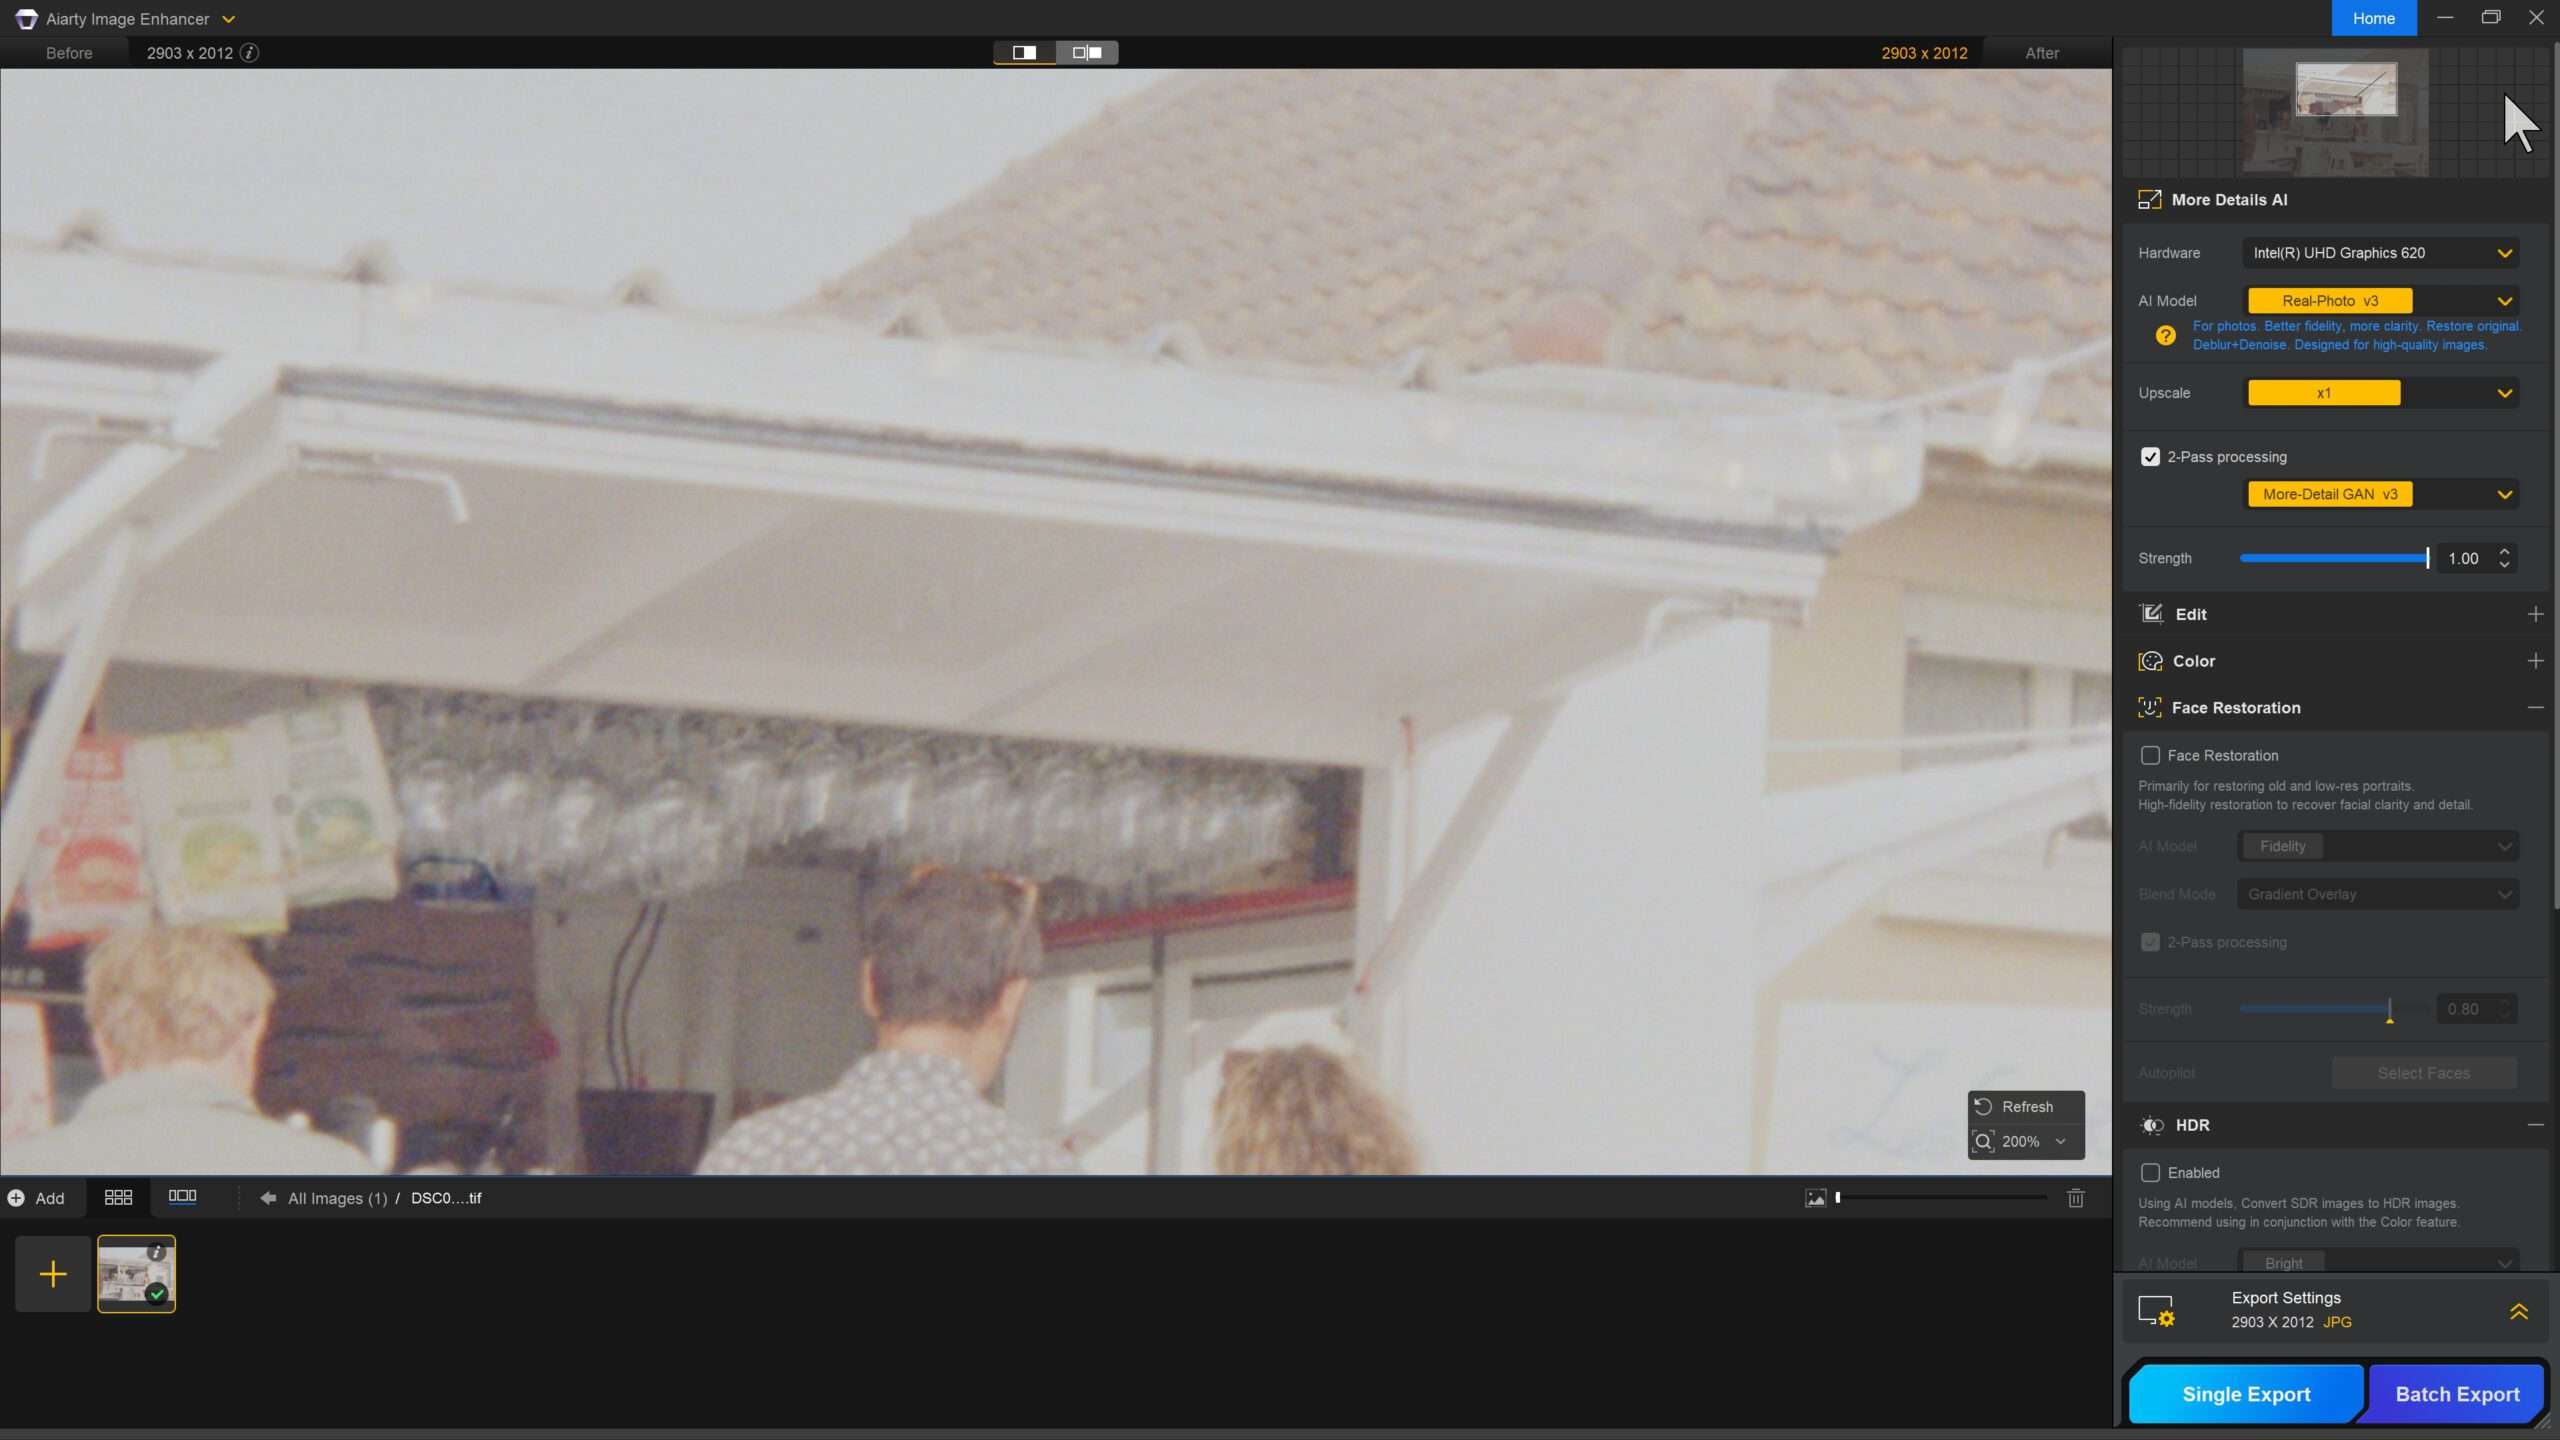
- Now I start the actual image enhancement with noise reduction and sharpening. In my experience, it works best to do this in two passes. For the first pass, I select the “Real-Photo” AI model; for the second, “More-Detail GAN”:
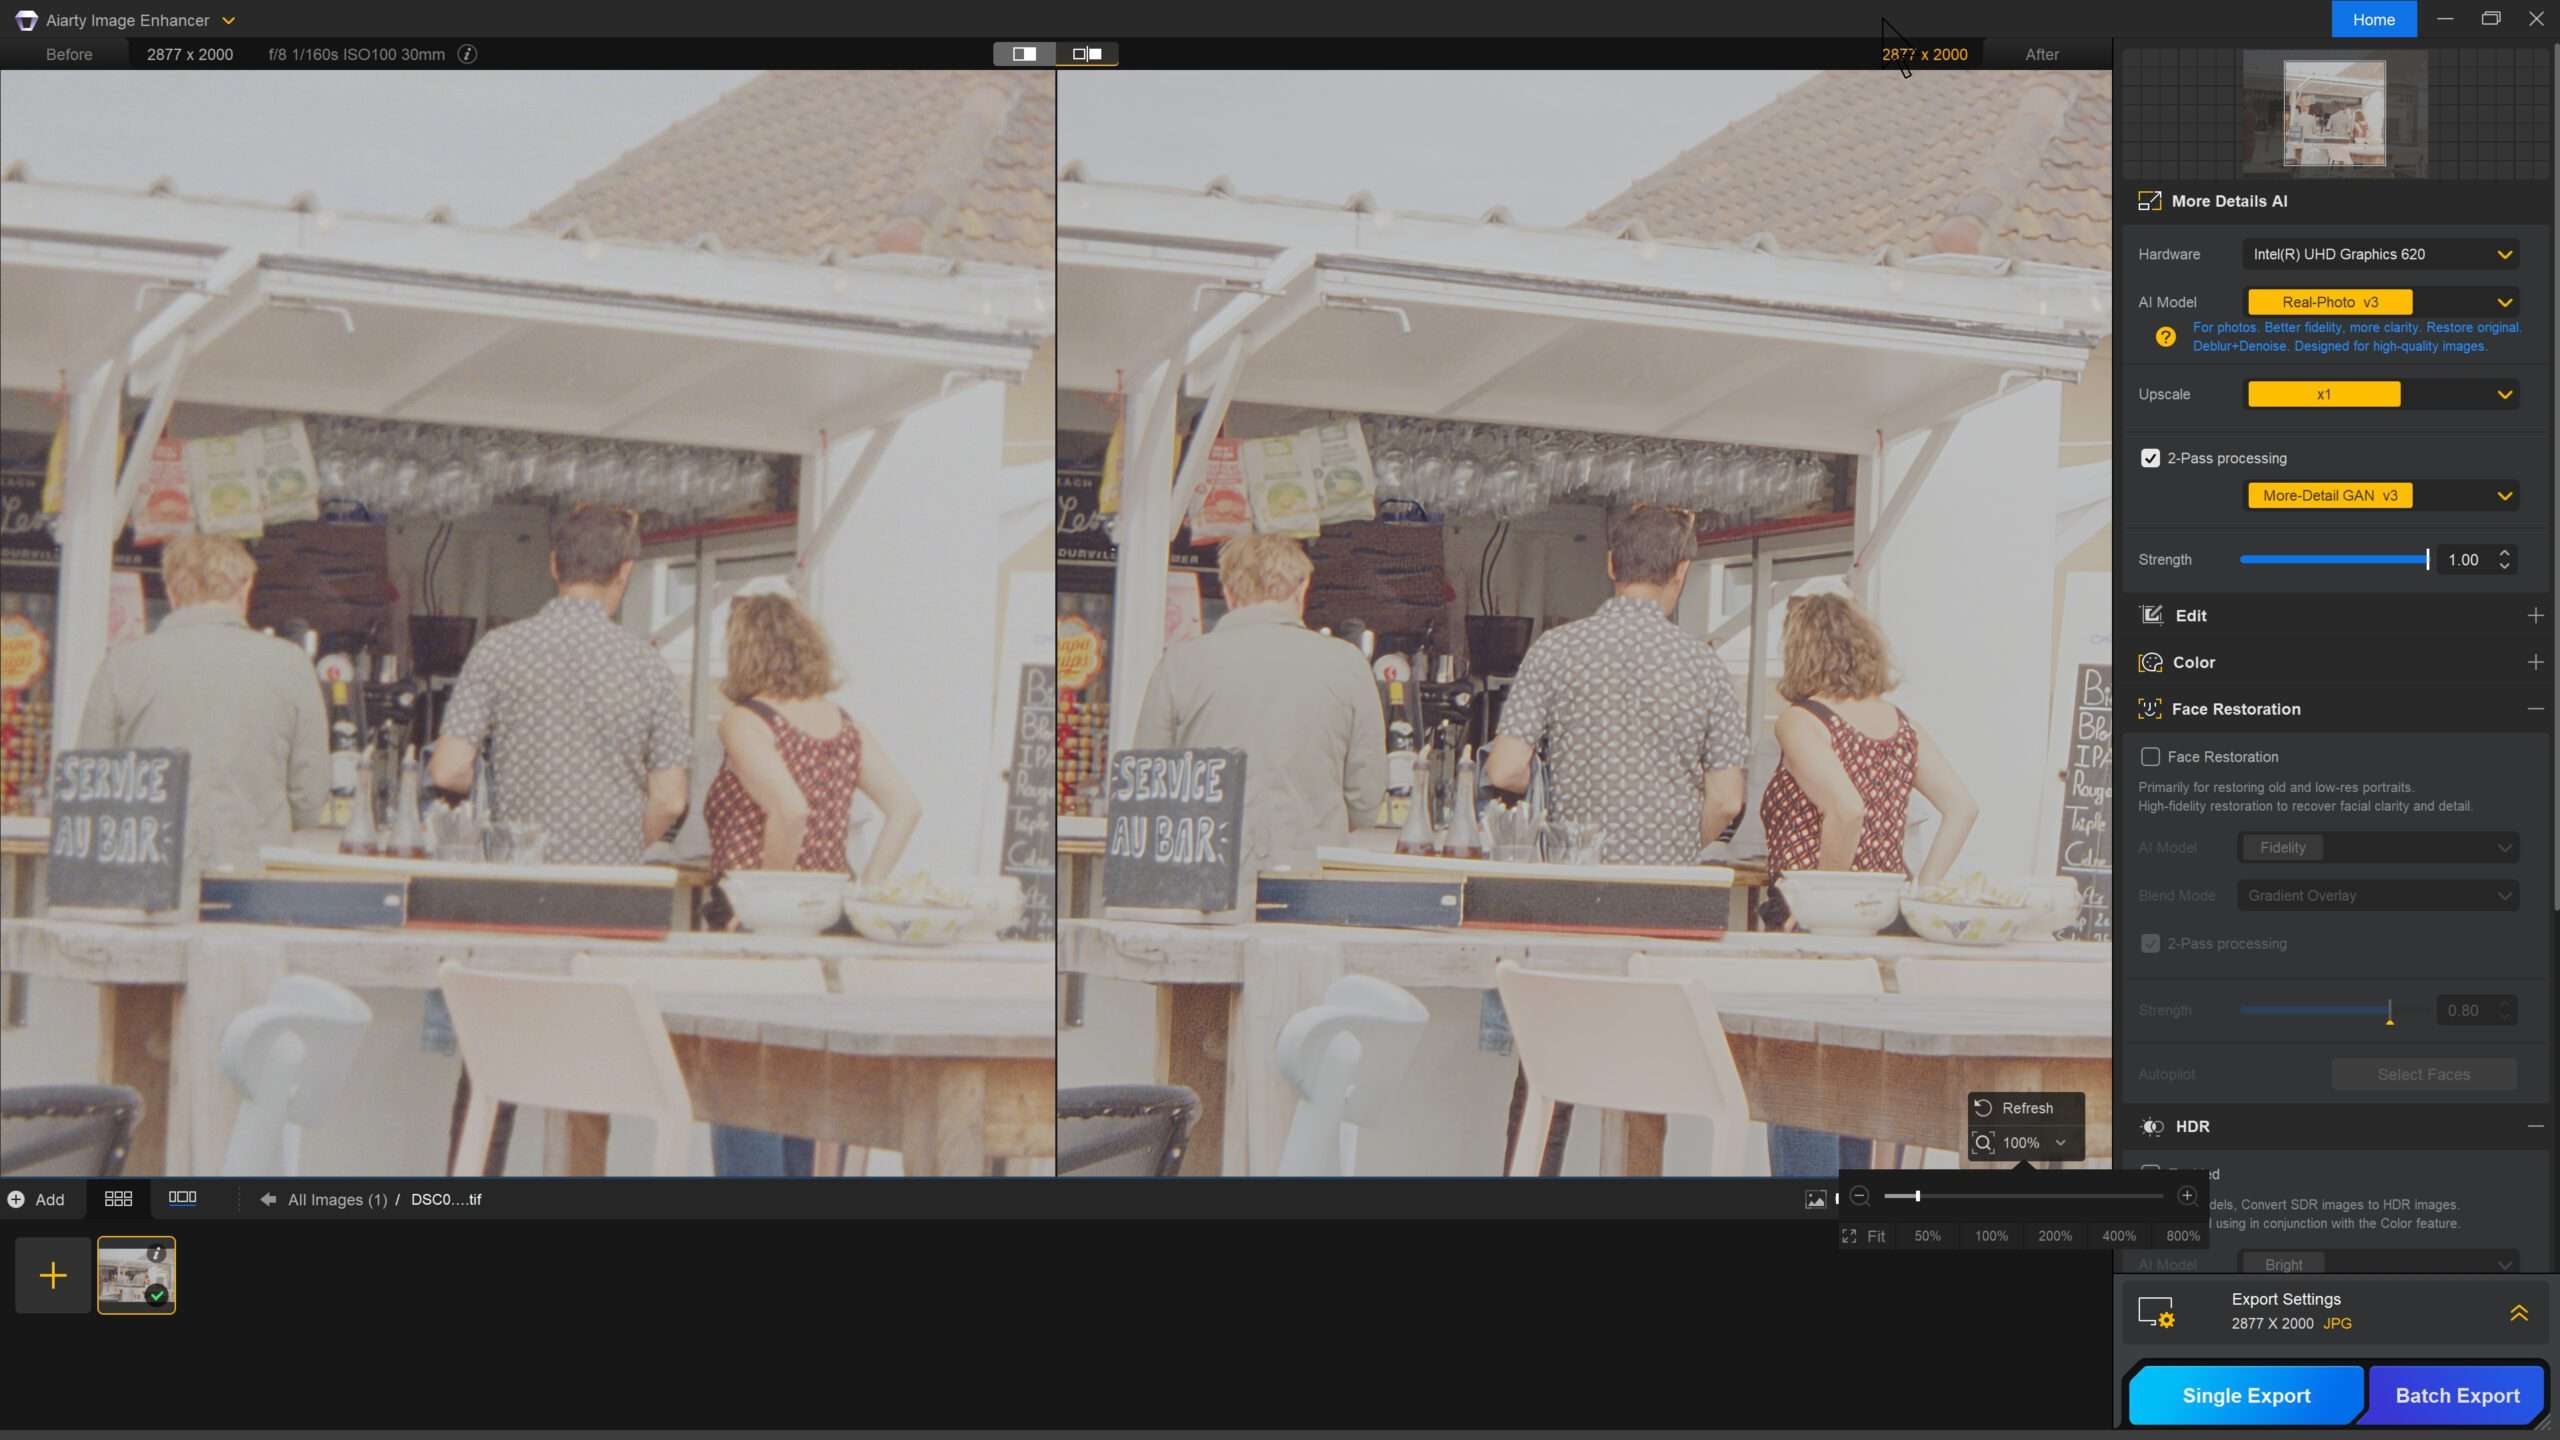
The image above shows the original photo on the left and the optimized result on the right. You can clearly see that the text is now easier to read.
In general, it is worth experimenting with the tool. For instance, I found that reducing the original image resolution sometimes leads to better grain reduction. According to the software manufacturer, when the image is resized and compressed, some of the broad, soft edges in the original image are transformed into sharper, lower-resolution edges that better match what the Super-Resolution model was trained to recognize. This allows the AI to more effectively trigger its high-frequency detail reconstruction process.
The exported image looks like this:
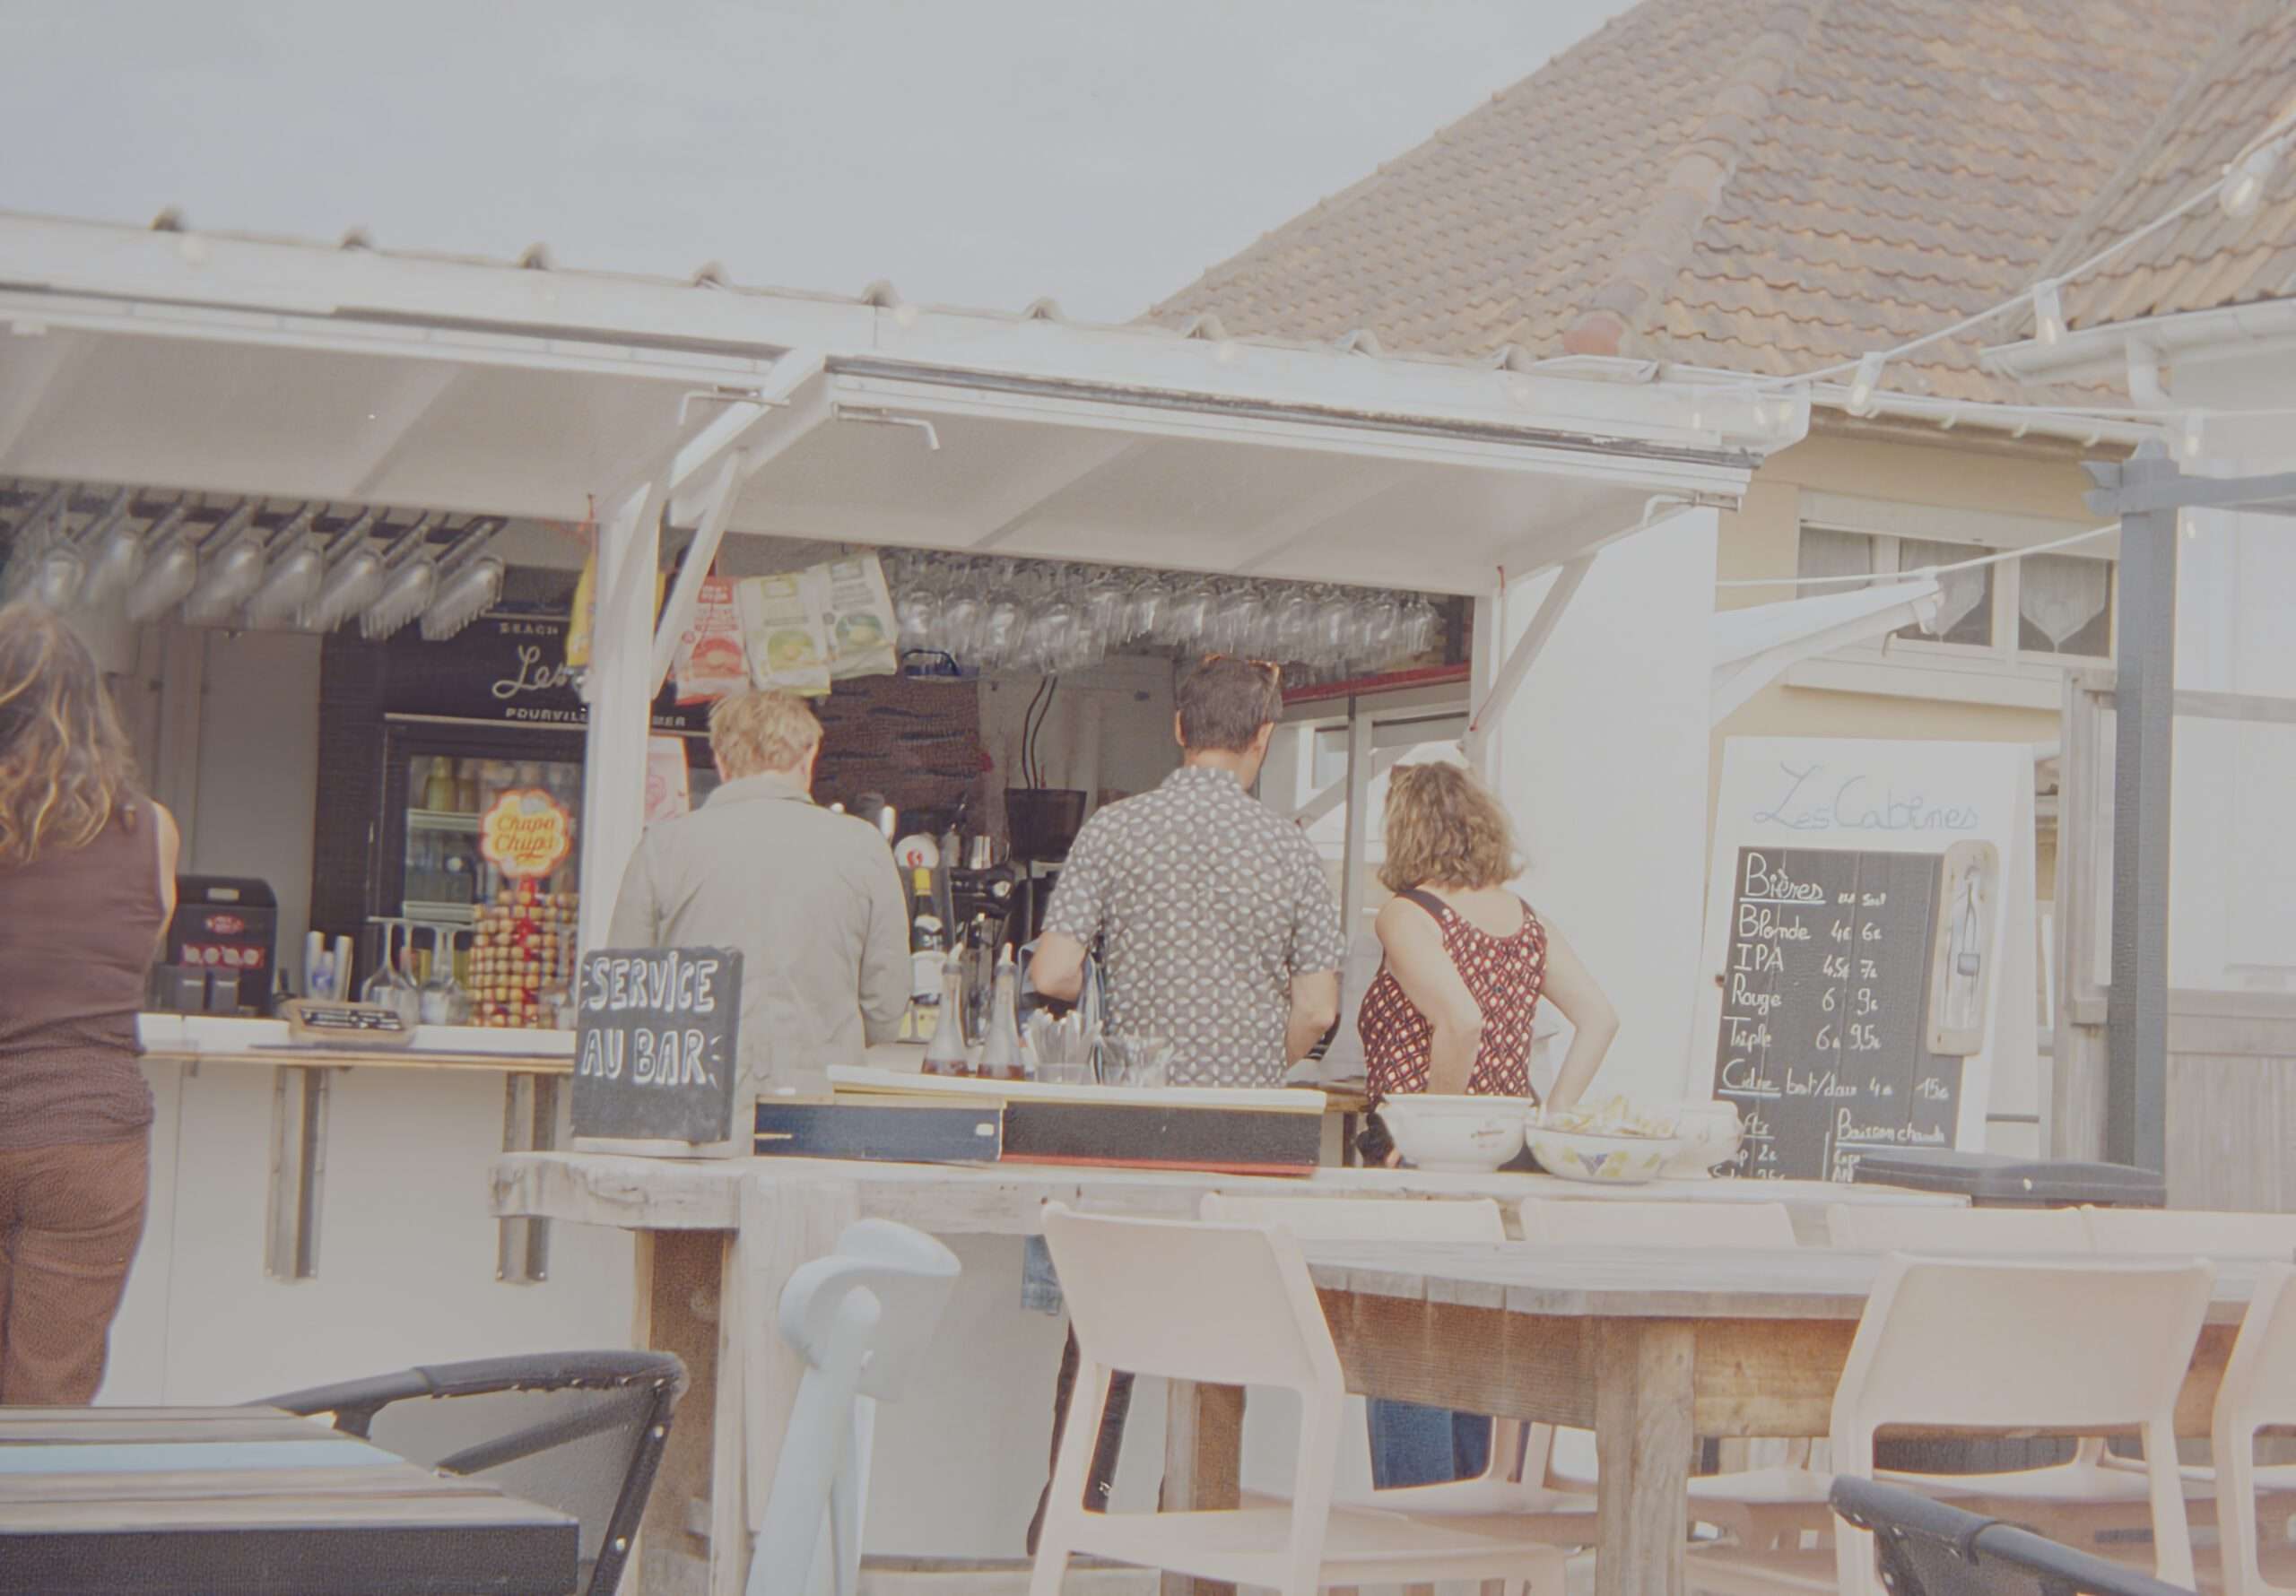
Step 3: Final adjustments
In this step, I manipulate the photo so that it matches my original vision. This might mean adjusting the colors and contrast to get as close as possible to the scene as I remember it.
However, I often want to convey a specific statement or message with the image; in that case, I might alter it significantly. Or I simply convert it to black and white.
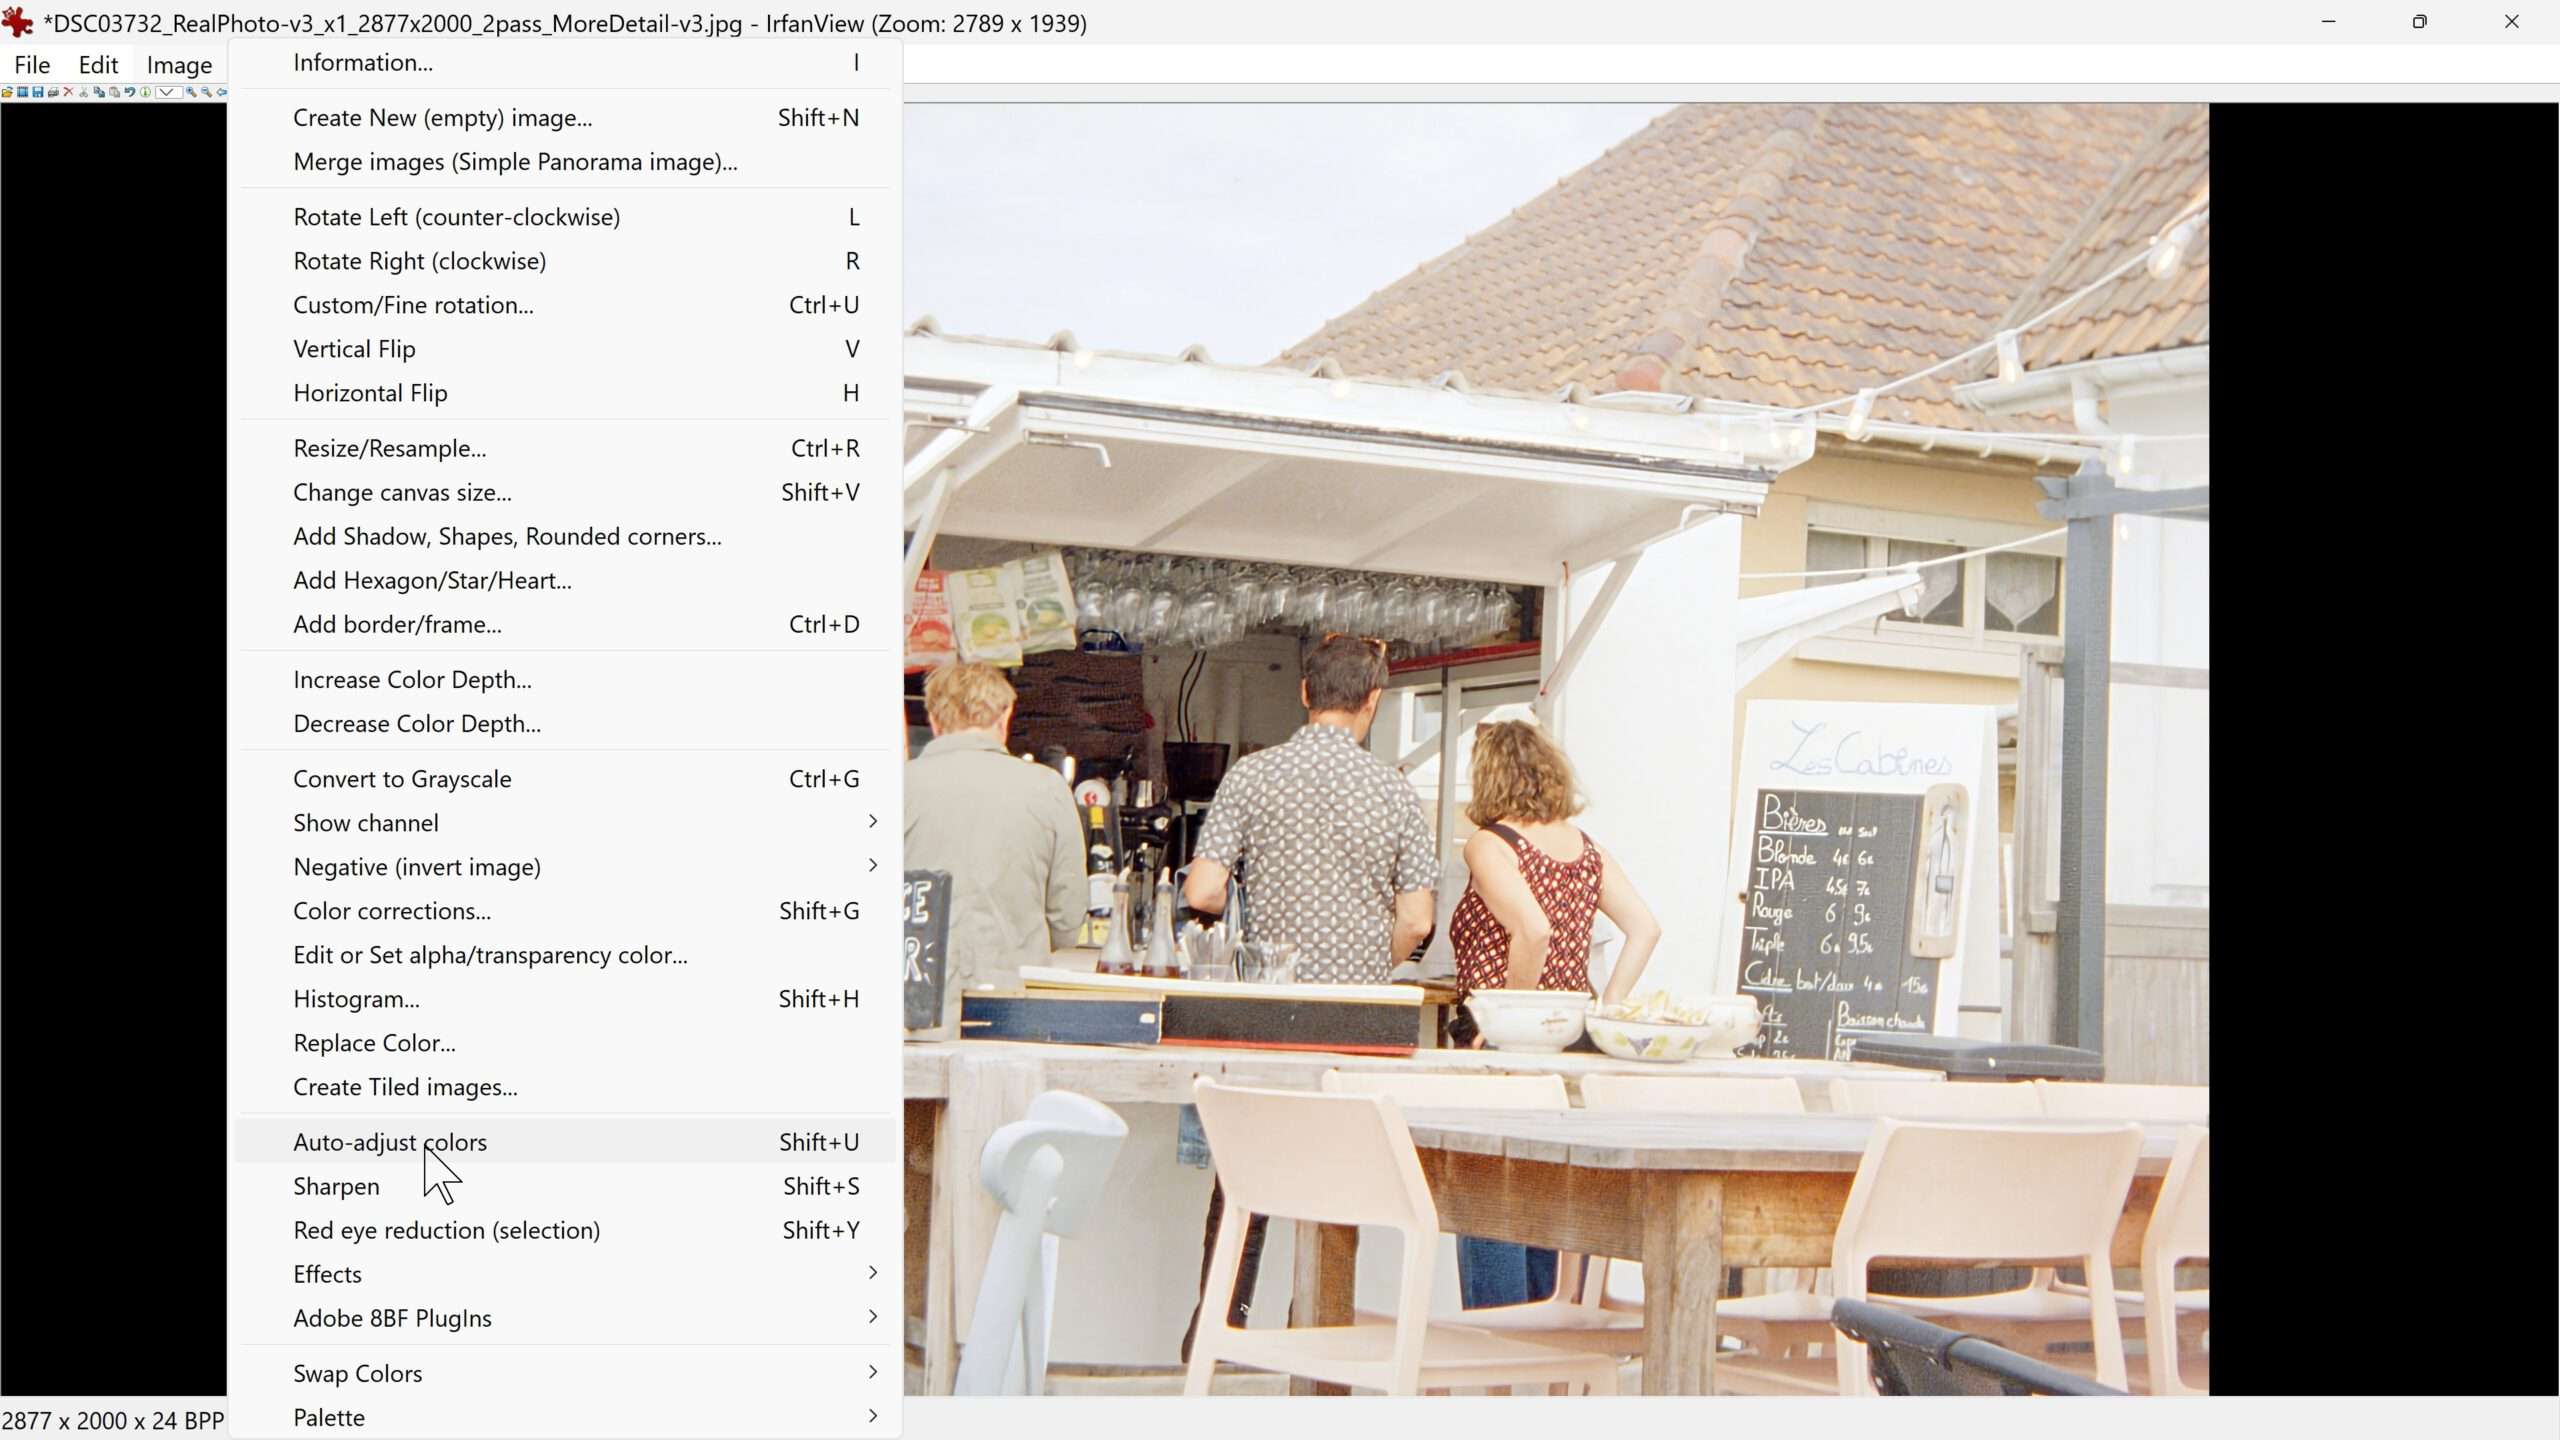
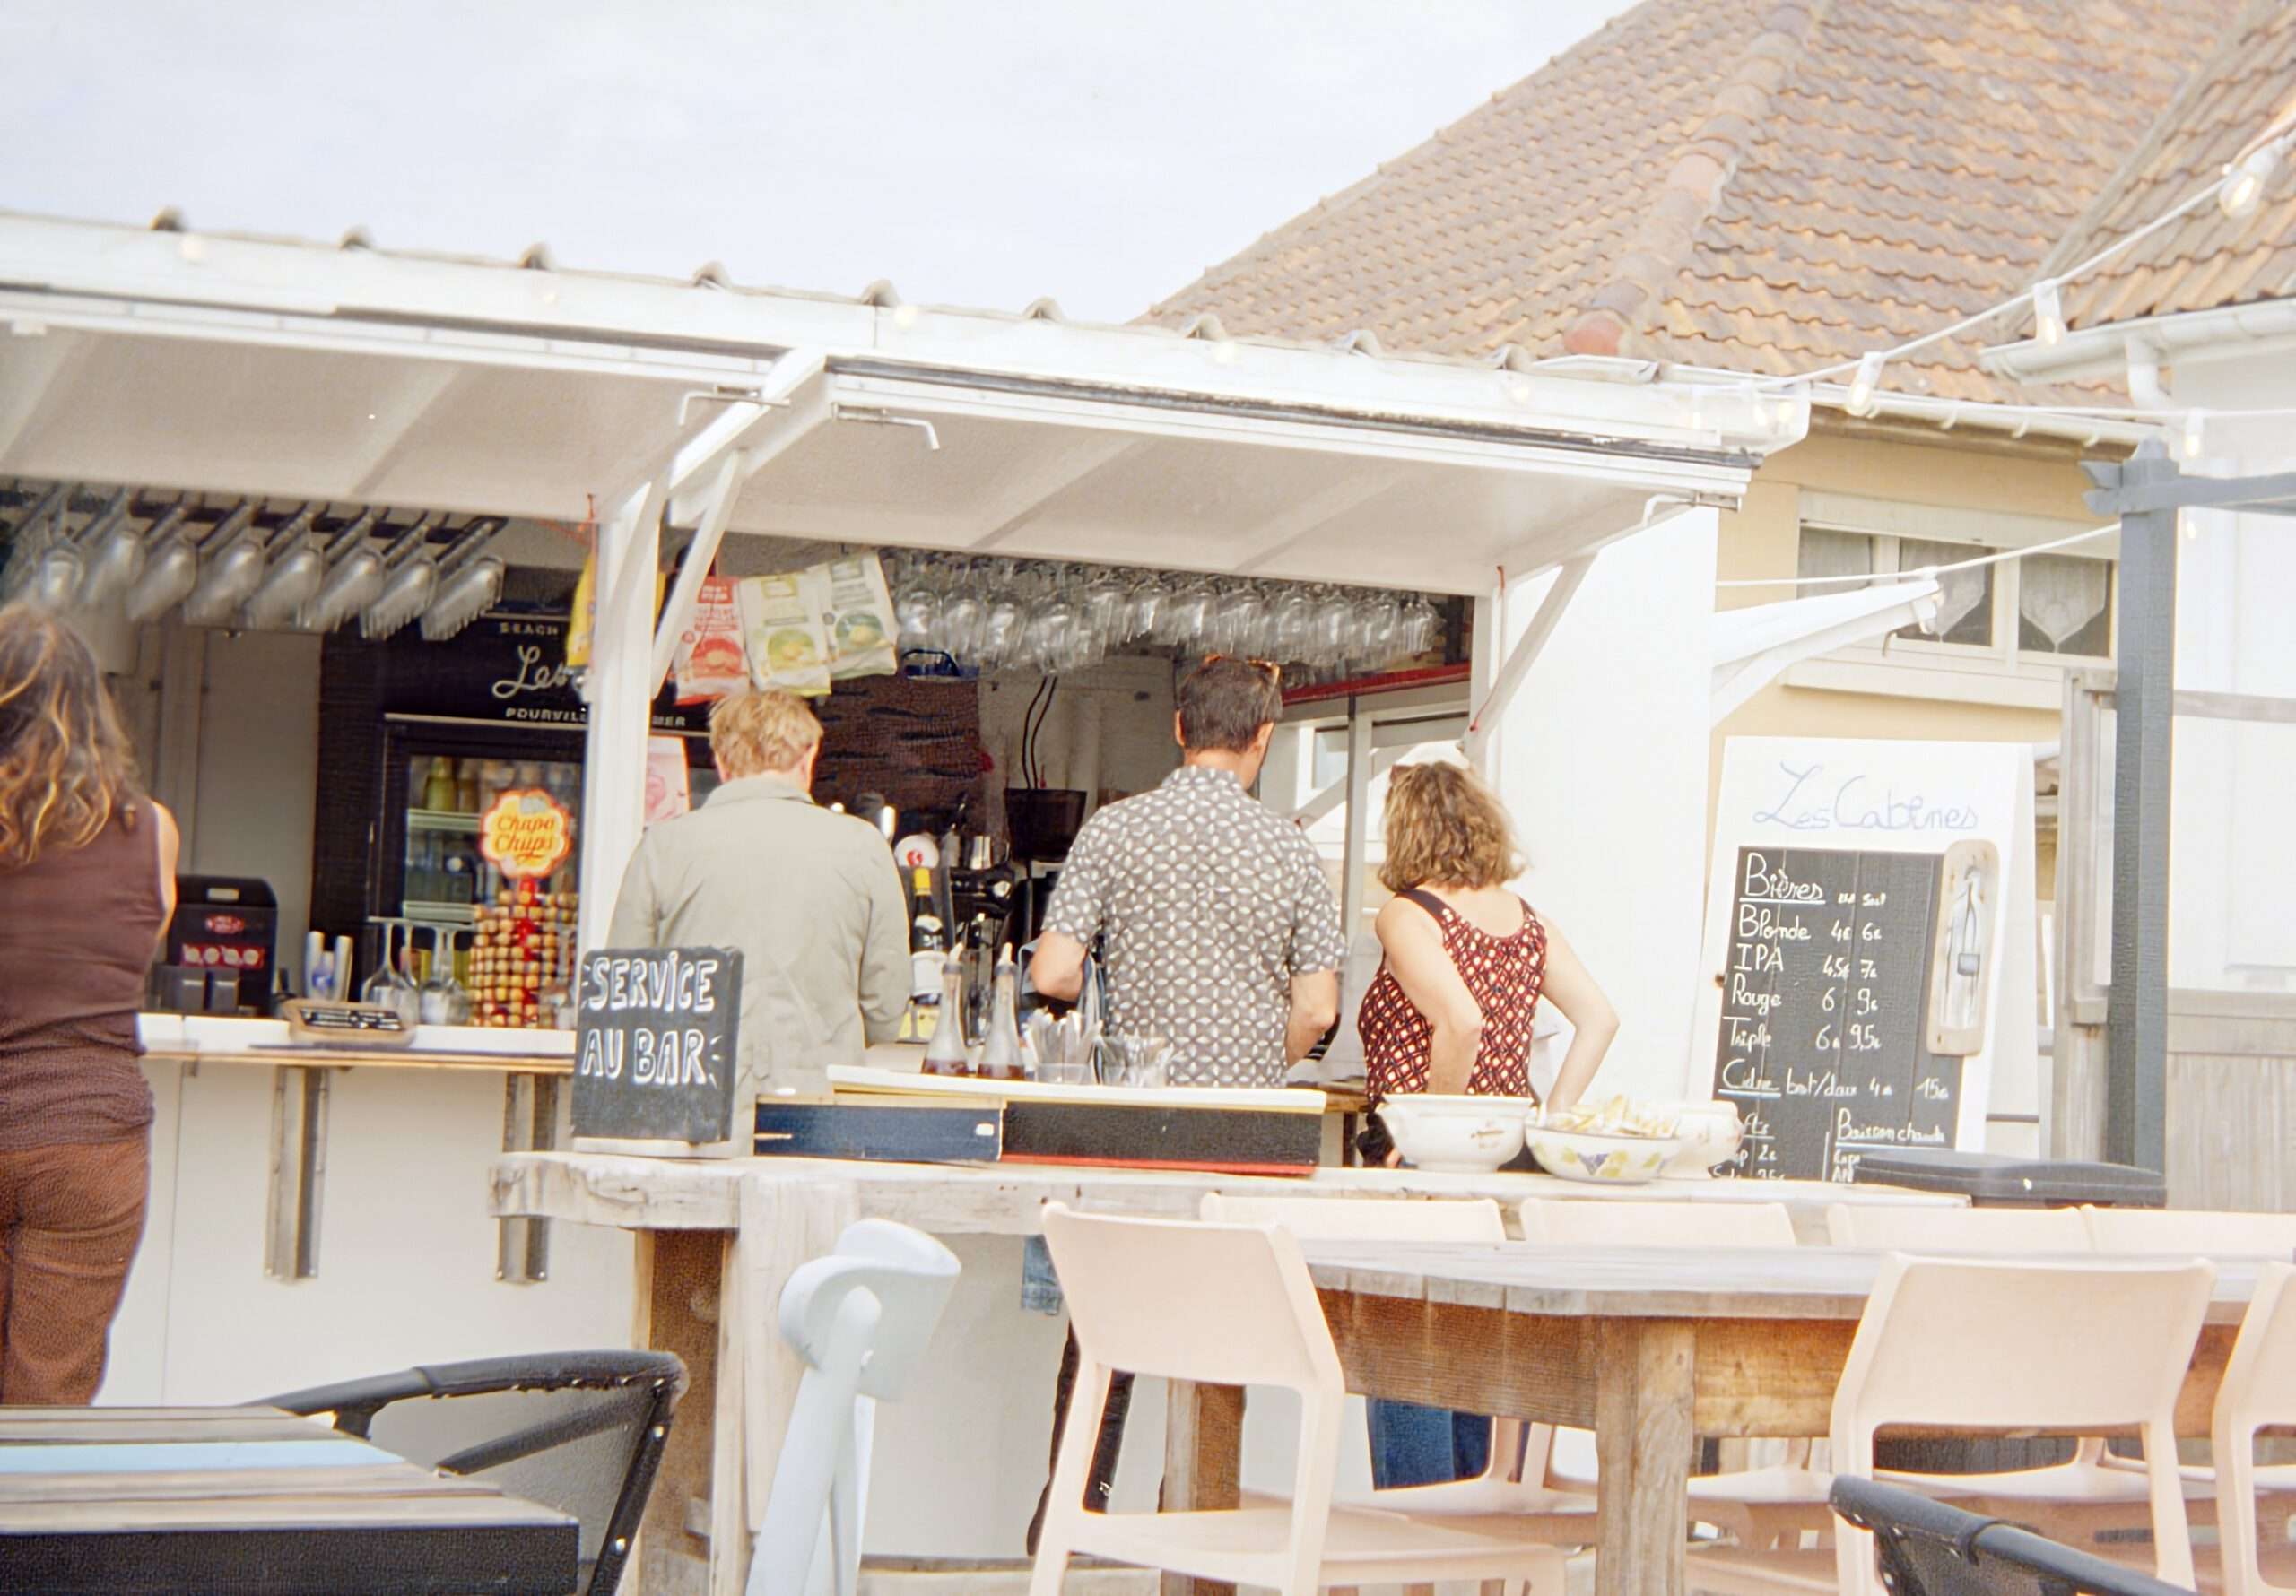
- Anyway, I have found it effective to start with an automatic color correction. I use IrfanView for this. I don’t know why, but I always get the best results with it:
- I do all the rest of the image editing in GIMP. I use GIMP because I can do everything I need to with it and because it’s free.
In our example, I’ll simply try to recreate the atmosphere as I remember it. To do this, I used the following features:
– “Shadows-Highlights”
– “Saturation”
– “Brightness-Contrast”
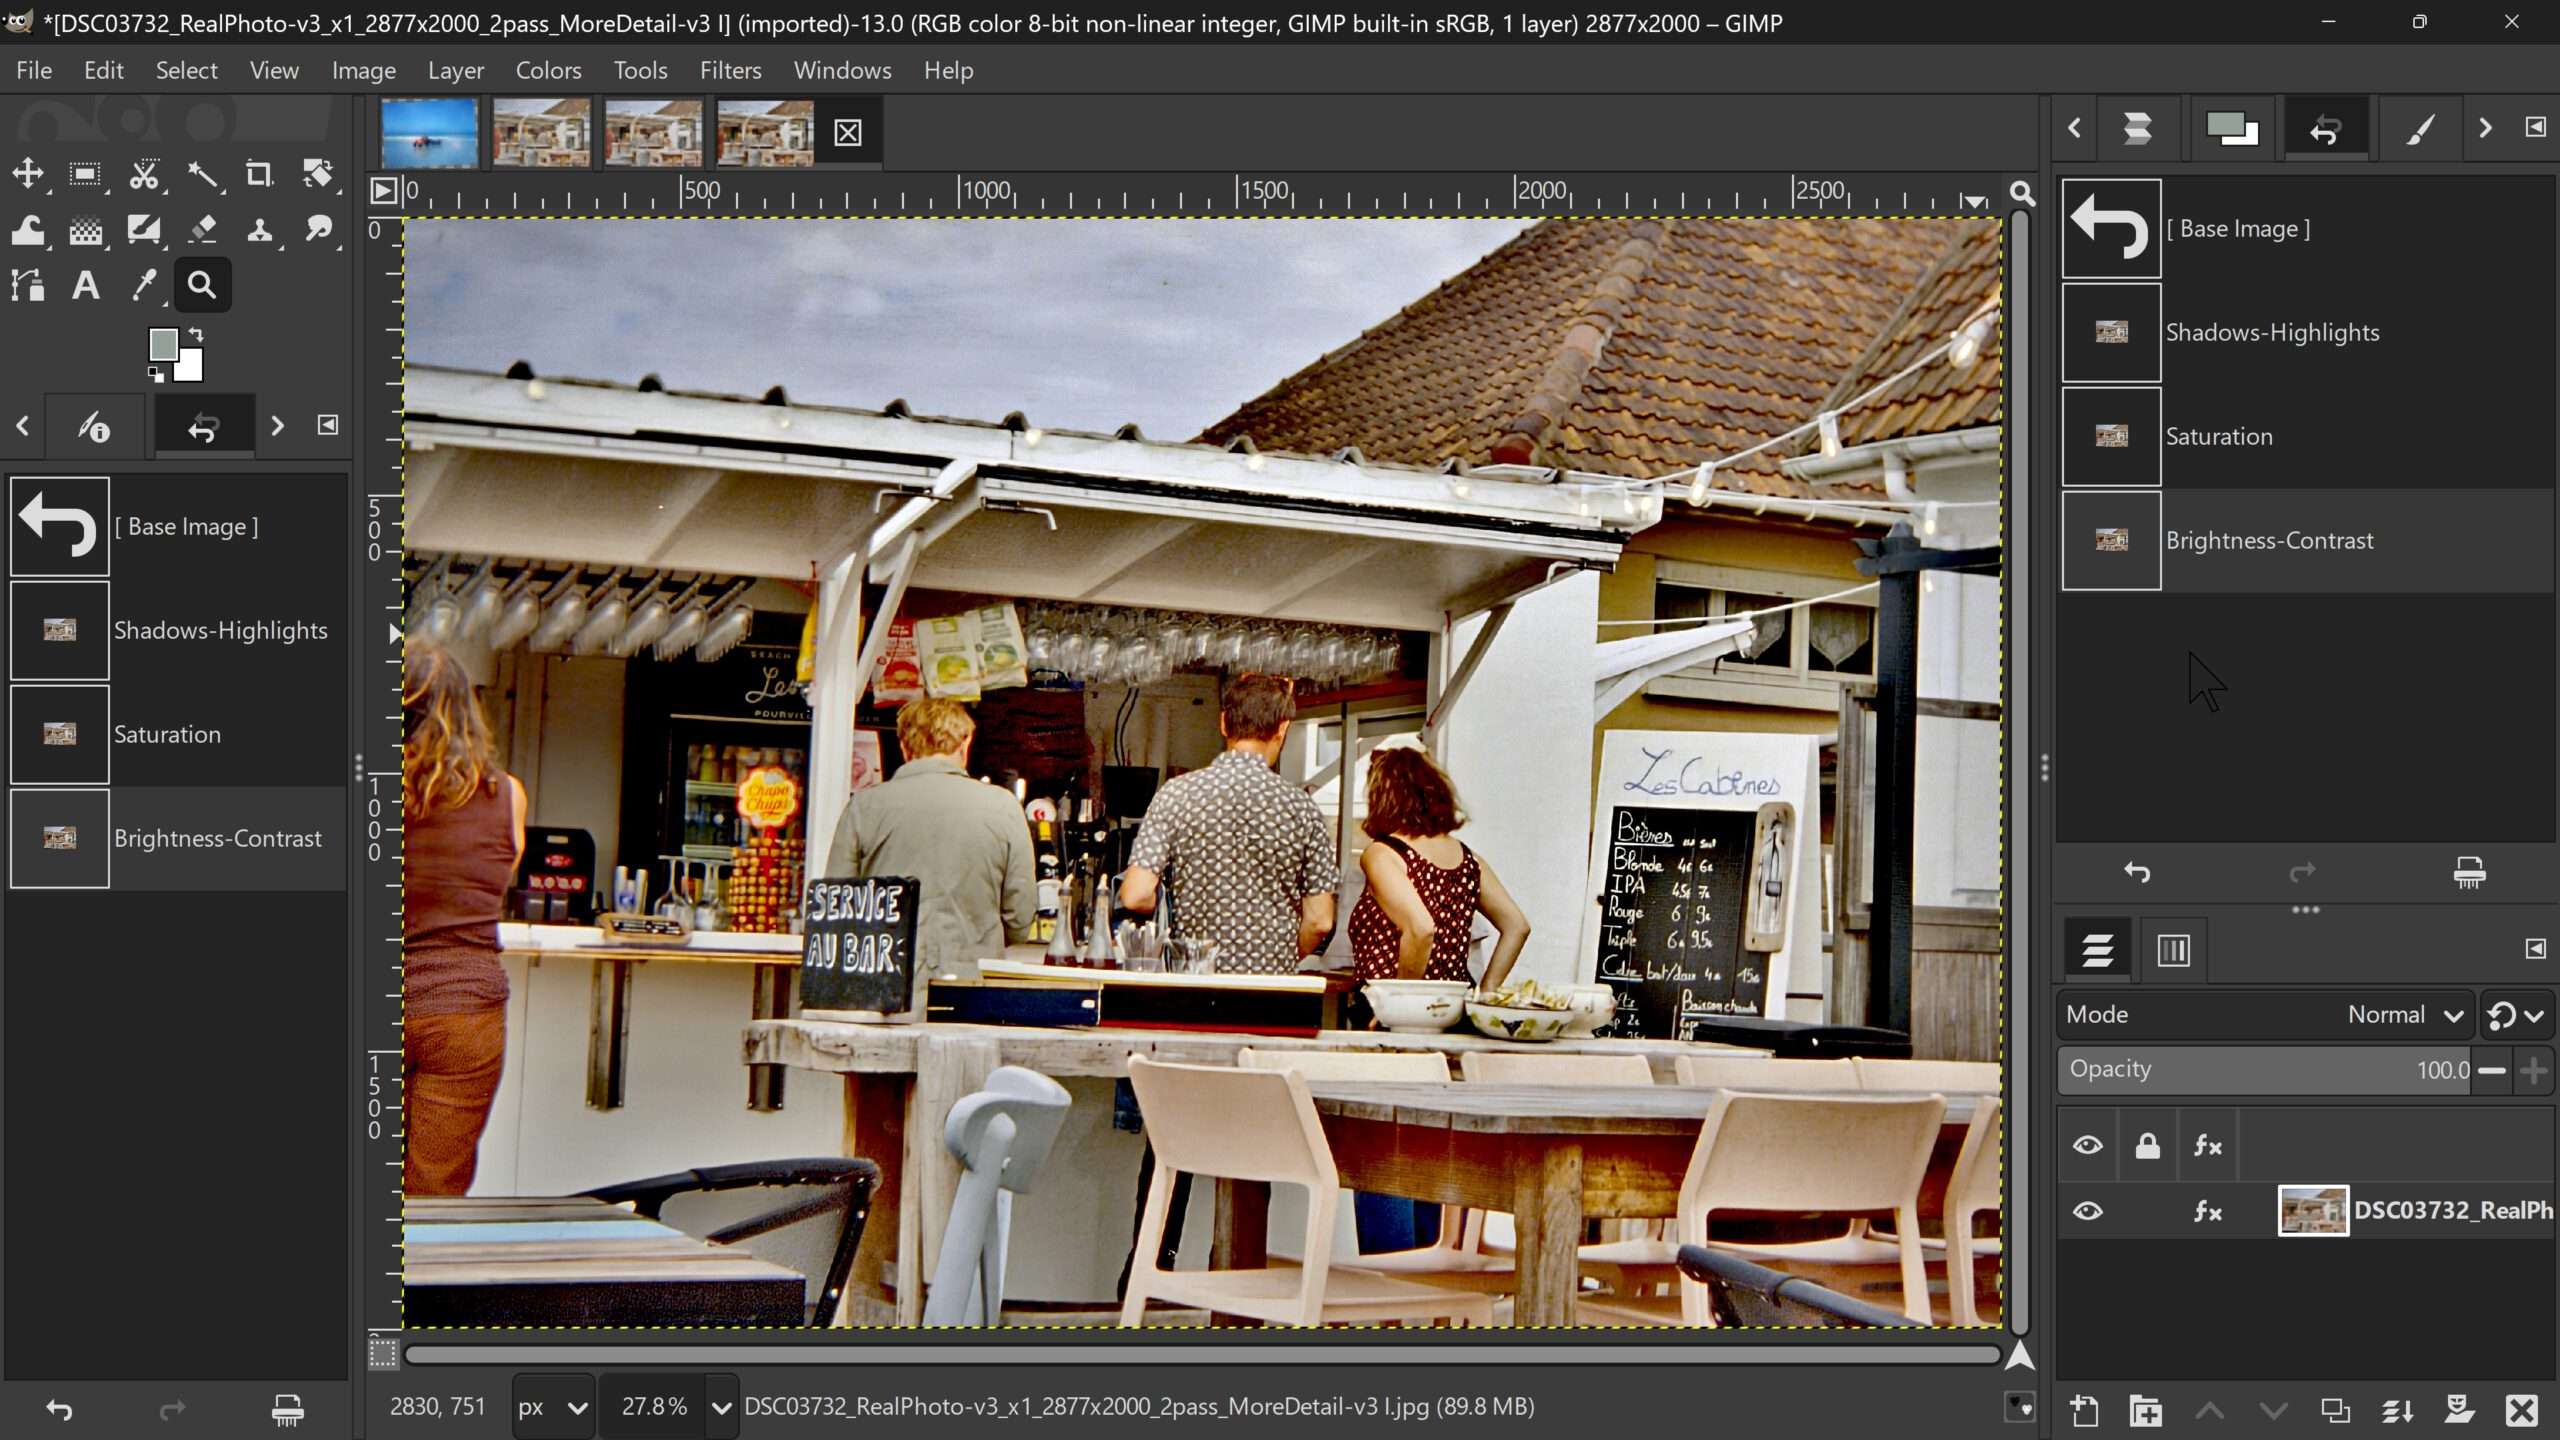
Often, I also use “Colors/Color Temperature”, “Colors/Hue-Saturation”, “Image/Transform/Arbitrary Rotation…”, “Colors/Desaturate/Mono Mixer…” and “Tools/Transform Tools/Perspective”.
Result
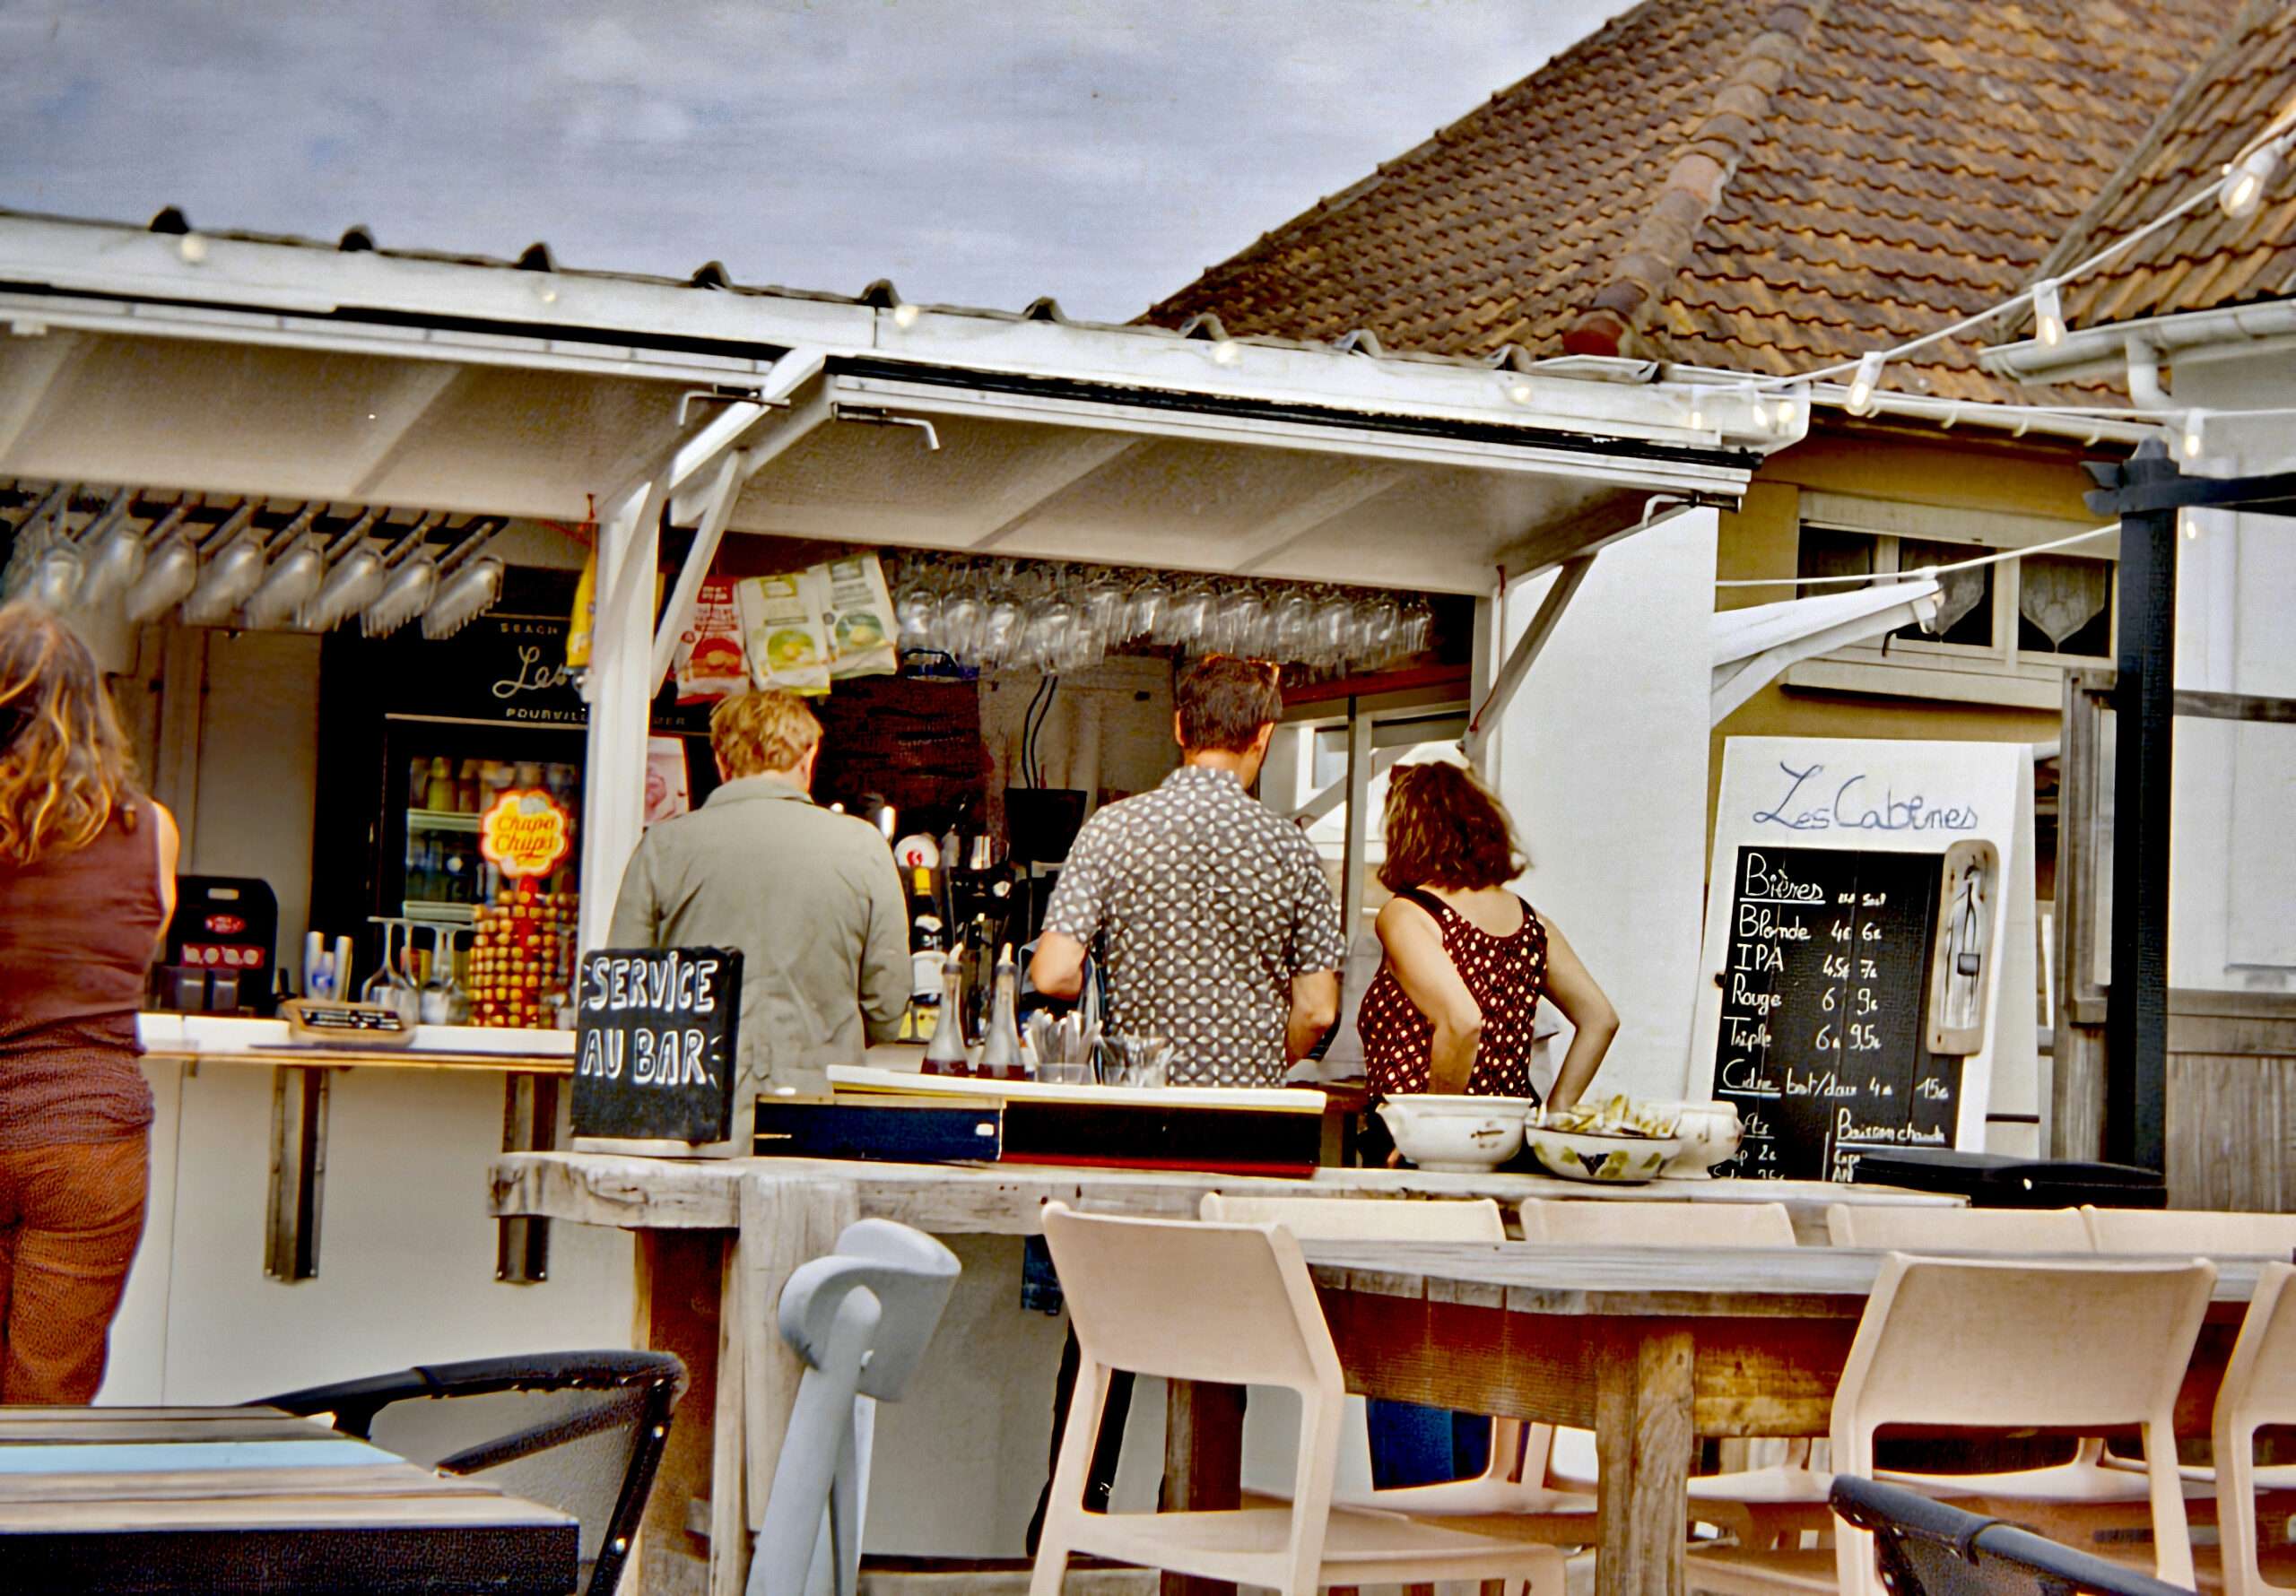
What looks like a lot of work here is actually done quickly – except for the last step – once you get the hang of it. Of course, putting the finishing touches on the image can take a long time, especially if you have a specific vision in your head.